


composite ·
condensed ·
diagonal ·
Flat ·
intermediate ·
large areas ·
parallel ·
pattern ·
quick to work up ·
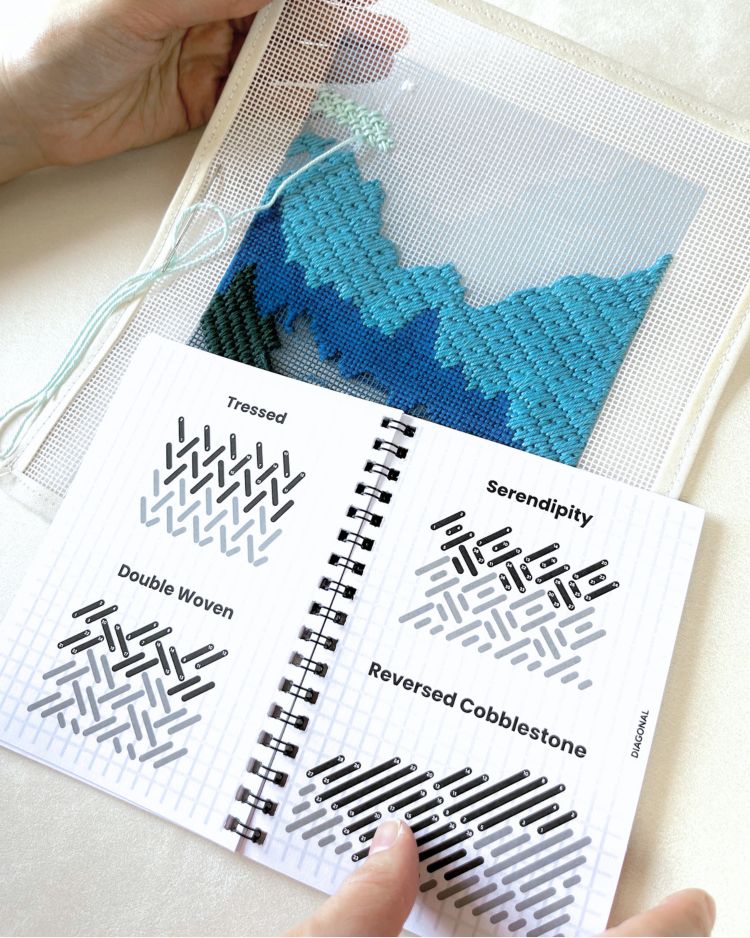
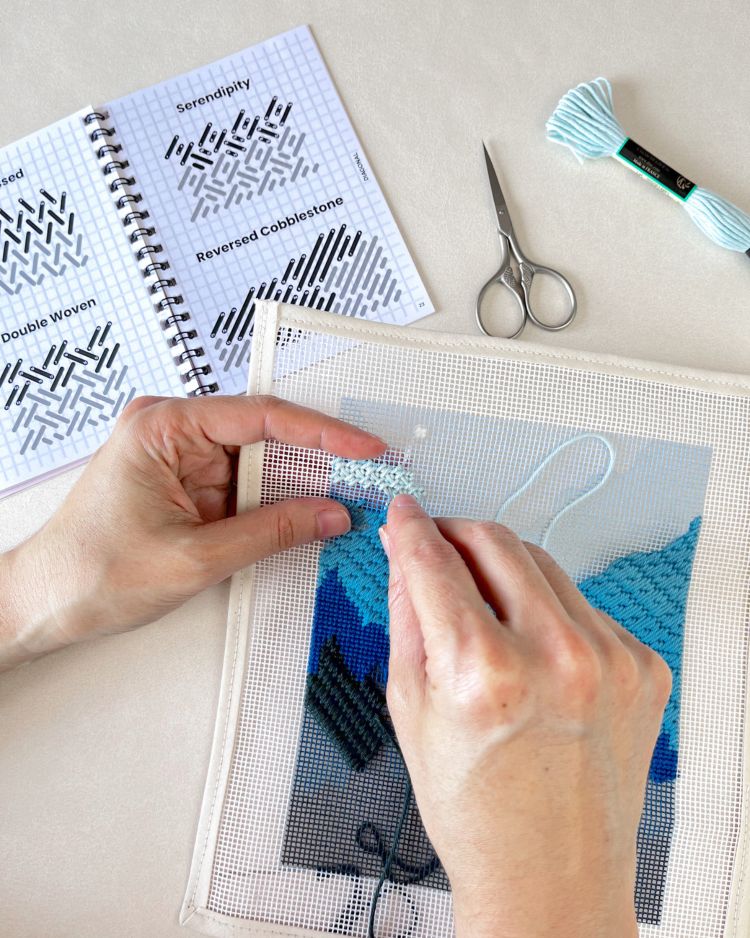
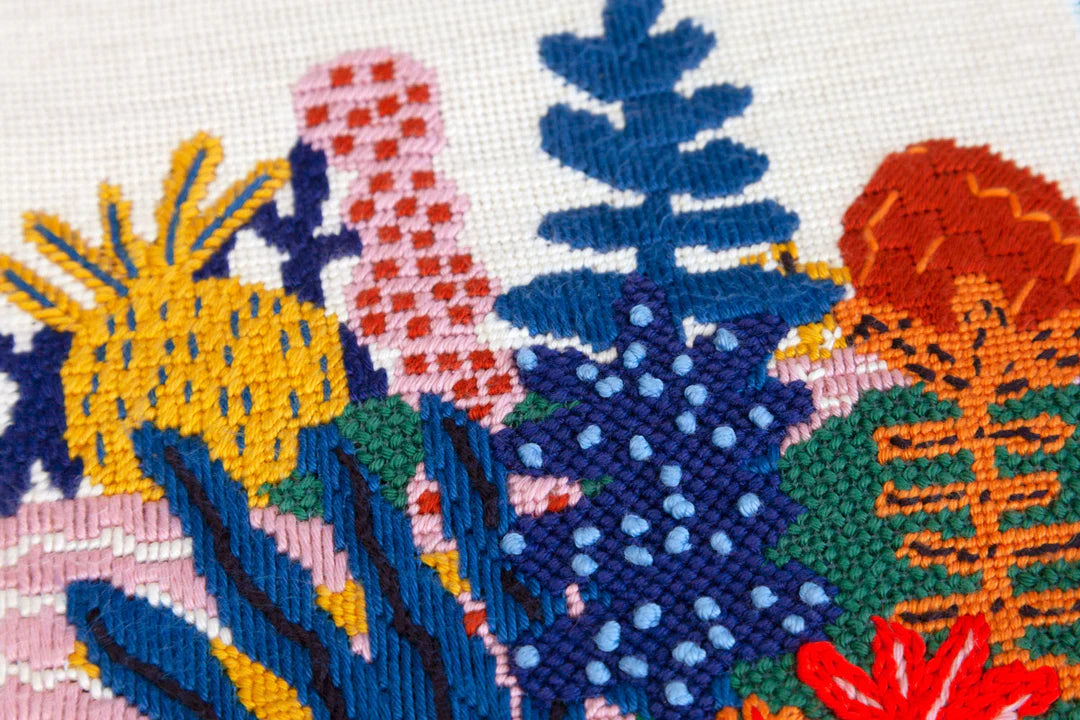
Mosaic Checker Stitch
The Mosaic Checker Needlepoint Stitch is a variation of the traditional Mosaic Needlepoint Stitch, which is commonly used to create geometric patterns and textures in needlepoint projects.
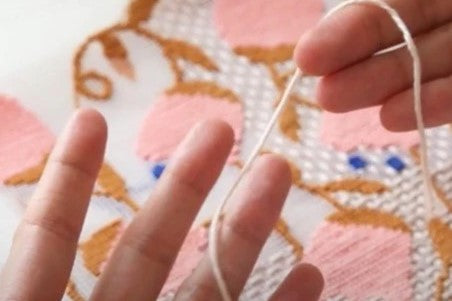
How to Needlepoint Mosaic Checker Stitch - Video Tutorial
Here's a video tutorial we created to help you better understand how to make this needlepoint stitch.
Stitch Details
- Stitch Structure: Flat, Pattern, Diagonal, Parallel, Condensed, Composite
- Recommended for: Large areas
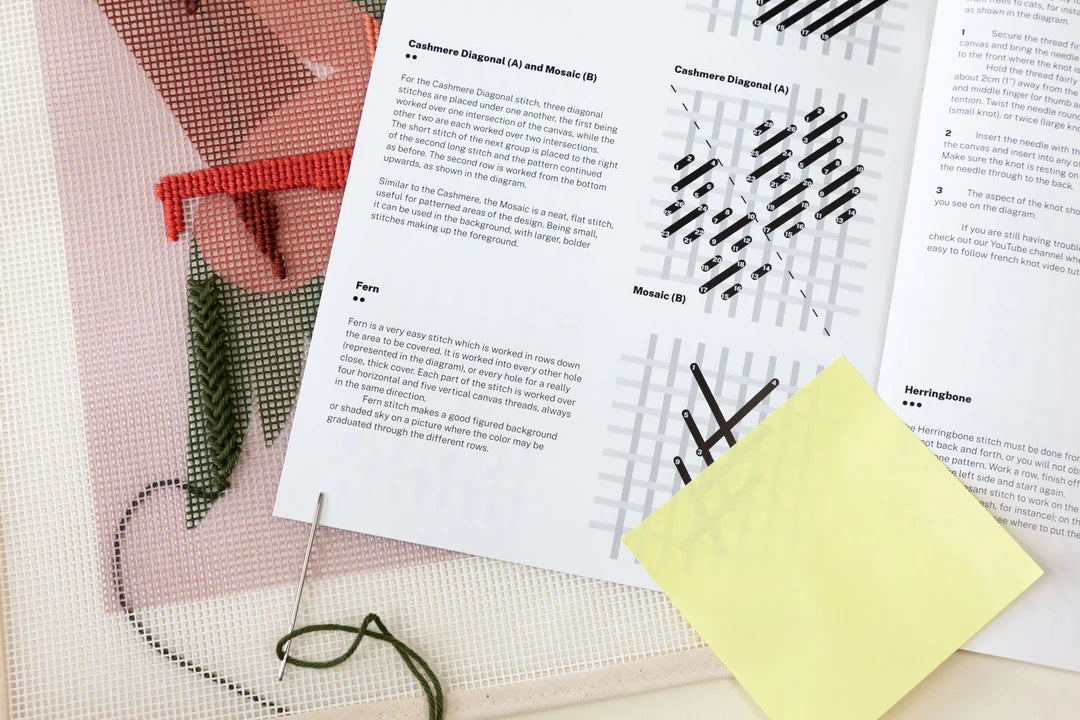
Mosaic Checker Stitch Instructions & Diagram
You can see the diagram of this stitch below.
-
Creating the Mosaic Squares:
- Make one downward diagonal stitch between one intersection.
- Move the needle to the right and make another parallel downward diagonal stitch, skipping one canvas hole in between.
- Make a third downward diagonal stitch like the first one, but one row below the other two. This completes your first mosaic stitch (resembling a square).
- Make another mosaic stitch diagonally down to the right, skipping one canvas hole from the first one.
- Make another mosaic stitch diagonally upward to the right of the previous one, parallel to the first, with one canvas hole between them.
- Make another mosaic stitch on the row below, diagonal to the one made in the first step, leaving one canvas hole between them.
- Continue following this sequence of diagonal mosaic stitches to cover the desired area.
Filling with Tent Stitch:
- Fill the spaces in between the mosaic stitches with tent stitches to create the checker pattern.

Stitch Guides where Mosaic Checker Stitch is used
Check out our Stitch Guides where this stitch is used to get some inspiration for your needlepoint project.
If you have doubts about what stitches to choose for your project - check our Tips to select Needlepoint Stitches or Our favorite Needlepoint Decorative Stitches.
Happy stitching :)