Victorian Cross-Stitch
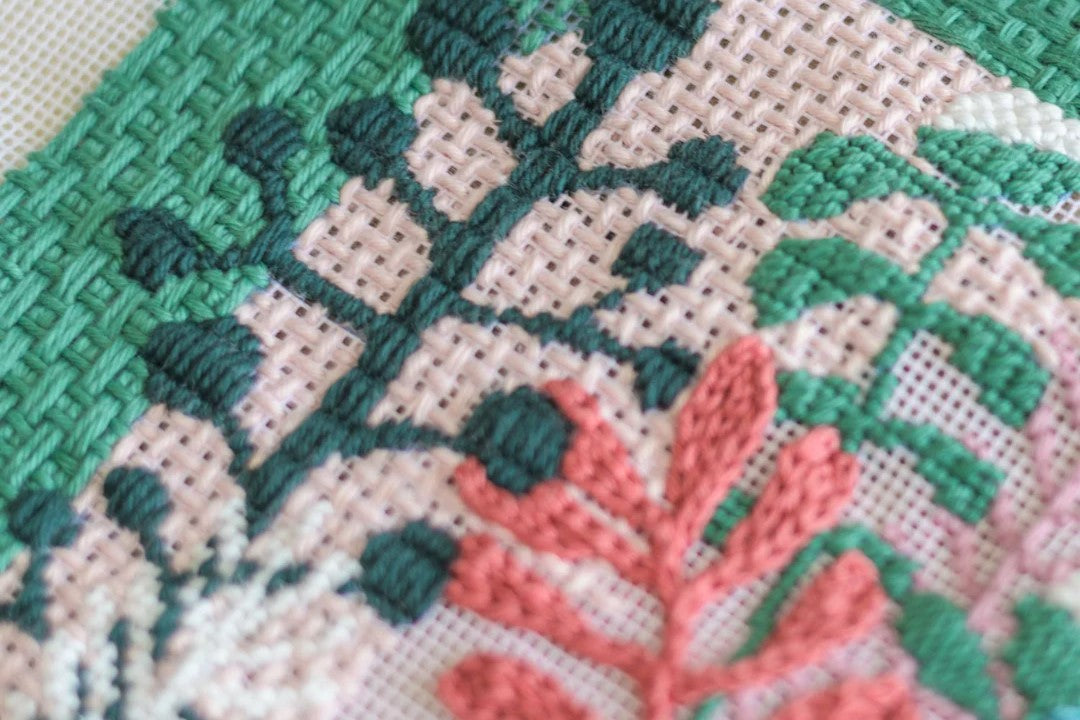
The Victorian Cross Stitch is a beautiful and durable stitch, known for its ability to cover the canvas thoroughly and create a thick, hard-wearing stitching.
How to Do the Victorian Cross Stitch - Video Tutorial
Here's a video tutorial we created to help you better understand how to make this super resistant stitch.
Stitch Details
- Stitch Structure:
- Related Stitches:
- Recommended for:
Victorian Stitch Instructions
Step-by-Step Instructions
-
Start with the Waste Knot
-
Begin by tying a knot at the end of your thread. Since the Victorian Cross Stitch is worked from right to left, place the knot on the front side of the canvas, to the left of where you plan to start stitching. This will help secure your thread as you begin.
-
-
Begin the Stitch
-
Picture a small square of four canvas holes. To start the stitch, insert your needle into the bottom left hole of the first square on the right side of the area you are working on.
-
Next, bring your needle to the top row, holding it horizontally to the canvas. Scoop the needle from the right hole to the left, passing over one intersection horizontally. This scooping technique is what distinguishes the Victorian Cross Stitch from other needlepoint stitches.
-
-
Continue the Stitch
-
After completing the top row, move back down to the bottom row and scoop the needle from right to left, this time passing through two intersections.
-
Return to the top row, scooping through one intersection, and then move back to the bottom row, scooping through two intersections again. Repeat this pattern across the row.
-
-
Covering the Waste Knot
-
As you continue stitching, you’ll notice that the waste thread on the back of the canvas is not covered by the scooping technique. To remedy this, you can switch to a regular stitching technique—poking the needle in and out of the canvas—while maintaining the cross stitch effect. This allows you to cover the waste thread properly. Once covered, you can snip off the waste knot.
-
-
Finishing the First Row
-
Once you’ve reached the end of your first row, you should see a consistent and neat row of stitches. Victorian Cross Stitch is always worked from right to left, so when you finish a row, secure the thread at the back of the canvas, trim any excess, and start the next row from the right-hand side again.
-
-
Starting the Second Row
-
The second row can be a bit more challenging, as you’ll need to scoop through areas that already have stitches. If you find this difficult, you can opt to use the poking technique (stabbing the needle in and out of the canvas) to maintain control and precision.
-
-
Maintaining Consistency
-
Consistency is key in the Victorian Cross Stitch. Always work in the same direction, and ensure that each cross is made completely applying enough pressure and securing the stitches well. This prevents distortion and maintains the integrity of the stitch, avoiding loose stitches.
-
-
Finishing Your Thread
-
When you reach the end of your thread, anchor it securely on the back of the canvas underneath your stitches. Cut off any excess thread, and you’re ready to continue with a new thread if needed.
-
Conclusion
The Victorian Cross Stitch is a time-honored technique that produces stunning, durable needlepoint projects. With its thick, textured finish and the ability to cover the canvas completely, it’s the perfect stitch for creating pieces that are both beautiful and long-lasting. By following this tutorial, you’ll master the Victorian Cross Stitch and add a new skill to your needlepoint repertoire.
We hope you found this tutorial helpful! If you have doubts about what stitches to choose for your project - check our Tips to select Needlepoint Stitches or Our favorite Needlepoint Decorative Stitches.
Happy Stitching!


