2025 Calendar with free Needlepoint Charts: one for each month of the year!
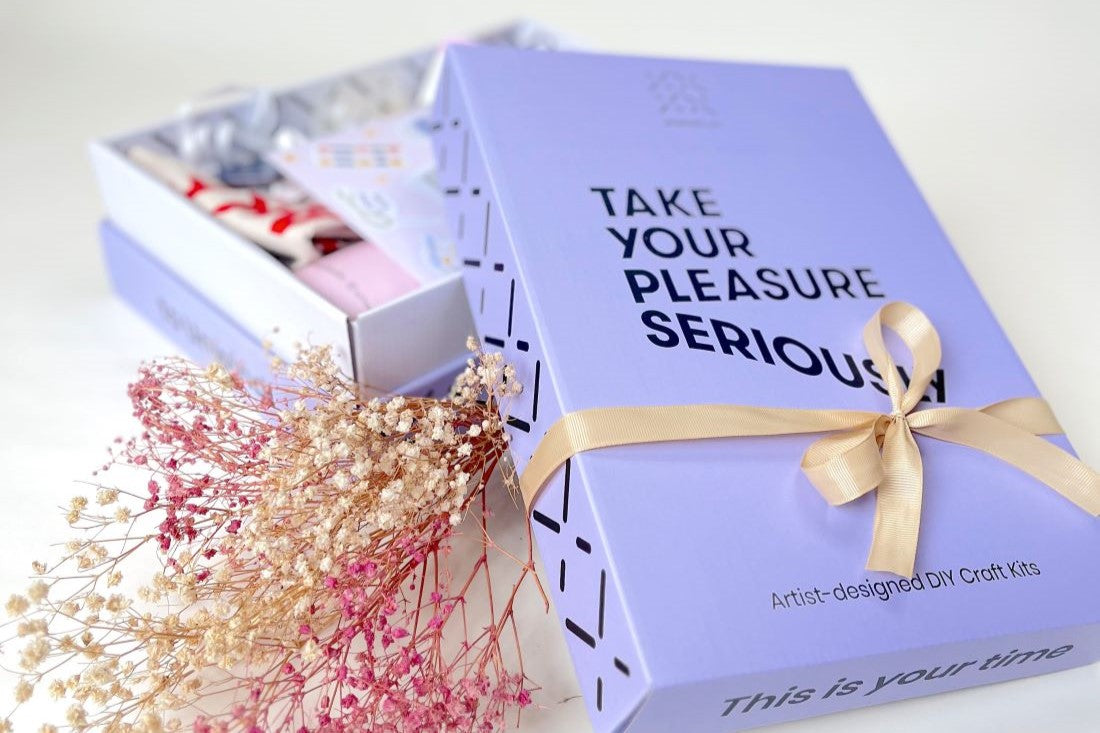
At Unwind Studio, we’re always looking for ways to make needlepoint more accessible, fun, and affordable. That’s why we’re thrilled to introduce our 2025 Needlepoint Charts Calendar - our FREE gift with every order (over 20€ and until stock lasts) during December - and a creative companion designed to help you stitch your way through the year!

Each month, you’ll have a different needlepoint counted chart featuring a themed motif perfect for small projects. Whether you're already a stitcher or someone who wants to try a new relaxing hobby, this calendar is:
- Accessible: Easy-to-follow charts for all skill levels
- Affordable: A fantastic way to needlepoint without breaking the bank
- Eco-Friendly: Use leftover threads and materials you already have lying around
- Inspiring: Challenge yourself with one small project each month and build a year of creativity
Every chart is thoughtfully designed with versatility in mind—you can stitch each motif as a stand-alone patch or combine elements to create a larger project. Ready to make 2025 your most creative year yet? Let’s dive in!
How to read a Needlepoint Chart
If you’re new to needlepoint counted charts or just need a refresher, here are the most important considerations to get started:
- Each square on the chart represents one stitch intersection on your canvas, not one canvas hole. TIP: Ignore the grid lines on the needlepoint chart when making a stitch. You must focus on the colored blocks instead.
- Colors and/or symbols indicate different thread colors.
- Read our blog post to learn all the considerations on How to read a Needlepoint Chart!
Best Tips to Make the Most of Your Free Charts
Let's use January's Tea Cup examples to illustrate the best tips on how to create a needlepoint design from elements of a chart!

1. Plan Your Design
Before you pick up your needle and threads, it’s important to plan your design layout:
- Define the canvas size of your final product:
- A typical size for a bookmark is around 2 inches wide by 6 inches long, and for a key fob is 1 inch wide by 6 inches long
- Determine how many hole intersections your final product will have (width x length) and mark the limits in your canvas. You can use a removable ink pen, or a regular pen.
- Please note that you might need to adjust your product size, to accommodate each design element of your choice.
- Measure the size of each design element (tea cups): Count the number of stitches in each tea cup motif (width x length). This helps determine how many motifs will fit in your bookmark/key fob space.
- Determine how many elements fit into your project, and find how many holes you have for spacing and margins
-
Plan how the motifs will be arranged
- Leave at least 2 rows of stitches between each tea cup - but the final number will depend on the previous step
- Leave at least 2 to 3 rows above, below, and on the sides to create a neat border - but the final number will depend on the previous step
- Sketch your layout on graph paper, or mark it directly on your canvas, or simply start stitching following the reference points of the spacing defined previously.
2. Figure Out Where to Start
- Find the center of your canvas, in case you want to start from there: Fold your canvas design size in half lengthwise and widthwise to locate the midpoint.
- If you want to start from the first object of the design, determine your reference points to get started: how many intersections do you have from the limit border until the start of the object, for example.
3. Tips to help your Counting
Needlepoint Charts have numbers on the horizontal and vertical axis, commonly in increments of 10, to facilitate your counting:
- Use them as a shortcut so you don’t have to count every individual square in the chart.
- Use them as a helpful and quick guide to keep track of where you are / how many stitches to make.
Find references in your elements during stitching:
For example, in the image below we are stitching a very long line of 21 holes. Instead of continuously counting until 21 while we stitch, lets find a reference where we can stitch without counting until we reach it. Our reference used in the image below was the first column red already stitched. We are stitching 15 holes without worrying about the counting, and then we know that we need to stitch 6 more holes - easier to count!

Cross out the lines/columns already stitched to help you identify where you are in the chart:
With a pencil or pen, cross out in the chart the areas (lines or columns) that you already stitched. This way you can immediately identify where you are, and avoid to have to double check many times which line you need to stitch next!

4. Lastly, How to Finish Your Project!
Let us help you with finishing your 2025 projects with our dedicated tutorials for each project:
Suggestions to Stitch Each Month during 2025
Each month’s chart is designed to inspire creativity. Here are some suggestions to transform these motifs into delightful projects and how to do it:
January: Tea Cups
- Create a bookmark with delicate teacup designs - choose your 3 favorites! Perfect for cozying up with your favorite book.

February: Bisous
- Stitch a sweet, heart-filled key fob as a gift for someone special (or yourself!).

March: Chilling Spell
- Turn this elegant floral motif into a coin pouch - add a zipper or button for a polished finish. You can also stitch individual floral objects to create your own "Chilling Spell" bookmark version!
April: Easter
- Combine these playful elements into a bookmark or stitch the Easter egg design as a charming ornament.
May: Butterflies
- These fluttering motifs are ideal for key fobs, bookmarks, or even an ornament featuring a larger butterfly.
June: Sardine
- Capture the Portuguese essence with a sardine bookmark. Perfect for seafood lovers or as a lovely souvenir from your best beach days.

July: Watermelons
- Make a juicy key fob or bookmark with the watermelon slice design, adding a pop of color and summer to your keys.
August: The Great Wave
- We already have a big canvas, as well as a bookmark available, but you can now transform this classic artwork into a stunning ornament!
September: Folk Bird
- Stitch a cozy folk-inspired bird as a decorative ornament to welcome fall.
October: Halloween
- Create a spooky bookmark or key fob with these Halloween-themed elements. Mix and match for a unique touch. This month you can follow the same logic of the instructions for January's design.
November: Thank You
- Use this sentiment to craft a coaster or square ornament that expresses gratitude.
December: Christmas Sweater Design
- Stitch a festive sweater ornament to bring holiday cheer to your tree or gifts.

Stitching Tips for Combining Elements
Want to take it up a notch? Mix motifs from different months to create larger, personalized projects. For example:
- Pair the tea cups and sardines for a whimsical kitchen-themed panel.
- Combine the butterfly and folk bird motifs for a nature-inspired wall hanging.
- Mix Halloween and Christmas motifs for a quirky seasonal display.
The possibilities are endless!
Conclusion
The 2025 Needlepoint Calendar is more than just a collection of charts—it’s a yearlong creative journey. Whether you’re looking to start small with key fobs or explore larger, custom designs, these free charts offer something for everyone.
We can’t wait to see how you bring these motifs to life! Be sure to share your creations with us on social media—we’d love to feature your work. Let’s make 2025 the year of stitching, one month at a time.
Happy stitching!


