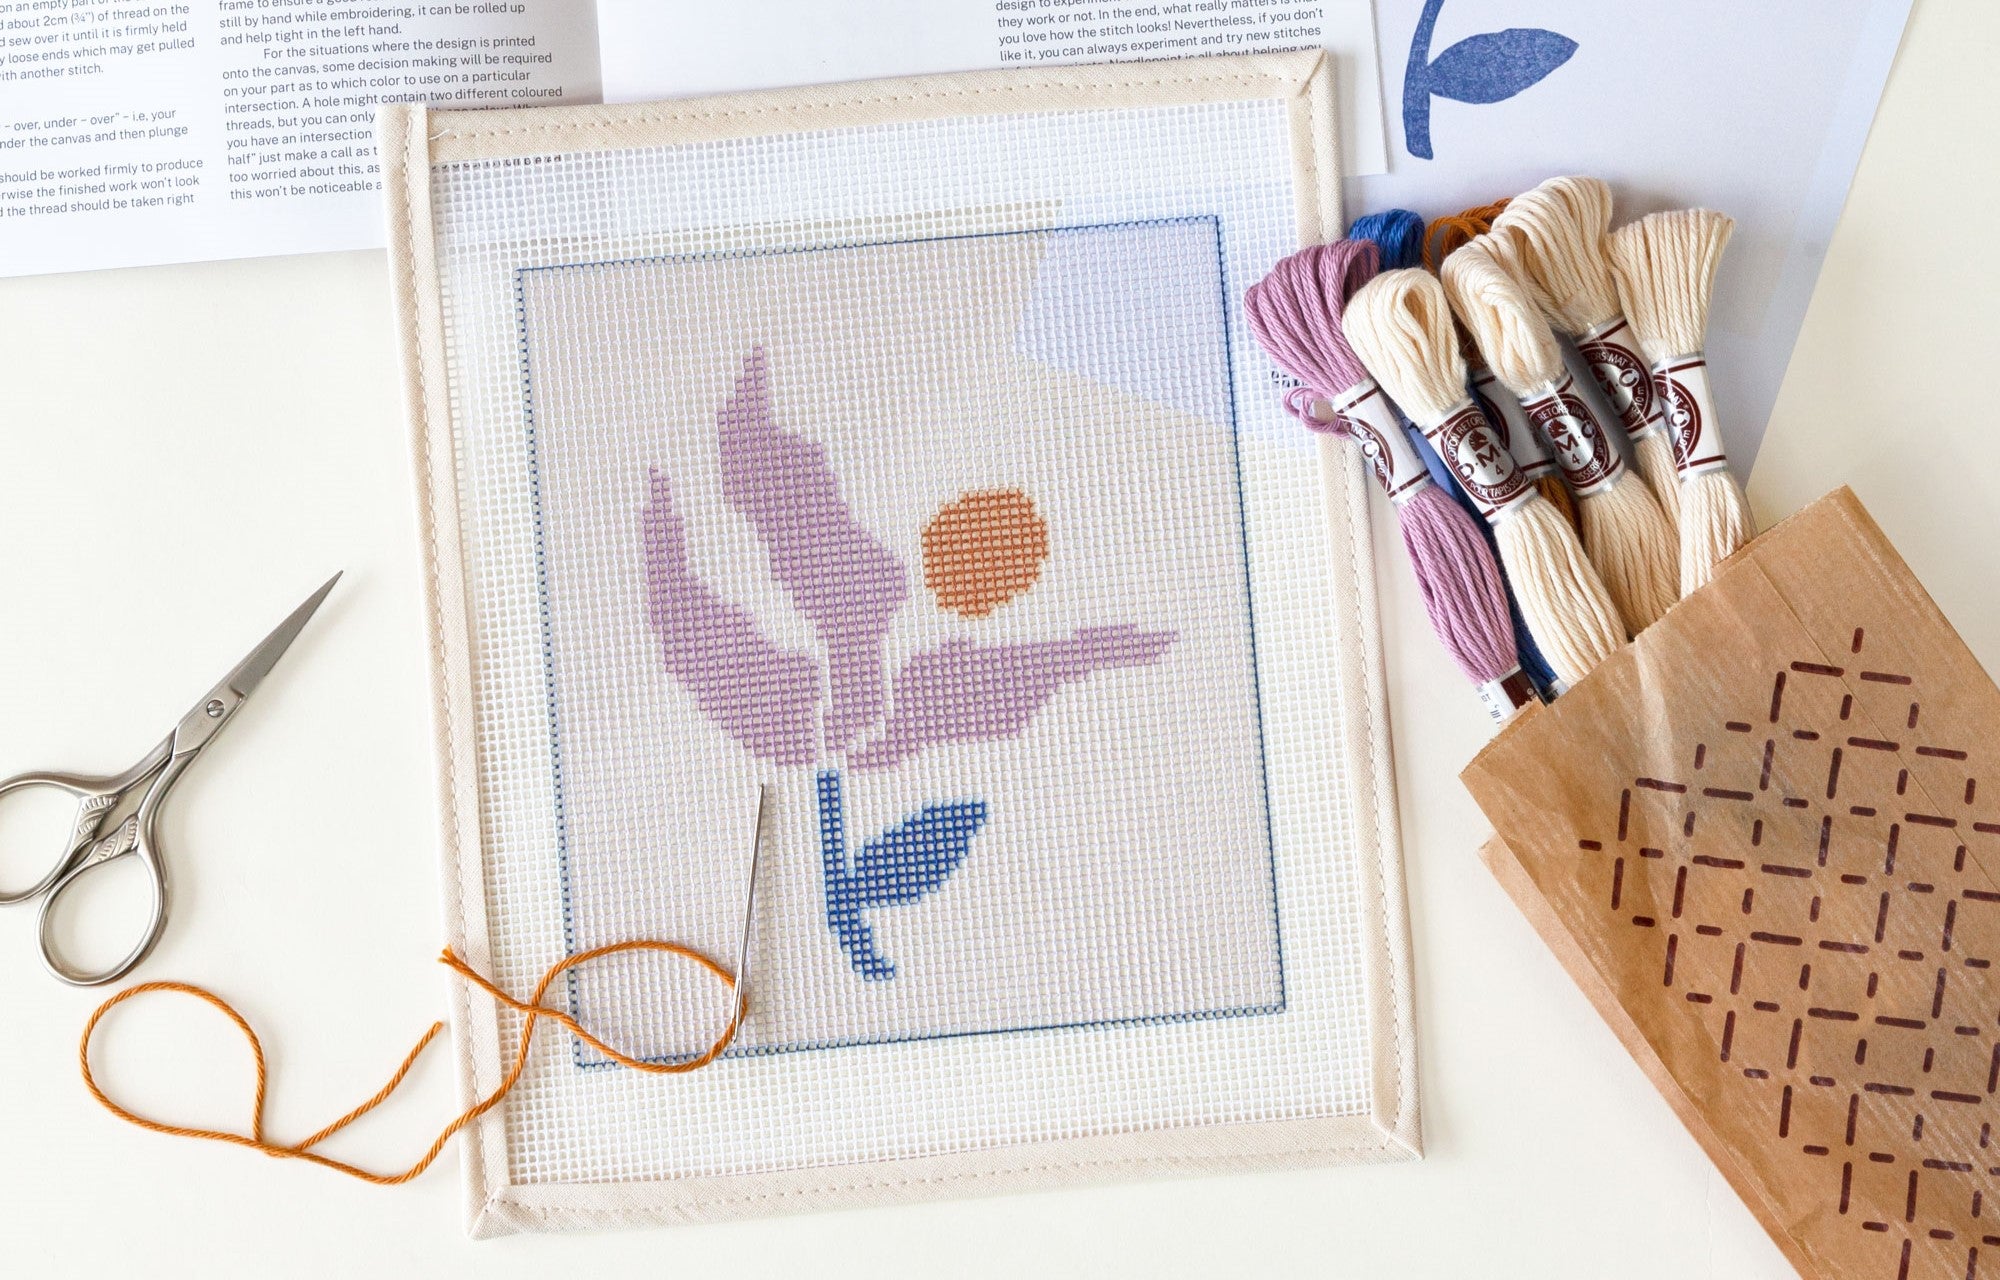
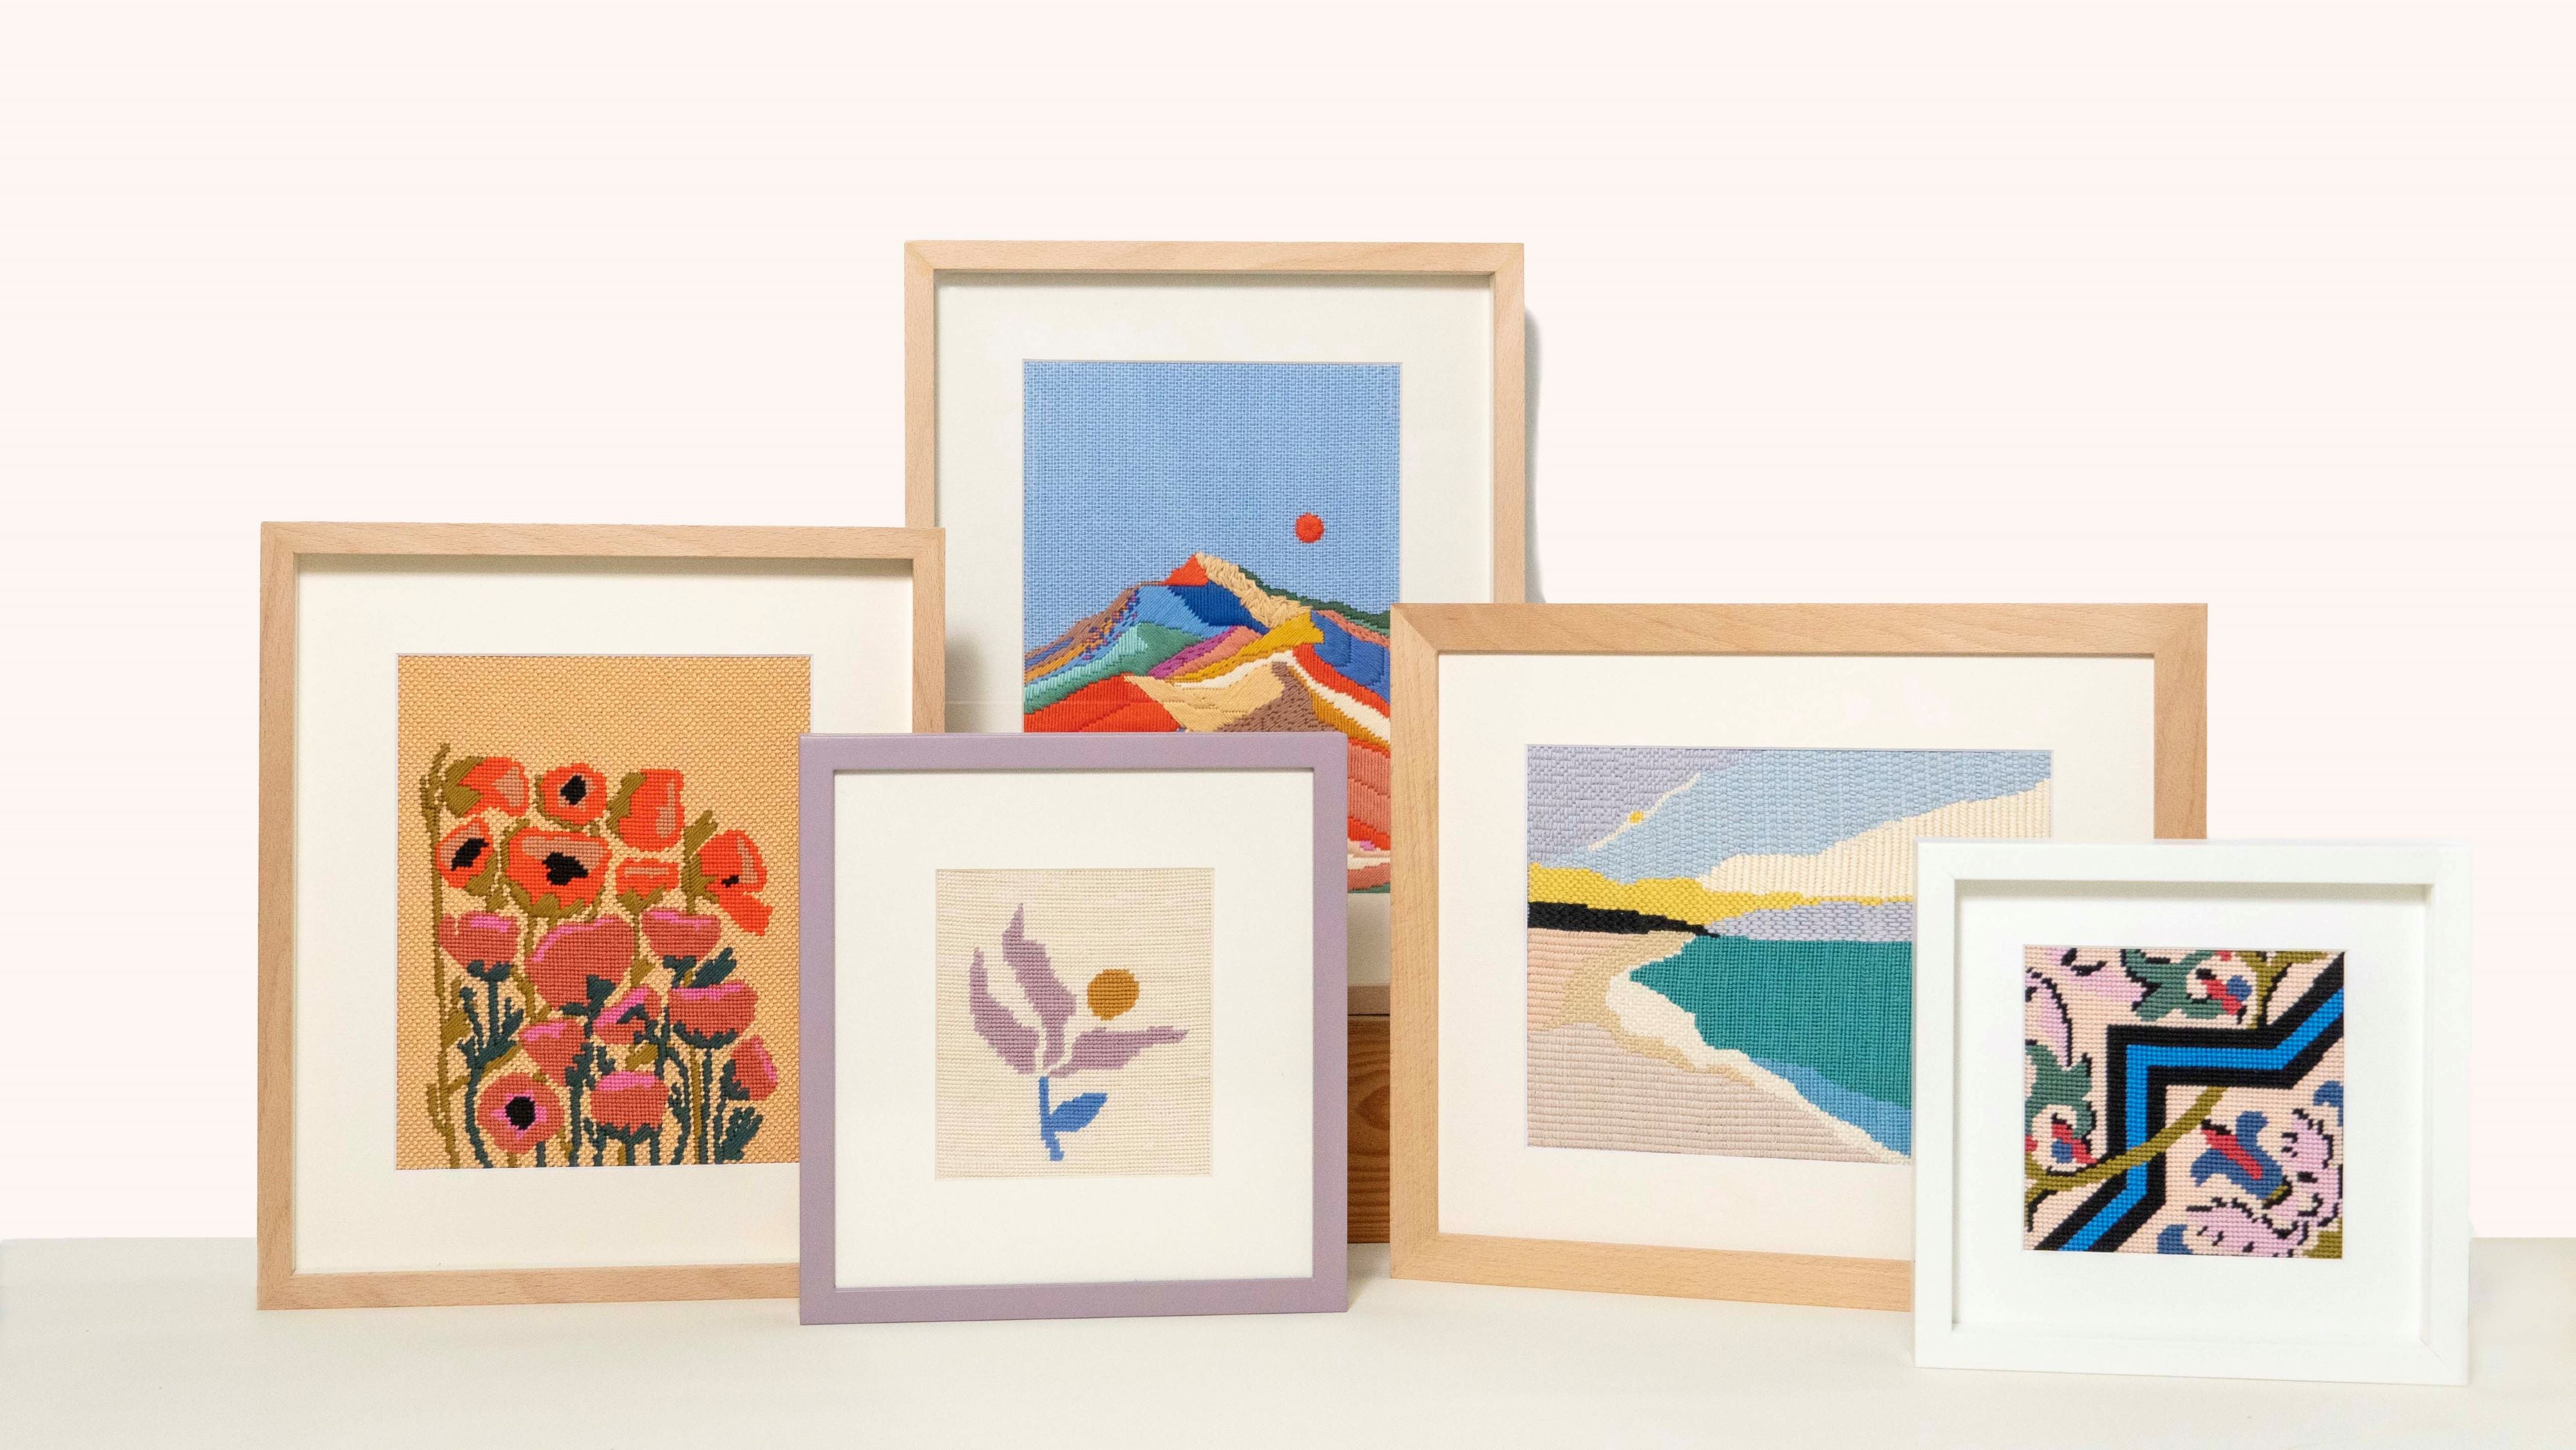
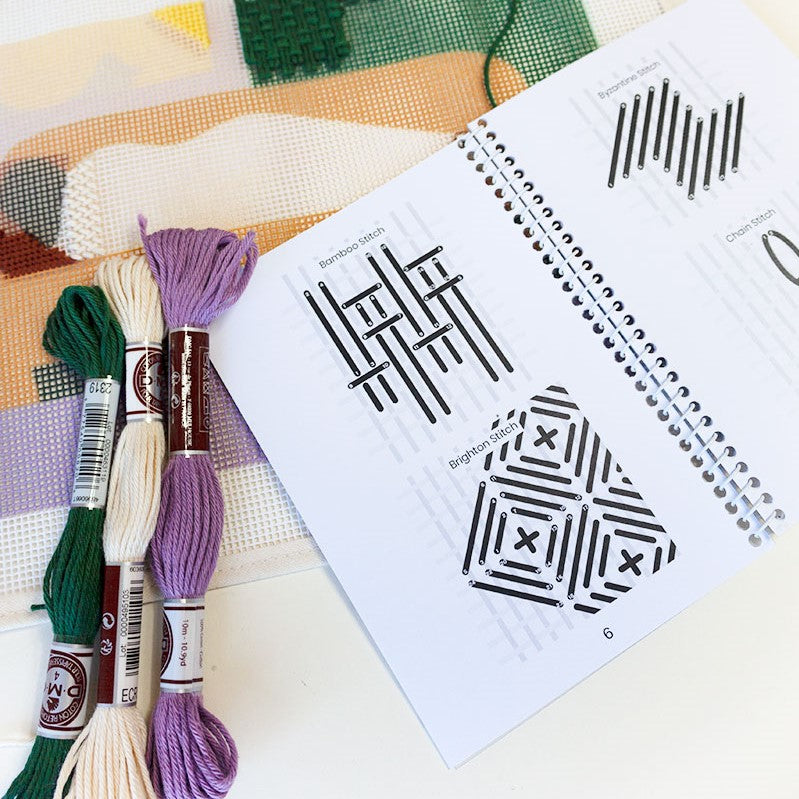
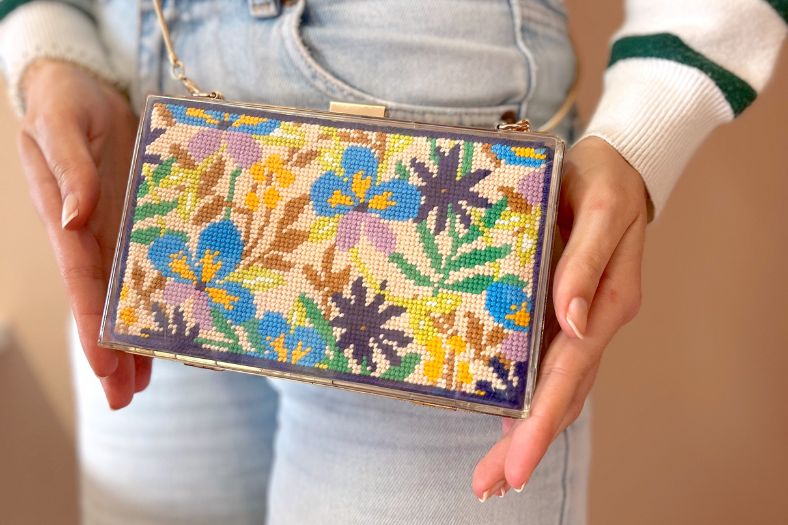
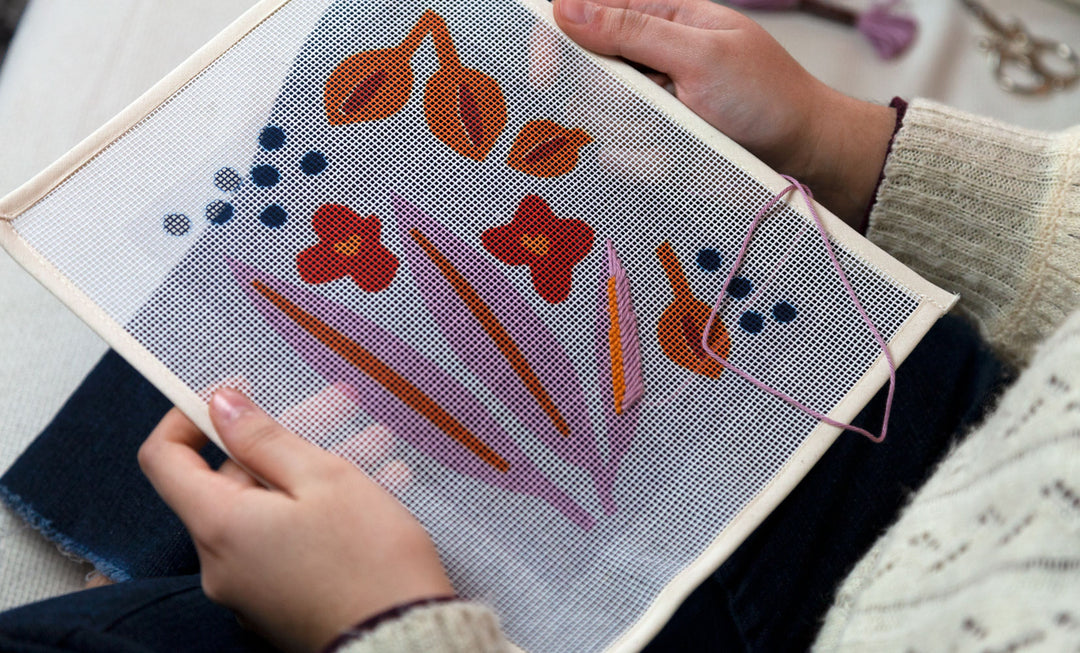
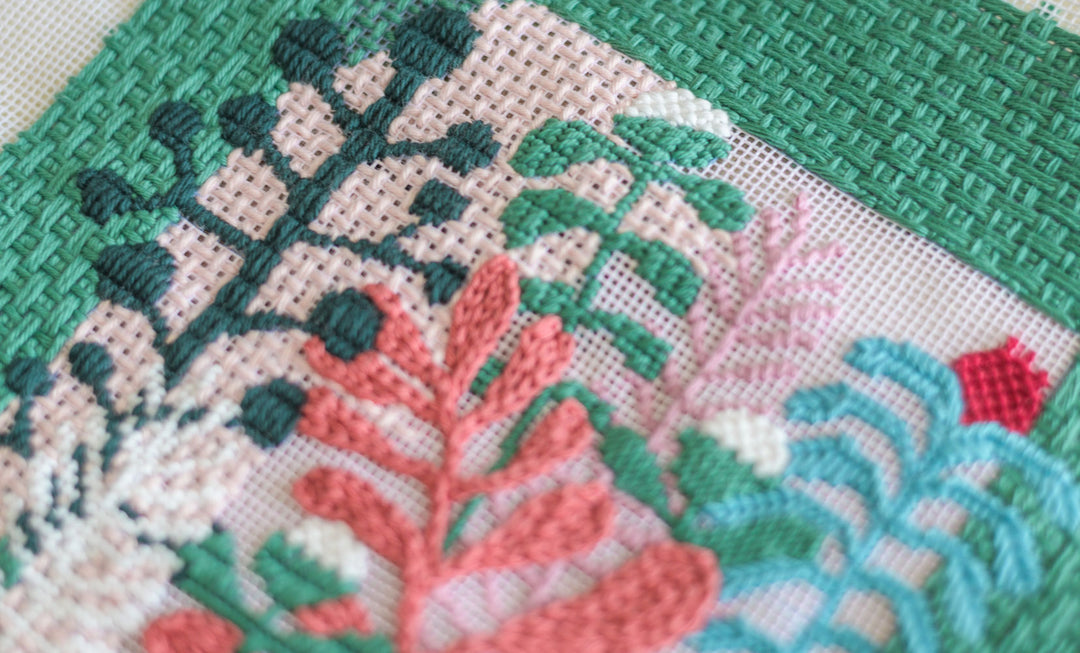
Dans un monde dominé par les accessoires fabriqués en série, il y a quelque chose d'indéniablement spécial dans le fait de créer ses propres pièces de caractère. Imaginez porter une pochette ou un sac à main qui non seulement complète votre tenue, mais met également en valeur votre créativité et vos talents d'artisan... Vous pouvez le faire avec Needlepoint !
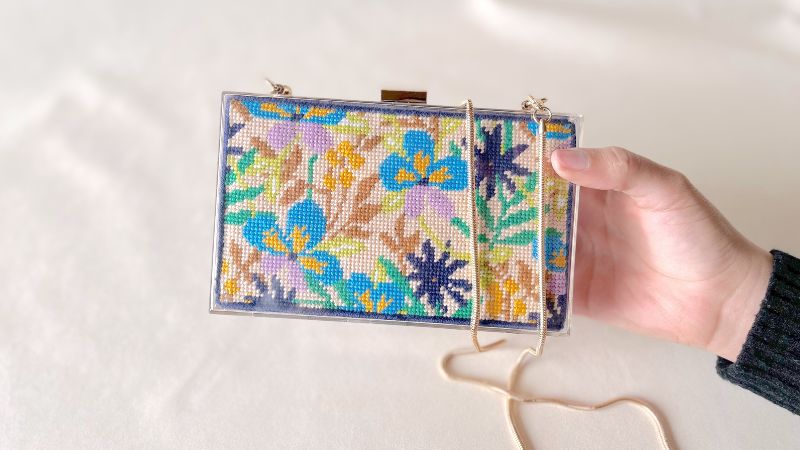
Si vous avez toujours rêvé d'ajouter une touche personnalisée à votre collection d'accessoires, alors ce tutoriel est fait sur mesure pour vous - facile, avec peu d'étapes et de matériaux nécessaires !
Comment réaliser soi-même une pochette/un sac à main en acrylique au point de croix - Tutoriel vidéo facile
Nous avons créé un didacticiel vidéo simple où vous pouvez voir comment terminer une pochette ou un sac à main en acrylique au point de croix avec une méthode très simple.
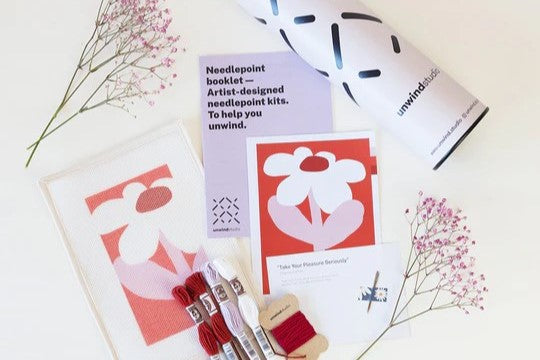
Dans cette vidéo, nous avons utilisé notre kit de broderie au point de croix Pansy Parade , mais vous pouvez explorer notre collection de pochettes au point de croix et choisir celle qui vous convient le mieux !
Vous aimerez peut-être aussi...
-
Comment terminer un étui à lunettes/lunettes de soleil en broderie
-
Comment terminer une décoration en broderie : vidéo et mode d'emploi
-
Achetez plus d'outils de finition dans notre boutique Amazon
Matériel dont vous aurez besoin :
-La toile à broder terminée
- La pochette en acrylique (vous pouvez la retrouver dans notre boutique Amazon !)
- Ciseaux à tissu
- Tissu velours autocollant pour le support
- Passe- partout prédécoupé
- Pinces à tissu
- Colle textile
Comment terminer une pochette zippée en point de croix : instructions étape par étape !
-
Tout d'abord, commencez par couper les coins de votre excédent de toile pour la préparer au point de reliure et éviter le volume
-
Coupez deux triangles à chaque coin mais veillez à ne pas couper trop près du bord de la toile cousue - vous aurez besoin de l'espace entre les coupes et la pièce cousue pour plier correctement l'excédent de toile et faire le point de reliure.
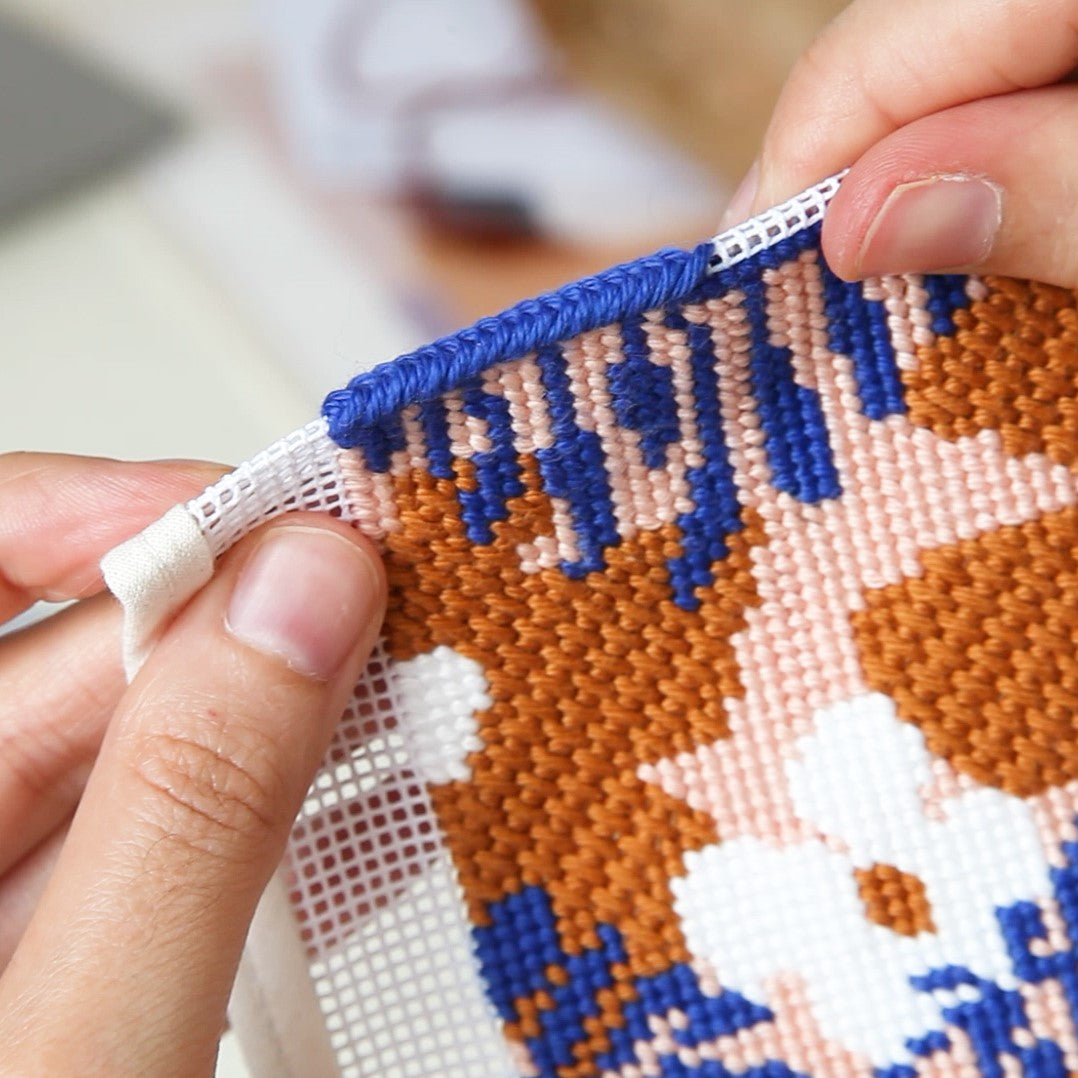
- Ensuite, faites le point de reliure tout autour de la toile. Nous avons un tutoriel dédié au point de reliure , allez le consulter si vous ne savez pas comment le faire !
-
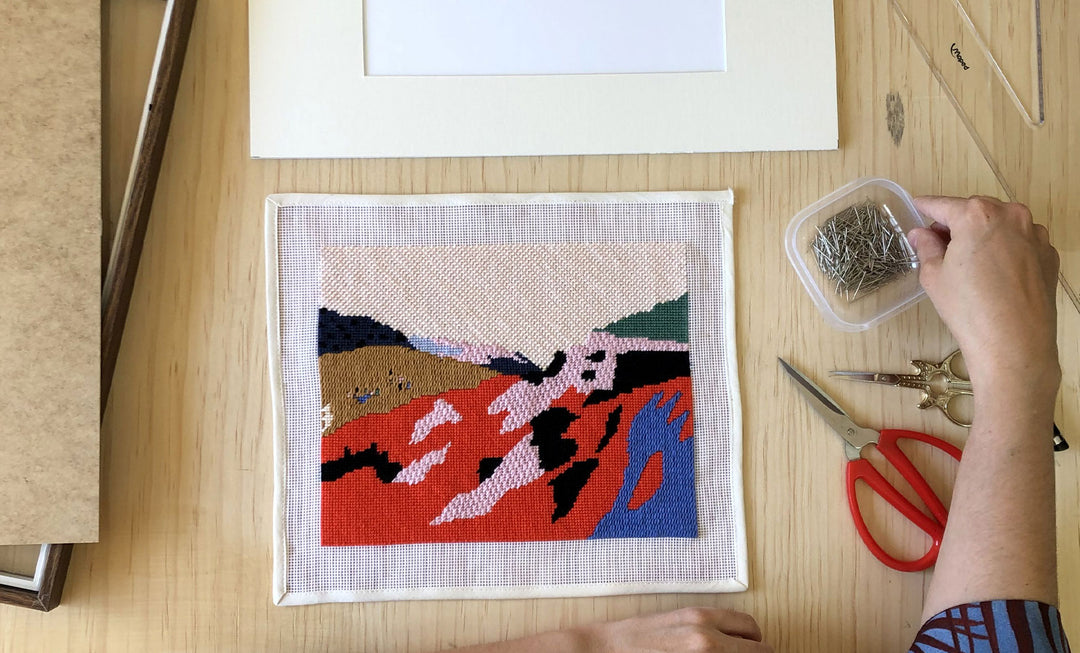
Prenez votre carton de passe-partout , placez-le à l' arrière de la couture et fixez-le en pliant l'excédent de toile. La taille du carton de passe-partout doit être légèrement plus petite que la taille de la toile cousue.
- Ensuite, testez pour voir si votre toile s’adapte parfaitement à l’embrayage en acrylique .
- Il est maintenant temps d' appliquer la colle textile entre la toile et le passe-partout.
- Une fois la colle appliquée, fixez-la avec les pinces à tissu et attendez qu'elle sèche.
- Une fois que vous êtes sûr qu'il est sec, il est temps de retirer les clips et de choisir le velours auto-adhésif pour l'appliquer par dessus (le velours doit être préalablement coupé
pour s'adapter parfaitement au dos de la toile).
- Ensuite, il vous suffit de décoller le dos et de commencer à le coller en place.
en s'assurant que tout est lisse. Vérifiez si tout est en place,
et vous pouvez maintenant couper un peu de velours en excès si vous en ressentez le besoin.
- Et maintenant, le moment que nous attendions tant : placer la toile à l'intérieur de la pochette en acrylique ! Et voilà, vous pouvez maintenant la remplir de vos objets préférés et arborer votre nouveau sac à main fait main :)
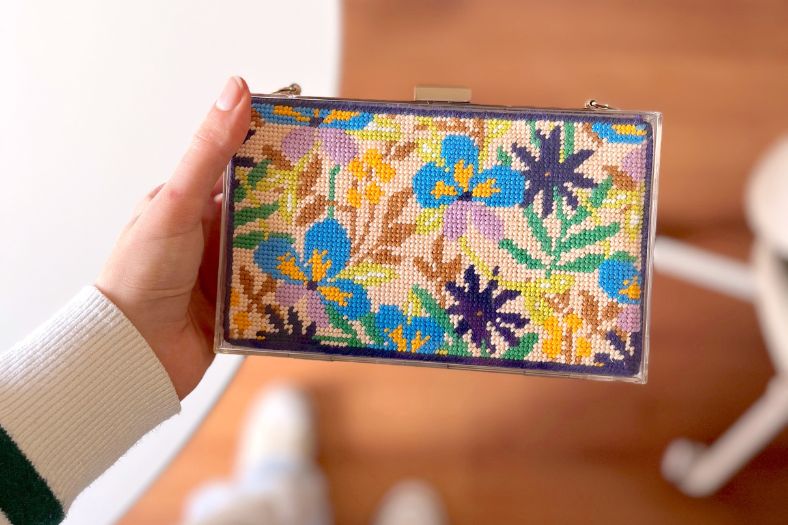
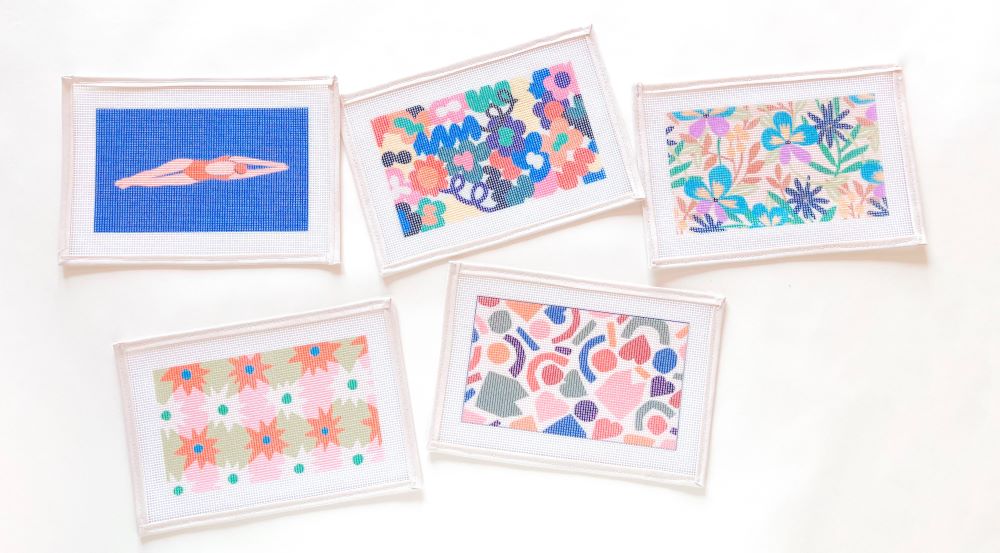
Nous espérons que ce tutoriel vous a été utile et clair pour apprendre à fabriquer votre propre sac à main en acrylique Needlepoint !
Si vous souhaitez en savoir plus sur ce que vous pouvez faire avec votre broderie finie, ou simplement vous inspirer pour votre prochain projet, consultez notre Ressources de finition de broderie au point de croix DIY !
Bonne couture !


