How to Make the Perfect Binding Stitch: A Complete Guide
Introduction
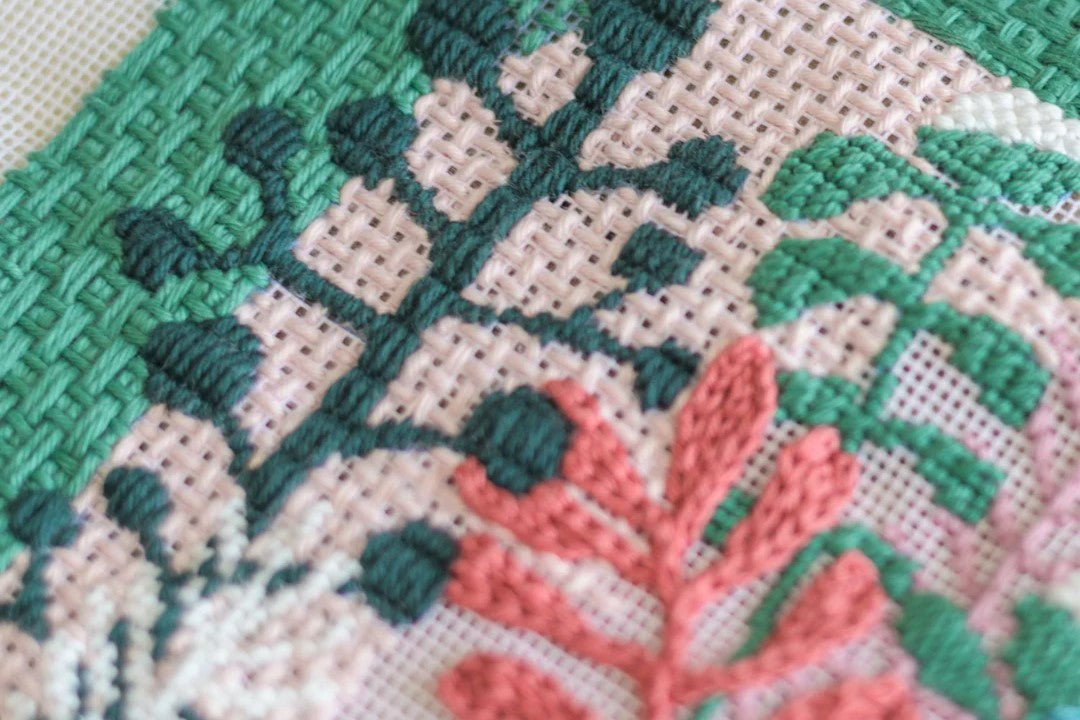
The binding stitch is an essential technique in needlepoint, used to secure the edges of your canvas and give your project a polished finish. While there are different ways to execute this stitch, we're here to share a method that creates a beautiful herringbone pattern on the front of your work, giving it a clean and professional look. In this tutorial, we'll show you how to achieve this perfect binding stitch.
Comparison of Techniques

To highlight the difference, compare these two pieces:
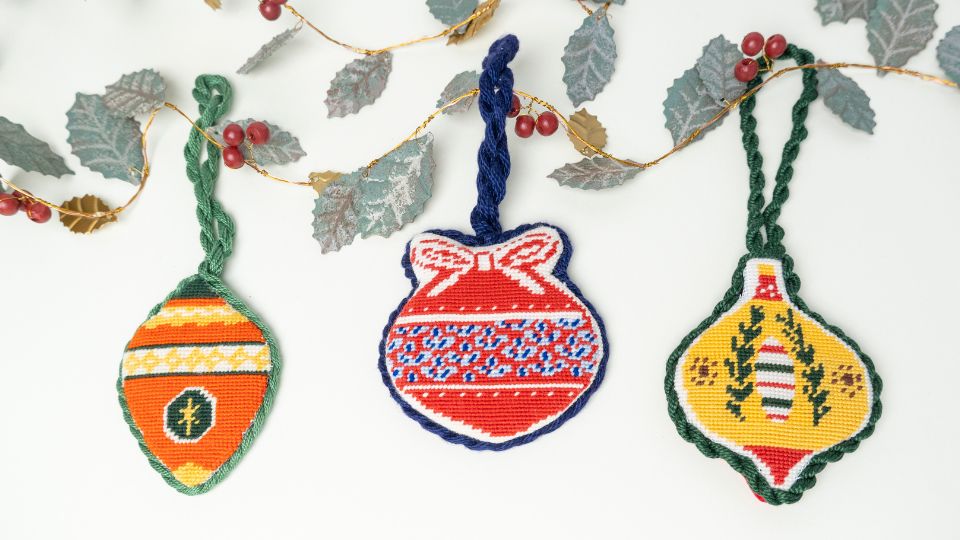
- In example A, the binding stitch worked from the front with a clear, visible herringbone pattern; In example B, the stitch worked from the back, where the pattern is mainly seen on the back of the canvas.
- One of the main benefits of working the binding stitch from the front is that any errors, like accidentally piercing an existing thread, will not affect the final appearance, as these mistakes will be on the back of the canvas.
How to Make the Perfect Binding Stitch - Video Tutorial
For a visual demonstration of the binding stitch, watch our video tutorial. It walks you through each step, ensuring you can easily follow along and demonstrating the comparison between the old technique we used to do, and the one we do now.
Step-by-Step Instructions
-
Anchor Your Thread
- Begin by cutting your thread and anchoring it securely underneath the back stitches of your canvas. This will keep your thread in place as you start the binding stitch.
- Begin by cutting your thread and anchoring it securely underneath the back stitches of your canvas. This will keep your thread in place as you start the binding stitch.
-
Fold the Canvas
- Fold the excess canvas to the back, aligning it right on the edge of your stitched area. This fold will be the guide for your binding stitch.
- Fold the excess canvas to the back, aligning it right on the edge of your stitched area. This fold will be the guide for your binding stitch.
-
Start the Stitch
- With the canvas folded, poke the needle from the back of the canvas, bringing the thread to the front. Then, insert the needle from the front to the back through the left canvas hole. This method ensures that the herringbone effect appears on the front of your work.
- With the canvas folded, poke the needle from the back of the canvas, bringing the thread to the front. Then, insert the needle from the front to the back through the left canvas hole. This method ensures that the herringbone effect appears on the front of your work.
-
Form the First Stitches
- Repeat the initial movement to create two parallel stitches. After these are complete, go back two holes and make a stitch in the opposite direction. Continue this process, and you will see the herringbone pattern beginning to form on the front of the canvas.
- Repeat the initial movement to create two parallel stitches. After these are complete, go back two holes and make a stitch in the opposite direction. Continue this process, and you will see the herringbone pattern beginning to form on the front of the canvas.
-
Navigating the Canvas Holes
- Working the binding stitch from the front can be tricky, especially when you need to poke the needle back through the correct canvas holes. To ensure accuracy, count the holes on the back of the canvas, which helps to guide your needle to the right spot. Another tip is to count the “wave” effects made by the stitches; poke the needle on the second wave back to maintain consistency.
- Working the binding stitch from the front can be tricky, especially when you need to poke the needle back through the correct canvas holes. To ensure accuracy, count the holes on the back of the canvas, which helps to guide your needle to the right spot. Another tip is to count the “wave” effects made by the stitches; poke the needle on the second wave back to maintain consistency.
-
Handling Corners
- When you reach a corner, continue stitching two or three canvas holes beyond the corner in the same direction you were working. Then, fold the canvas on the side you're going to stitch next and proceed with the same technique: stitch in the next canvas hole to the left, then go back two holes. Corners can be challenging because the holes may be less visible, but with practice, you'll improve your accuracy.
- When you reach a corner, continue stitching two or three canvas holes beyond the corner in the same direction you were working. Then, fold the canvas on the side you're going to stitch next and proceed with the same technique: stitch in the next canvas hole to the left, then go back two holes. Corners can be challenging because the holes may be less visible, but with practice, you'll improve your accuracy.
-
Maintaining Tension
- Keep a consistent tension as you work. If your stitches are too loose, the binding stitch may not hold the canvas securely, compromising the final look. Good tension ensures that your binding stitch is tight and even, enhancing the herringbone pattern.
- Keep a consistent tension as you work. If your stitches are too loose, the binding stitch may not hold the canvas securely, compromising the final look. Good tension ensures that your binding stitch is tight and even, enhancing the herringbone pattern.
Conclusion
The binding stitch is a small but crucial detail that can elevate the overall appearance of your needlepoint project. By following this method, you can achieve a crisp and clean herringbone pattern on the front of your work, adding a touch of elegance to your finished piece.
We hope you found this tutorial helpful and that it inspires you to try the binding stitch on your next project. Remember, practice makes perfect, so don’t be discouraged if it takes a few tries to get the hang of it. With patience and attention to detail, you’ll be creating beautiful, professional-looking edges in no time.
Check out our other tutorials for more needlepoint tips and techniques, and as always, happy stitching!


