Skipped Tent Stitch
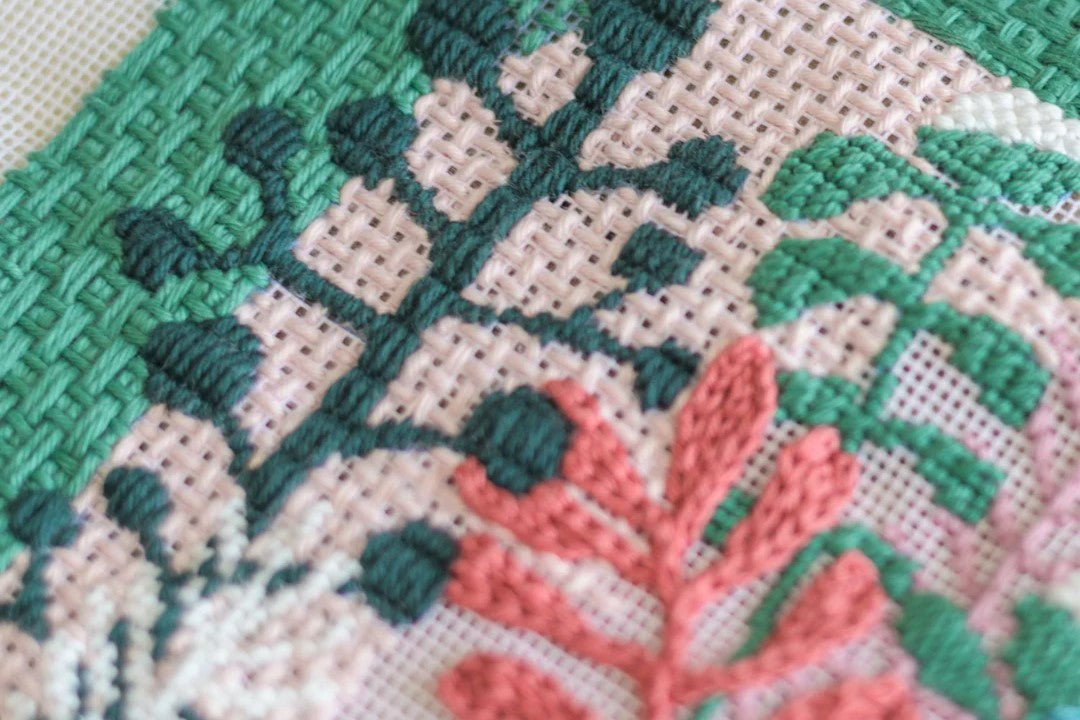
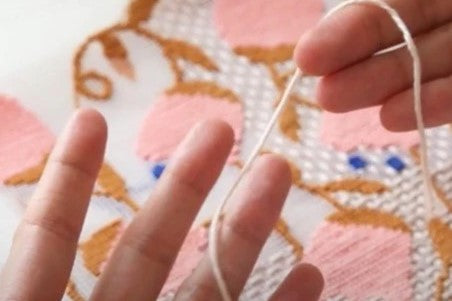
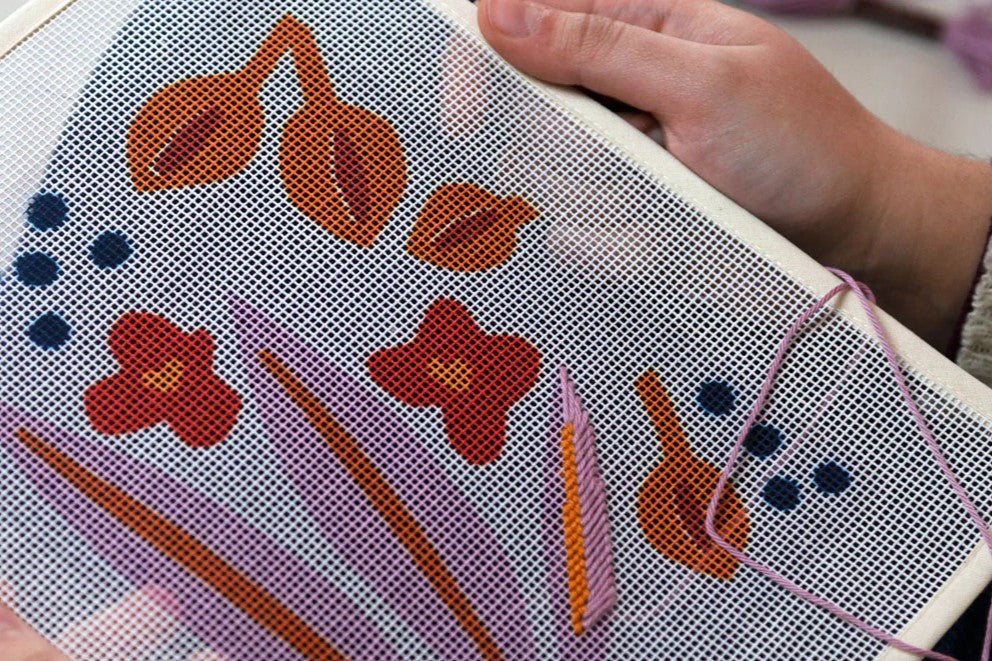
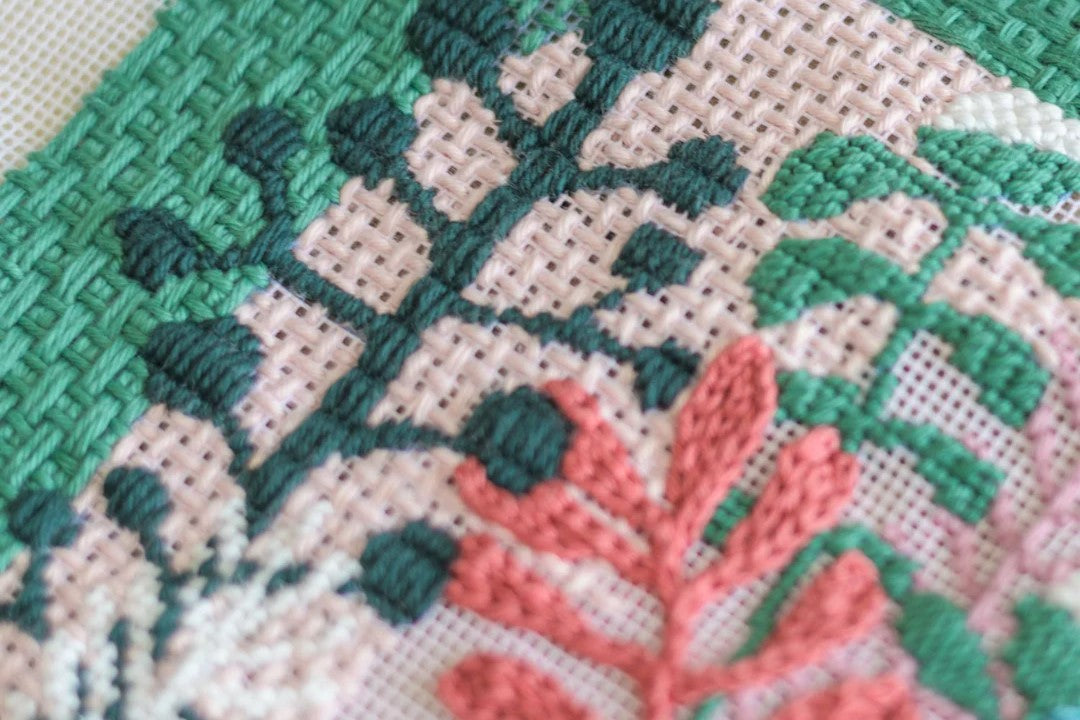
The Skipped Tent Needlepoint Stitch is often used to add texture, dimension, and visual interest to needlepoint projects. Key features of this stitch:
- perfect for a situation where a light stitch is preferable for the background, especially if it is a big area to cover
- needs to be worked always on a diagonal direction
Stitch Details
- Stitch Structure: Flat, Openwork, Variation, Diagonal
- Related Stitches: Tent Stitch, T-Stitch
- Recommended for: Large areas, Backgrounds, Skies
Skipped Tent Stitch Instructions & Diagram
You can see the diagram of this stitch below.
- Bring your needle up through the back of the canvas at the starting point of your design.
- Make your first diagonal stitch over the canvas mesh.
- Continue making diagonal stitches, maintaining the desired spacing between each stitch. The skipped holes create an open or lacy effect in your design.
- Ensure that your stitches are consistent in length and tension for a neat and uniform appearance. Adjust tension as needed.

Skipped Tent Stitch Variation
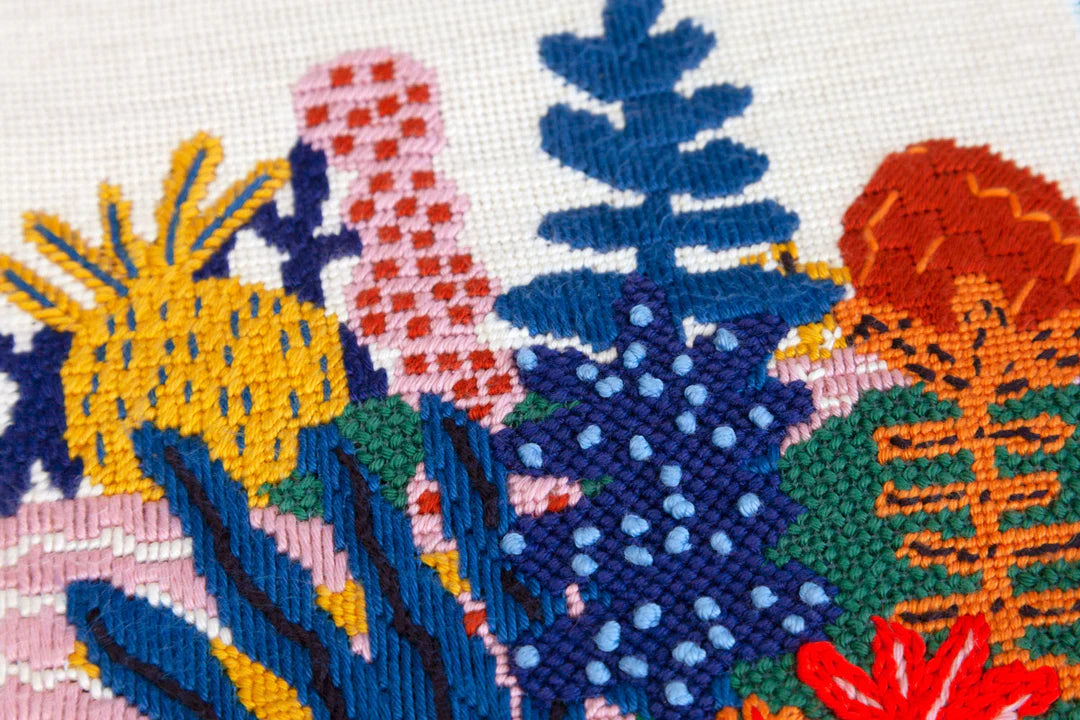
You can also create slight variations of this stitch, by changing the direction of the stitch! Below you can find two examples where the stitch direction was changed to create a texture or to separate two areas in a different way.


Stitch Guides where Skipped Tent Stitch is used
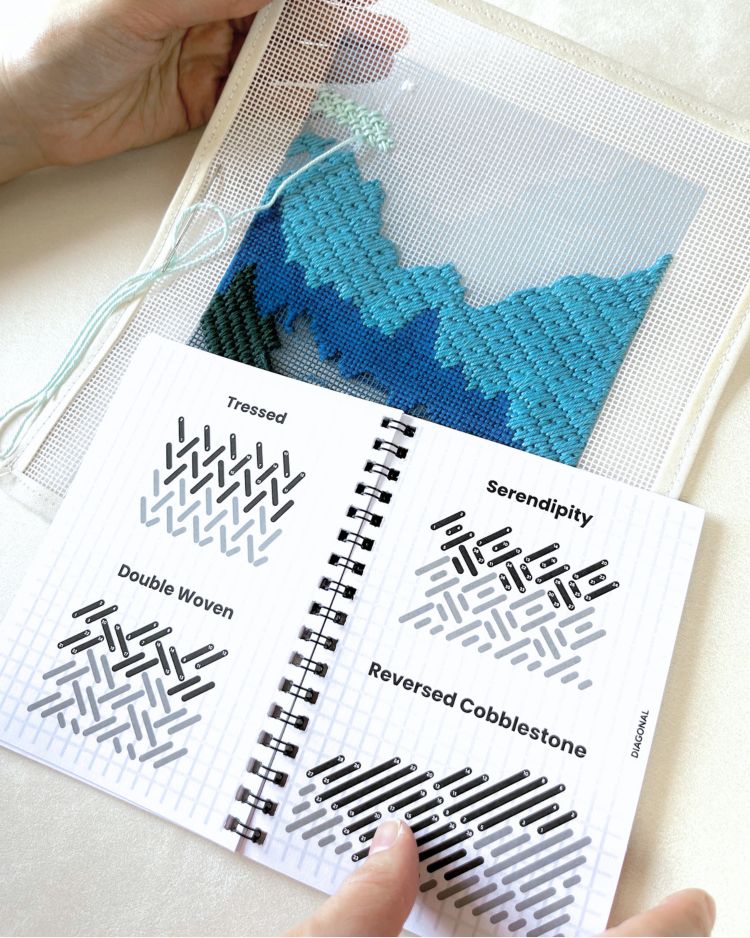
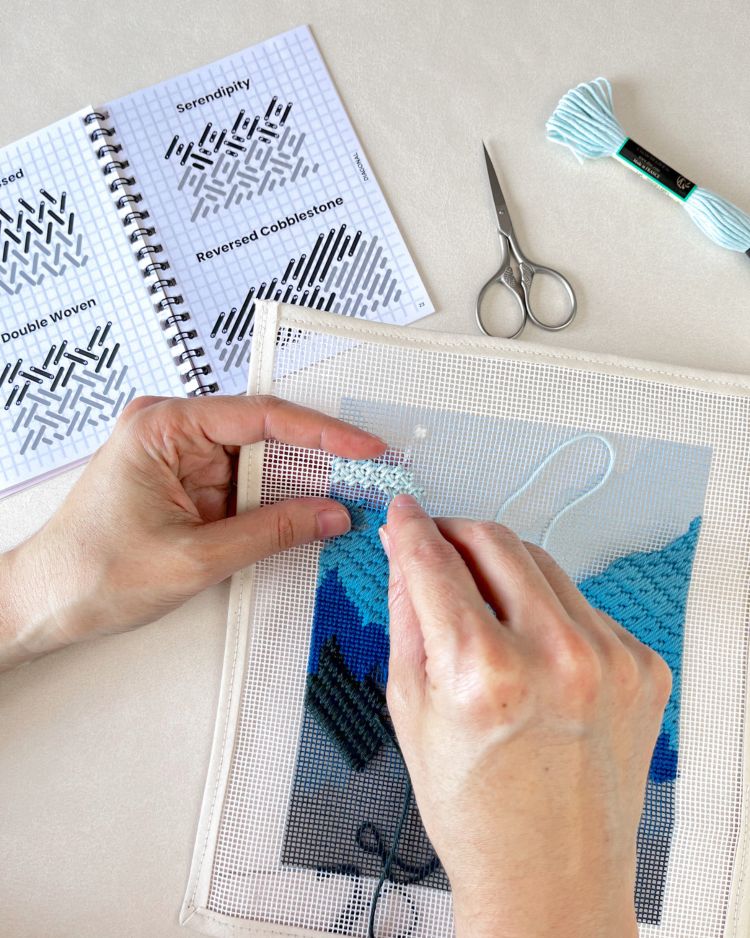
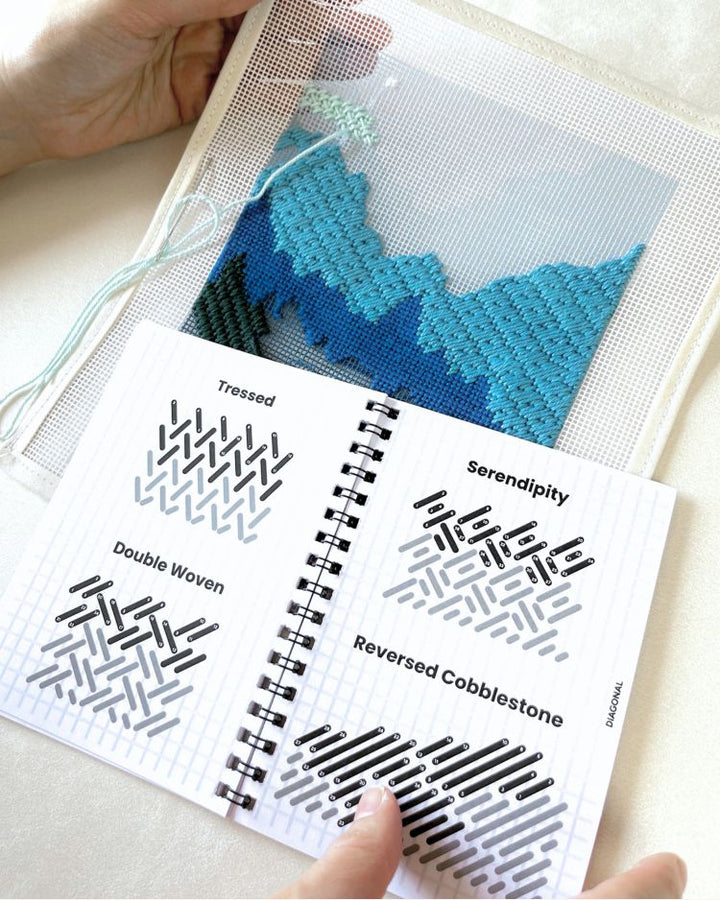
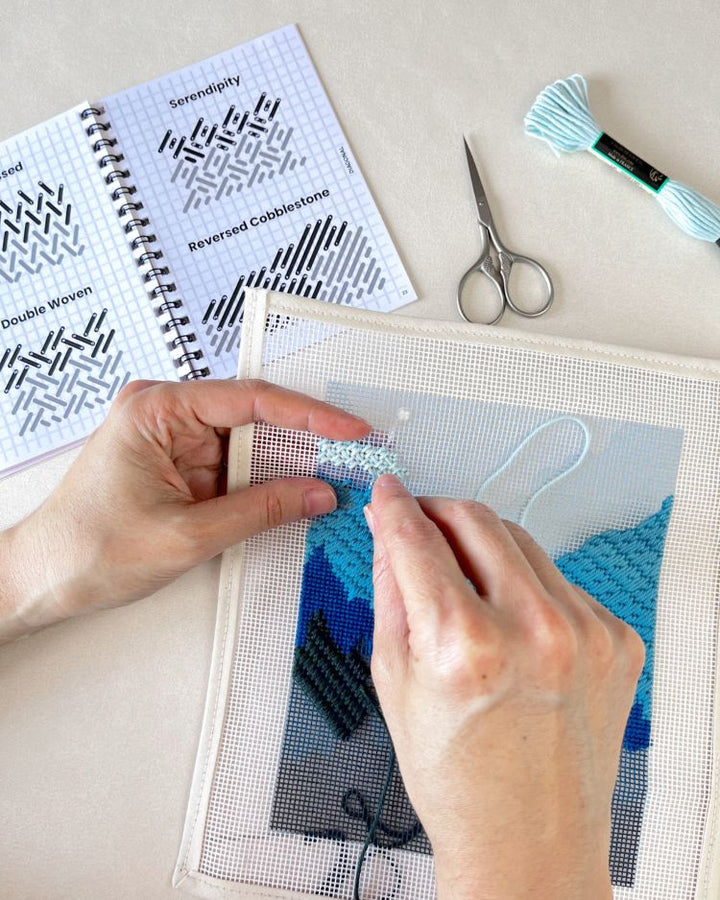
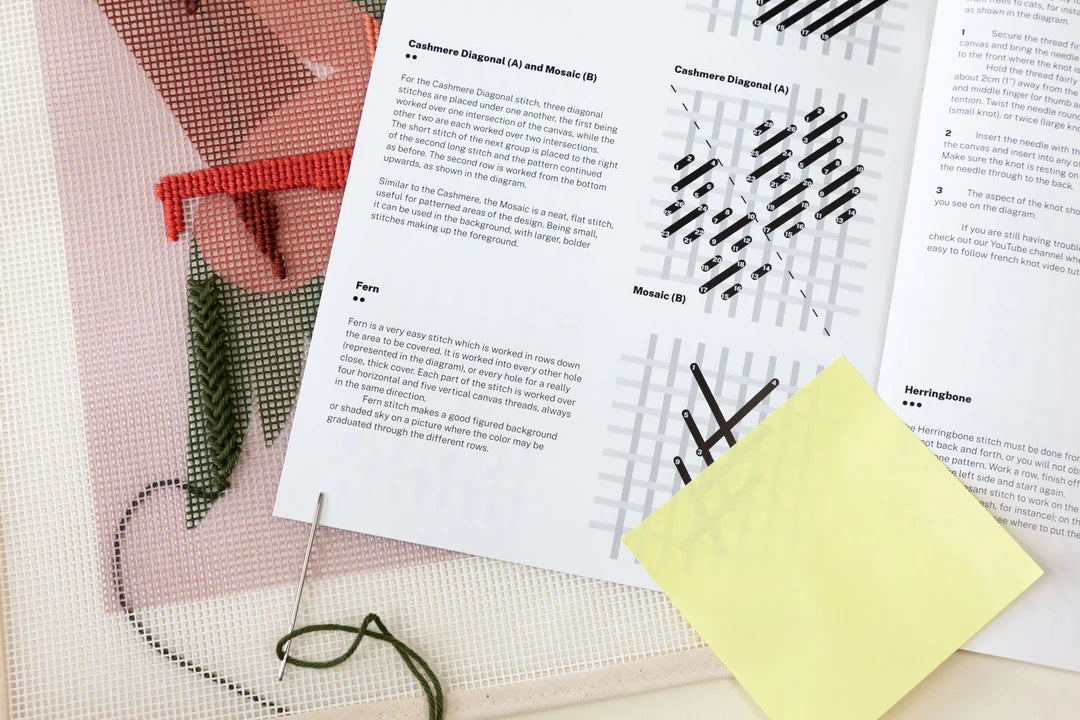
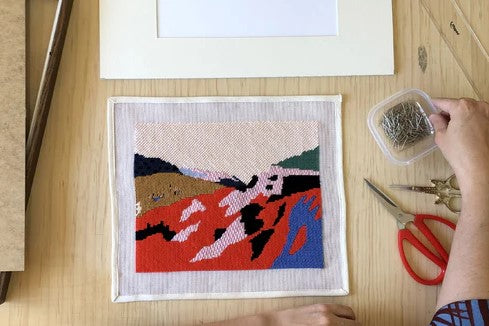
Check out our Stitch Guides where this stitch is used to get some inspiration for your needlepoint project.
If you have doubts about what stitches to choose for your project - check our Tips to select Needlepoint Stitches or Our favorite Needlepoint Decorative Stitches.
Happy stitching :)


