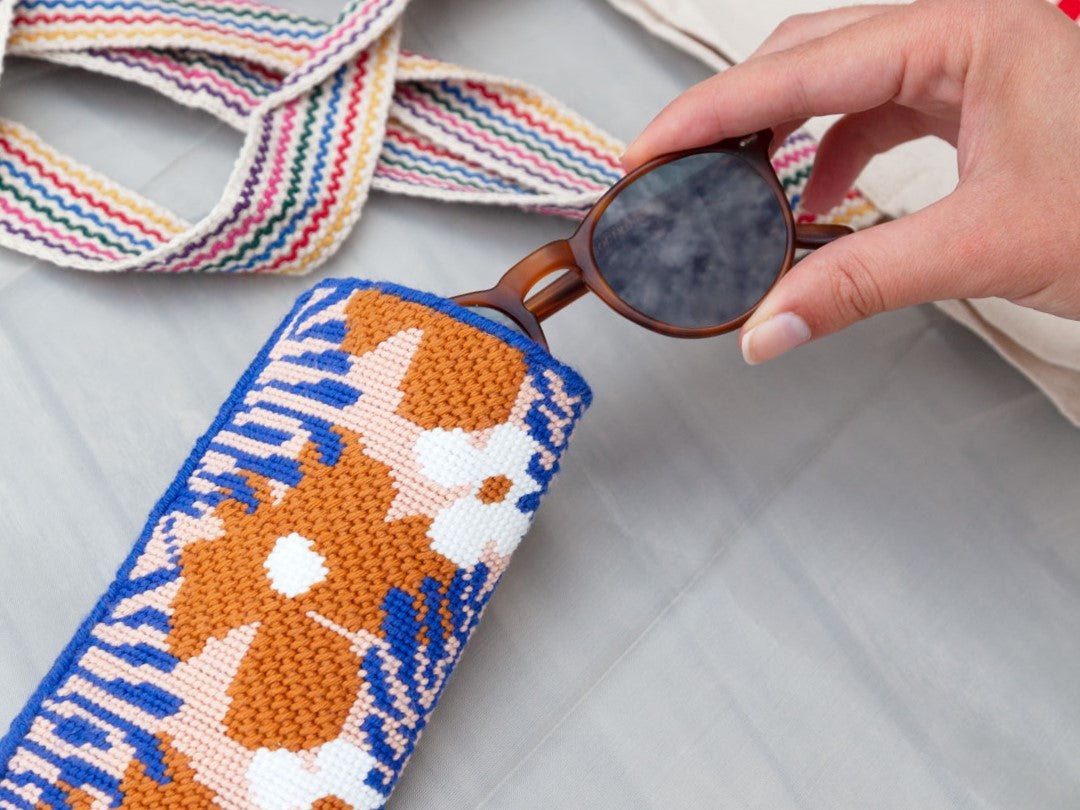
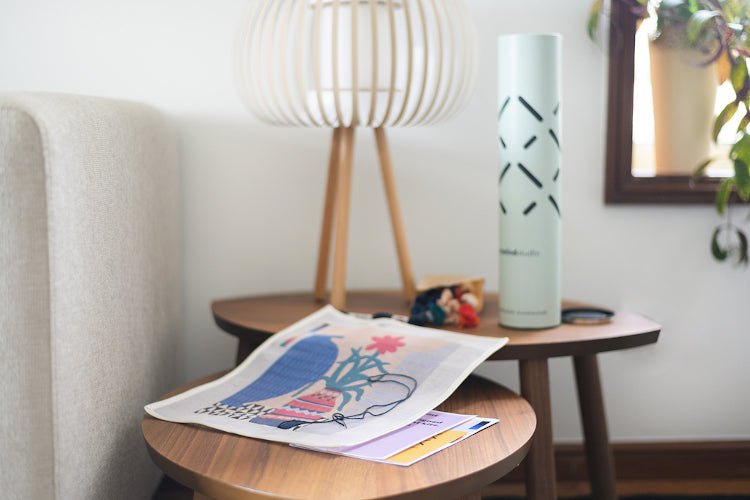
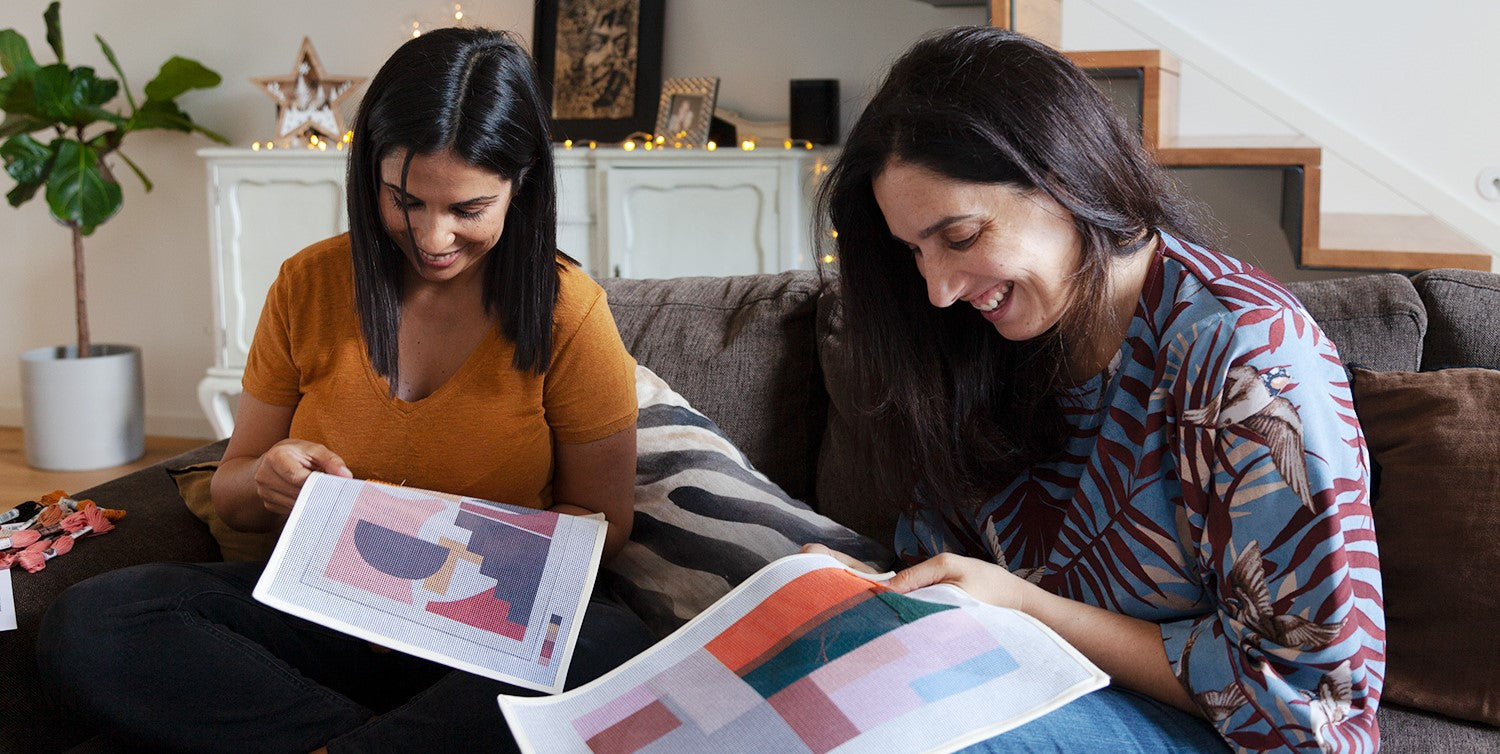
Les patchs Kit de canevas sont une façon belle et créative d'ajouter une touche personnelle à vos affaires. Que vous souhaitiez embellir un sac fourre-tout, une veste en jean ou un sac à dos, créer votre propre patch au point de croix vous permet de mettre en valeur votre talent artistique. Dans cet article de blog, nous vous expliquerons le processus de création d'un patch au Kit de canevas avec des étapes faciles à suivre et un didacticiel vidéo pour vous aider à visualiser chaque étape !
Il existe de nombreuses façons d'ajouter un projet de broderie à vos articles préférés, vous pouvez consulter Comment attacher une broderie à un sac fourre-tout - 3 méthodes différentes , pour apprendre les autres techniques :)

Comment faire un patch en point de croix - Tutoriel vidéo
Voici le tutoriel vidéo avec des instructions étape par étape sur la façon de terminer ce projet de broderie rapide et amusant !
Étape 1 : Cousez la toile à broder
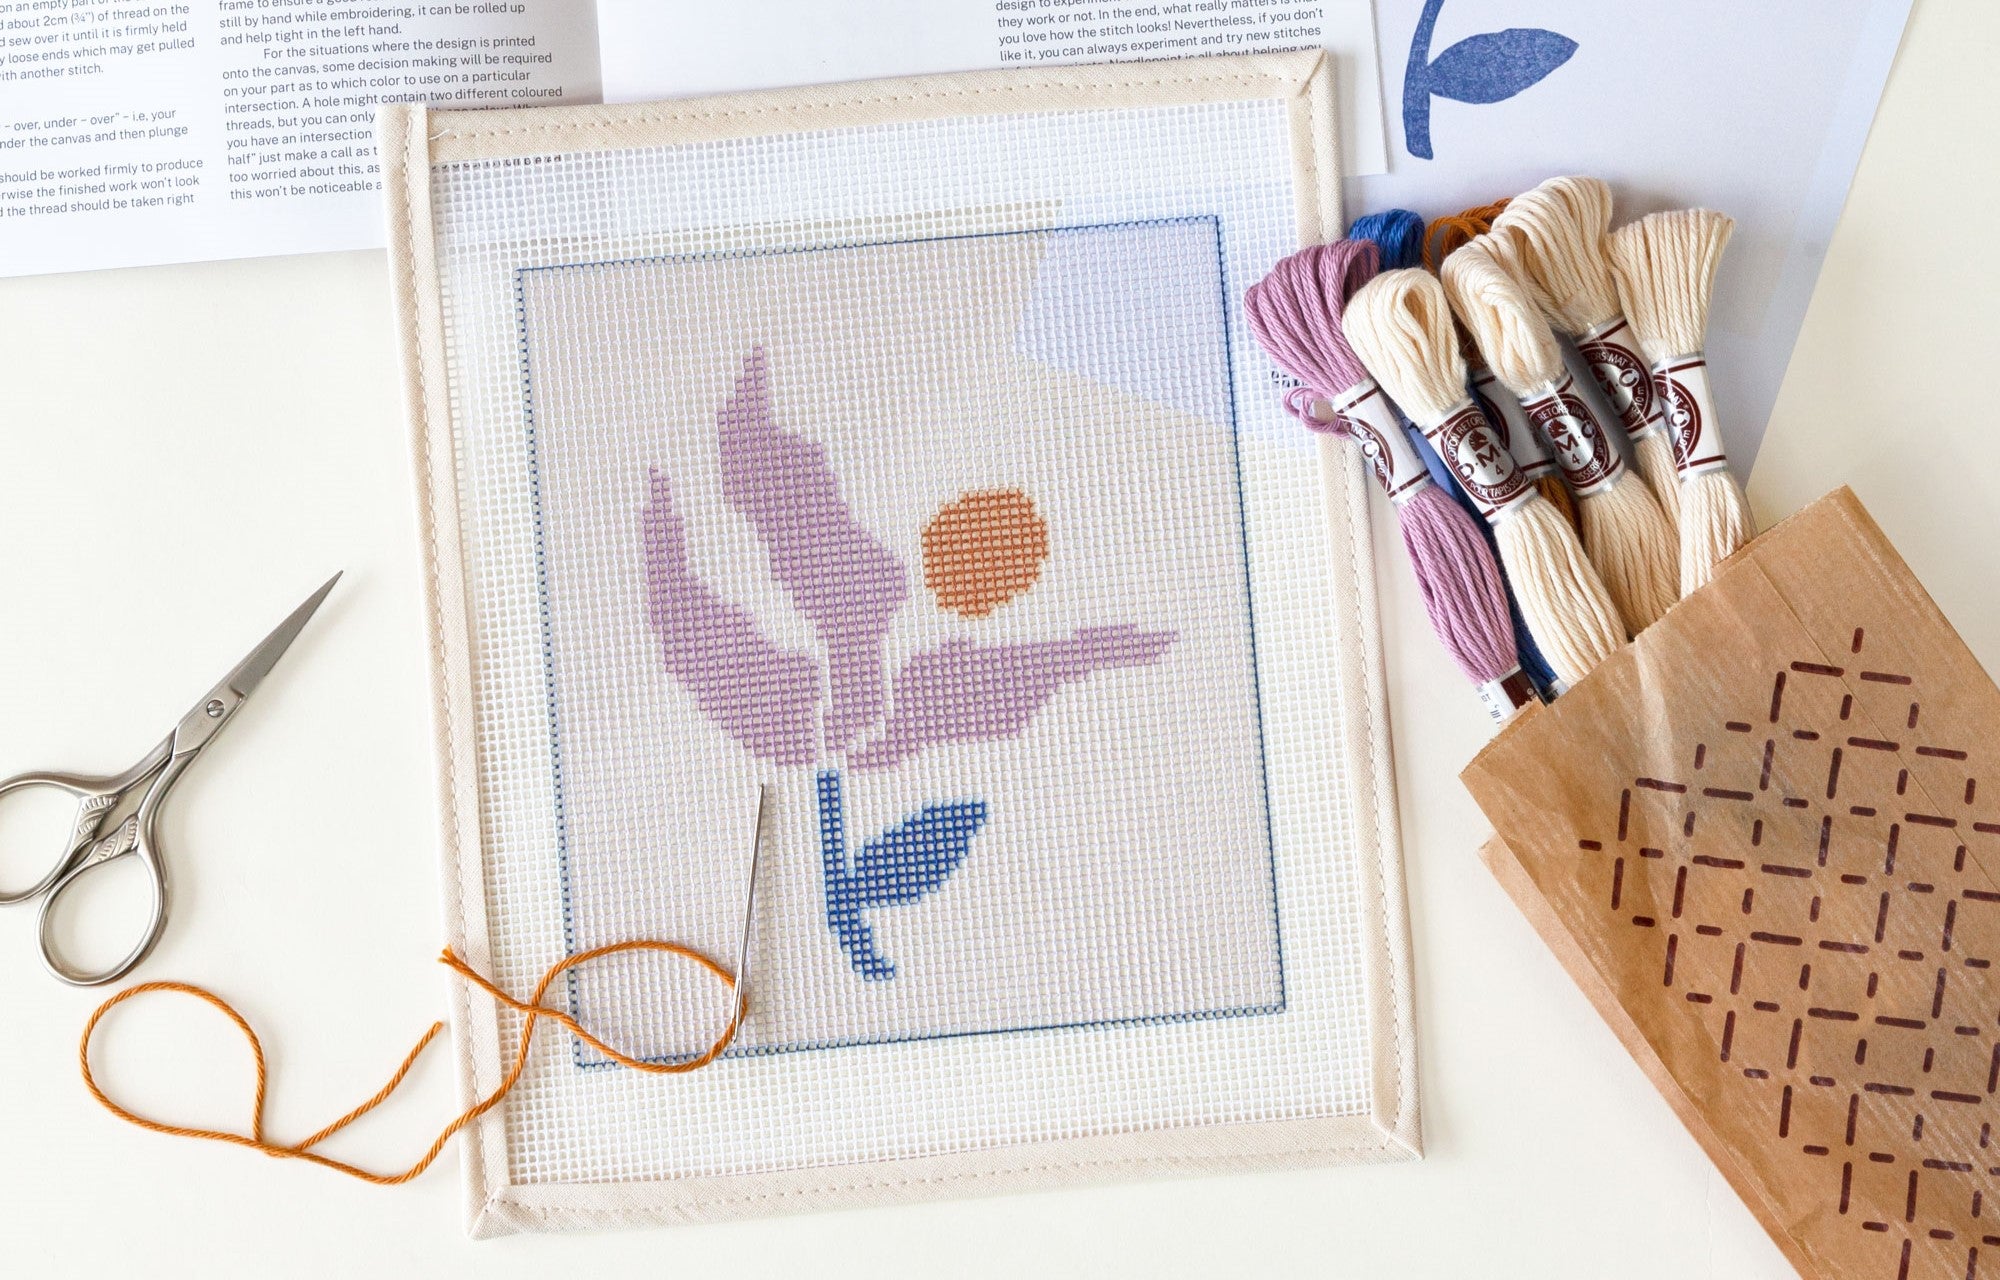
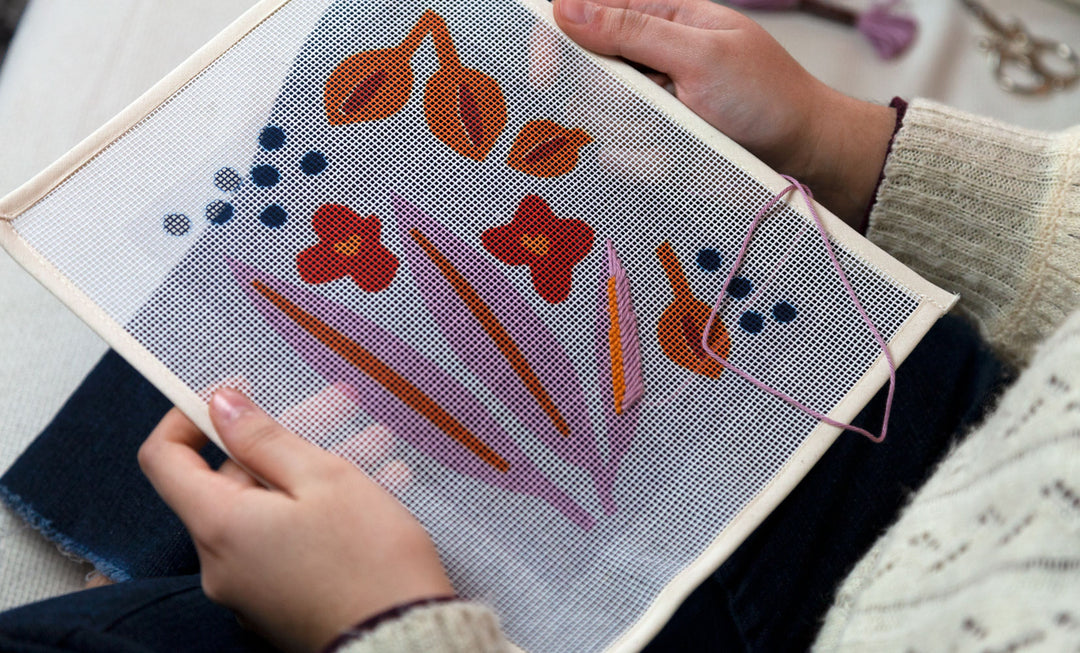
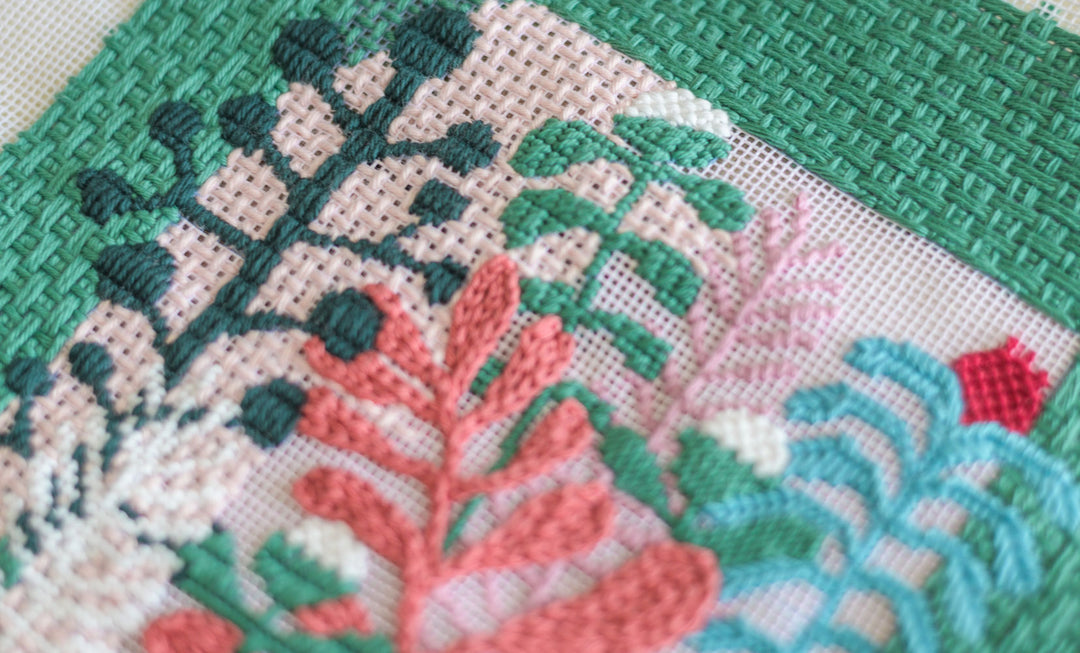
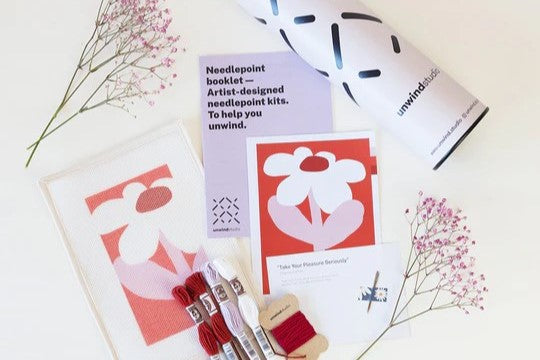
Commencez par sélectionner un modèle de broderie au point de croix qui correspond à votre style et à vos préférences, gardez à l'esprit la taille du modèle et de l'objet sur lequel vous souhaitez le fixer. Nous pensons que nos kits de broderie au point de croix Rainbow Heart et Love Party sont parfaits à cet effet et ce sont ceux que nous présentons dans la vidéo, mais vous pouvez trouver d'autres modèles ici . Prenez votre temps pour vous assurer que les points sont nets et uniformes, capturant la complexité du motif.

Étape 2 : Bloquer la toile (si nécessaire !)
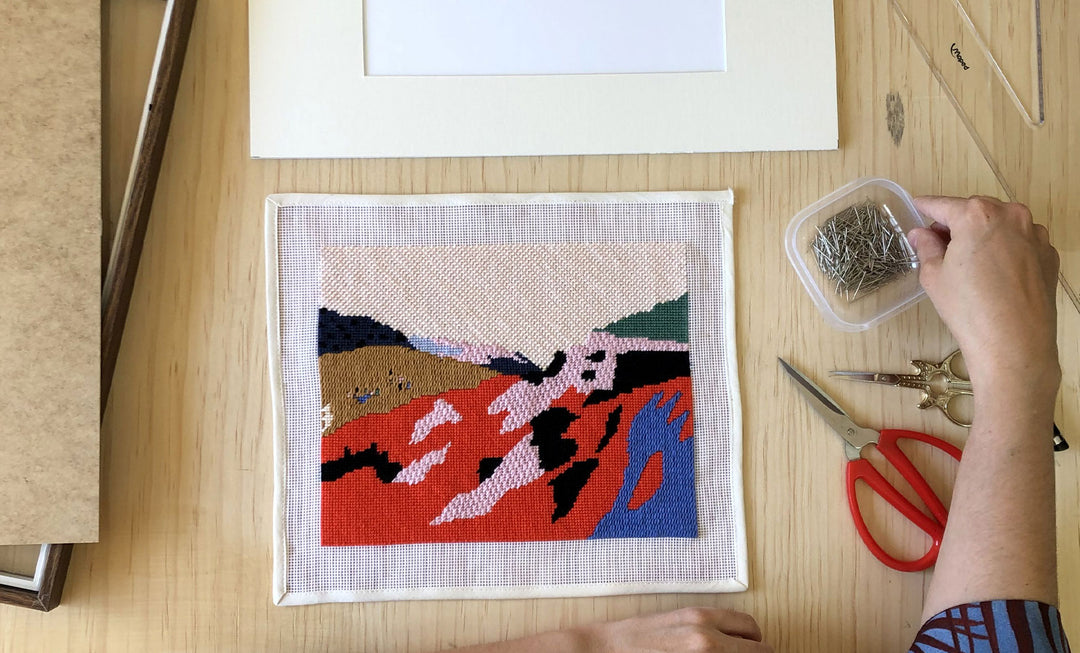
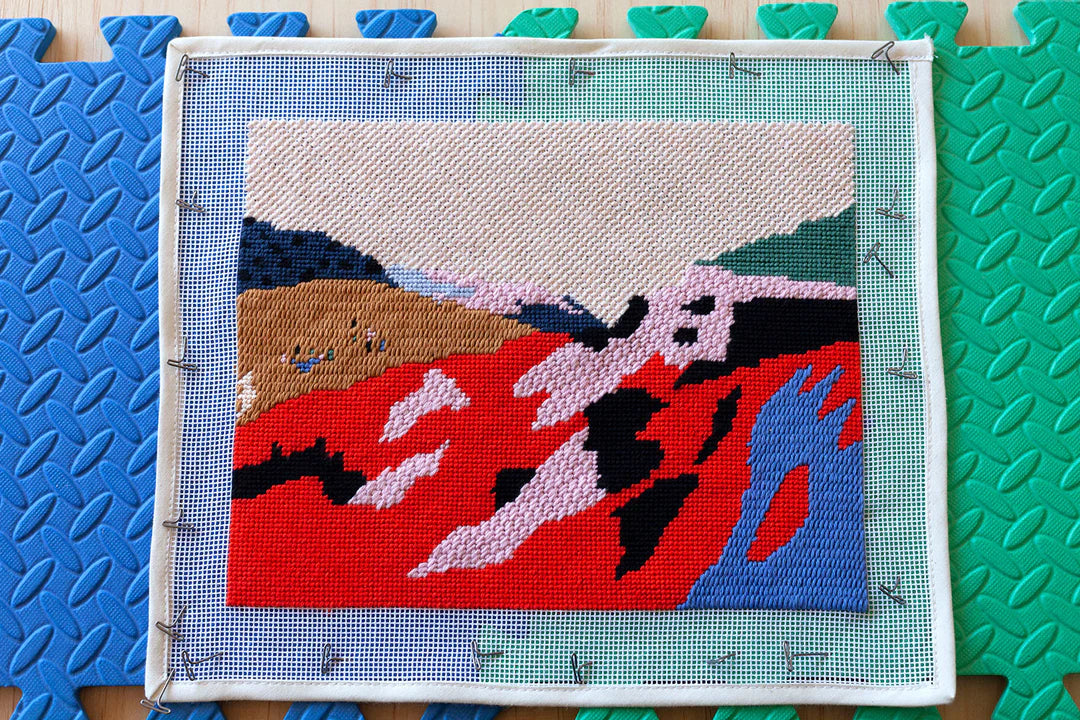
Voici notre conseil bonus : bloquez votre motif. Certains des points les plus courants, comme le point de tente continental , sont très susceptibles de déformer votre motif. Pour terminer le patch, il est donc important de faire un blocage et de garantir que votre toile est droite et prête à l'emploi !
Lisez notre article et regardez notre tutoriel vidéo pour apprendre à bloquer correctement votre toile !
Étape 3 : Réalisez le point de reliure
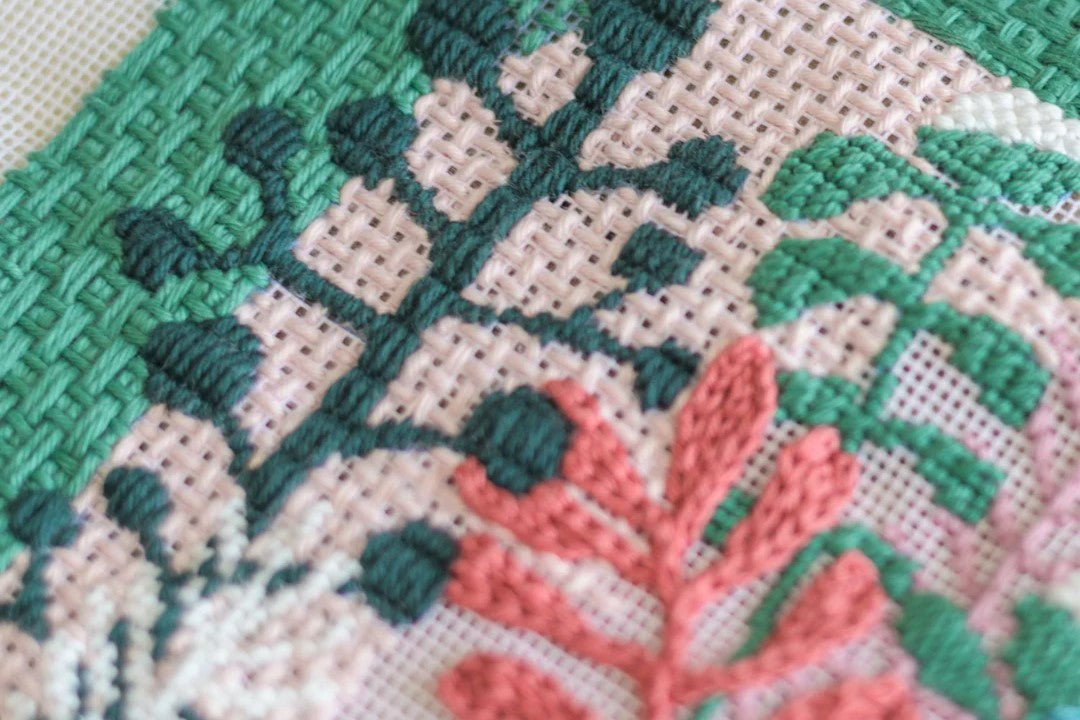
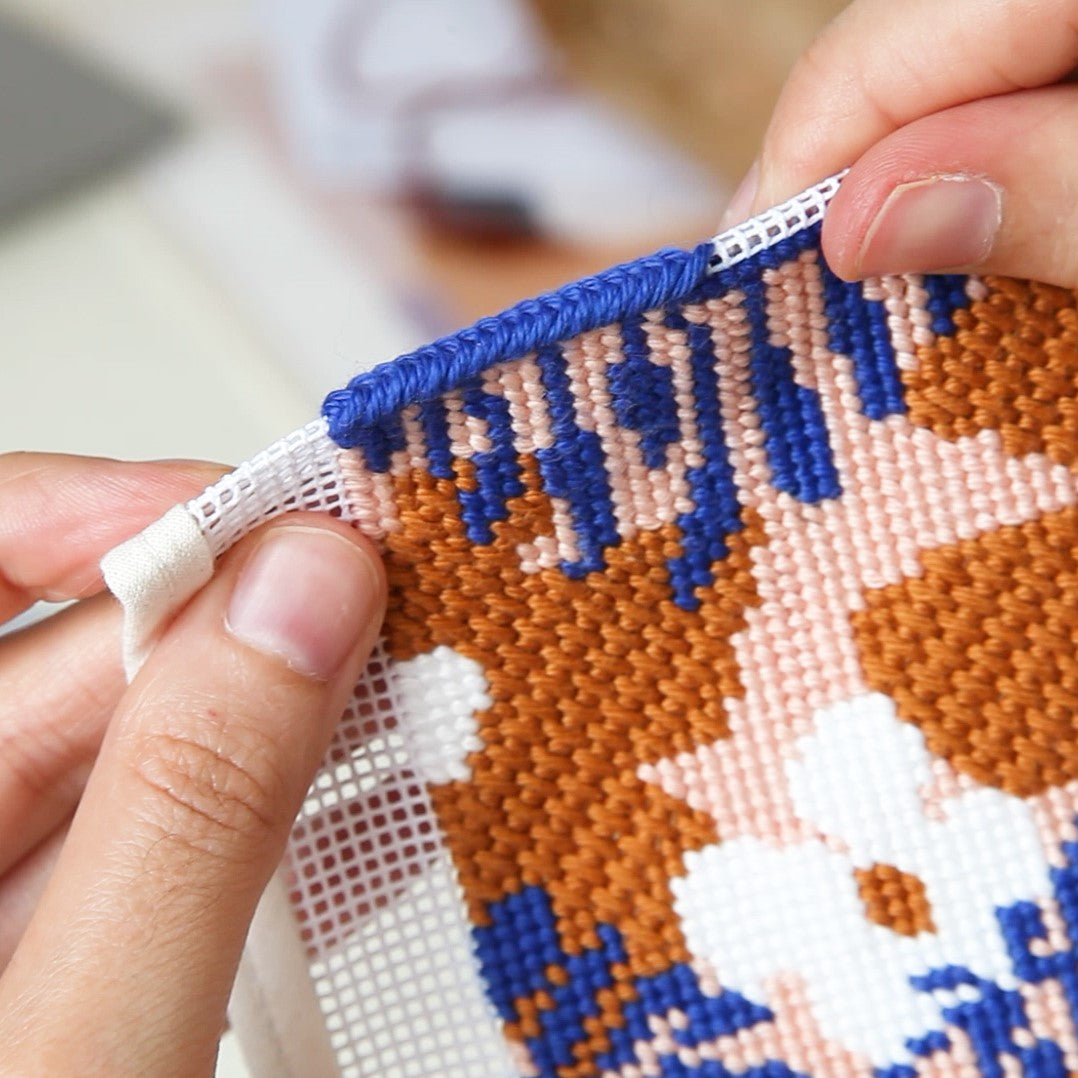
Une fois que vous avez terminé la conception de la broderie, il est temps d'ajouter un finition soignée et professionnelle des bords . À l'aide d'un fil de couleur assortie, travaillez le point de reliure sur tout le pourtour du motif. Ce point permet non seulement de sécuriser les fils, mais aussi de créer un bord propre et poli pour protéger la pièce.
Regardez notre tutoriel vidéo pour apprendre à réaliser le point de reliure :
- dans un format de toile carré ou rectangulaire
- dans un format de toile irrégulier ou courbé

Étape 4 : Couper la toile
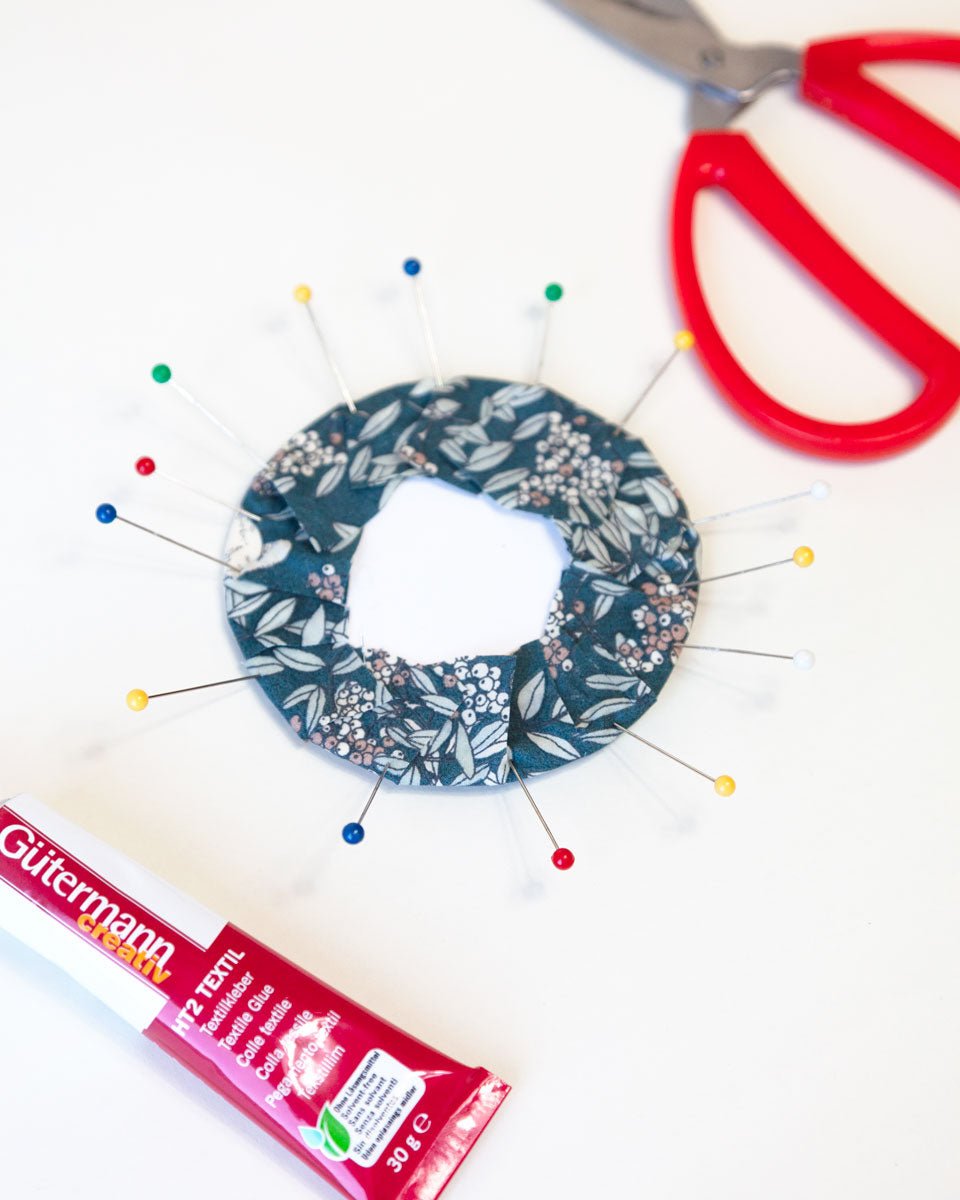
Une fois le point de reliure en place et le blocage effectué, découpez soigneusement l'excédent de toile autour du motif, en laissant une petite bordure. Repliez les bords de la toile vers l'arrière du motif , créant ainsi un support net et caché.

Étape 6 : Cousez la pièce finie dans l'article souhaité
À l'aide du fil, cousez soigneusement le patch fini sur l'article de votre choix . Notez l'emplacement et assurez-vous que le patch est centré et solidement fixé. Commencez par faire quelques points clés juste pour le maintenir en place, puis cousez-le tout autour avec plus de précision et des distances plus petites entre les points. Utilisez des points petits et discrets pour garder l'accent sur le motif plutôt que sur le fil.

Créer un patch Kit de canevas est un artisanat agréable et enrichissant qui vous permet de mettre en valeur votre créativité et votre style personnel. En suivant ces instructions étape par étape, vous pouvez créer des patchs uniques et magnifiques pour orner vos affaires ou les offrir en cadeau attentionné !


