


Comment obtenir un point de panier en point de croix parfait
Le point de panier est un point très populaire dans le monde de la broderie au point de croix. Dans cet article, nous allons nous pencher sur :
- les raisons pour lesquelles c'est un point si populaire
- propose des considérations clés pour perfectionner votre point de panier, avec un didacticiel vidéo sur la façon de le faire
- et fournir des conseils pour éviter les pièges courants lors de la réalisation de paniers tressés.
Pour ceux qui débutent en broderie au point de croix ou qui cherchent à perfectionner leurs compétences, consultez notre guide détaillé sur le point de tente pour compléter votre parcours d'apprentissage.
Pourquoi le point de panier est-il si populaire ?
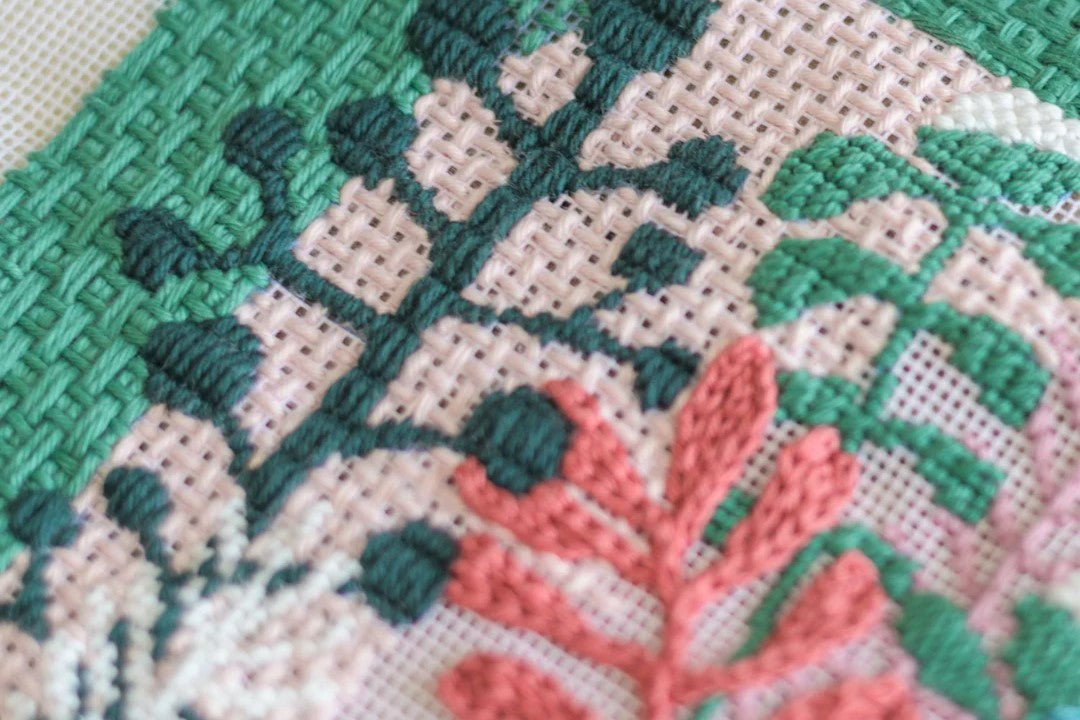
Le tissage en panier est toujours brodé en diagonale , en partant du coin supérieur droit de votre dessin/zone à broder. Ce point tire son nom du motif en panier qui se forme au dos de la toile, comme vous pouvez le voir sur l'image ci-dessous :


Vous trouverez ci-dessous les raisons pour lesquelles c'est un point si populaire :
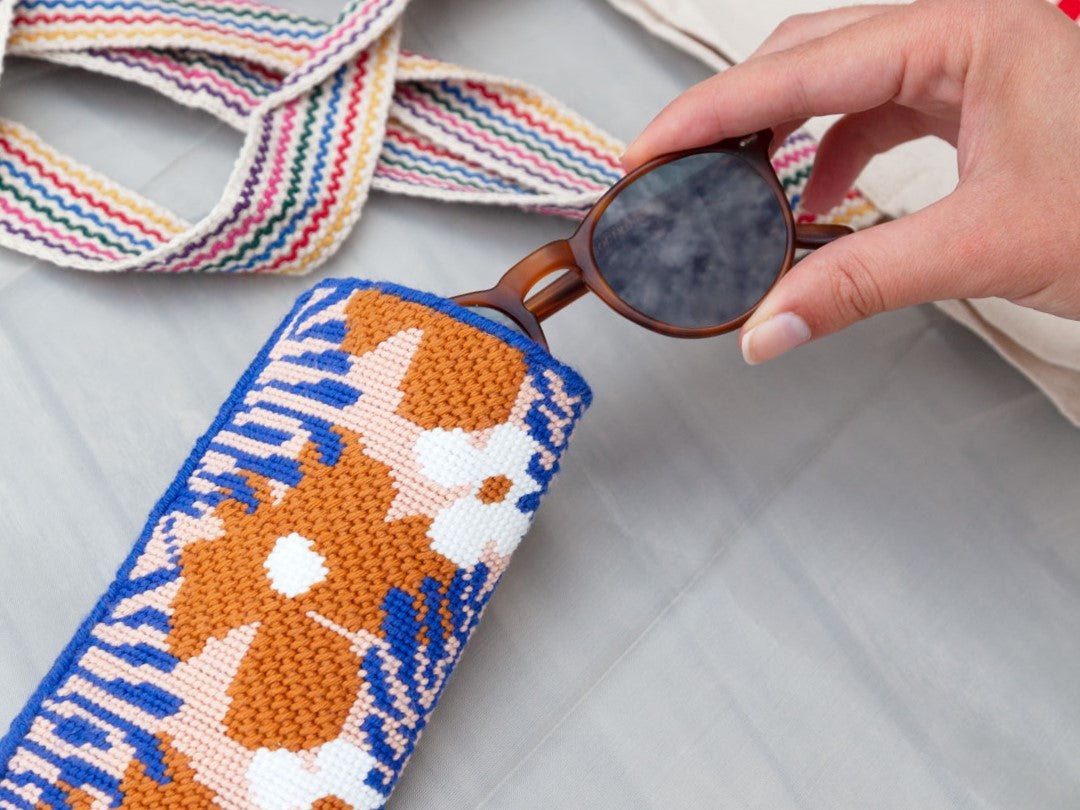
Excellente couvertureLe point Basketweave crée un point durable et dense qui offre une excellente couverture avec une distorsion minimale de la toile. C'est un choix idéal pour les projets qui seront très utilisés et qui souffriront probablement d'un point avec moins de couverture comme les coussins, les étuis à lunettes de soleil, les pochettes, etc. Un point solide est essentiel pour maintenir votre projet !
Distorsion de la toile réduiteLe point de tissage en panier permet également de réduire la distorsion de la toile. Grâce à sa couverture supérieure, par rapport à d'autres points similaires, il est moins nécessaire de bloquer votre pièce. De plus, si vous utilisez une barre de châssis ou un cadre de châssis, vous n'avez pas à vous inquiéter du tout !
Consultez notre article sur les châssis pour découvrir ce qui conviendra le mieux à votre projet.
Empêche le perçage des points de sutureConsidérations clés pour un point de panier parfait et comment éviter les problèmes courants :
Le type de toile à broder sur laquelle vous cousez fait une différence dans la façon dont vous cousez avec le tissage en panier.
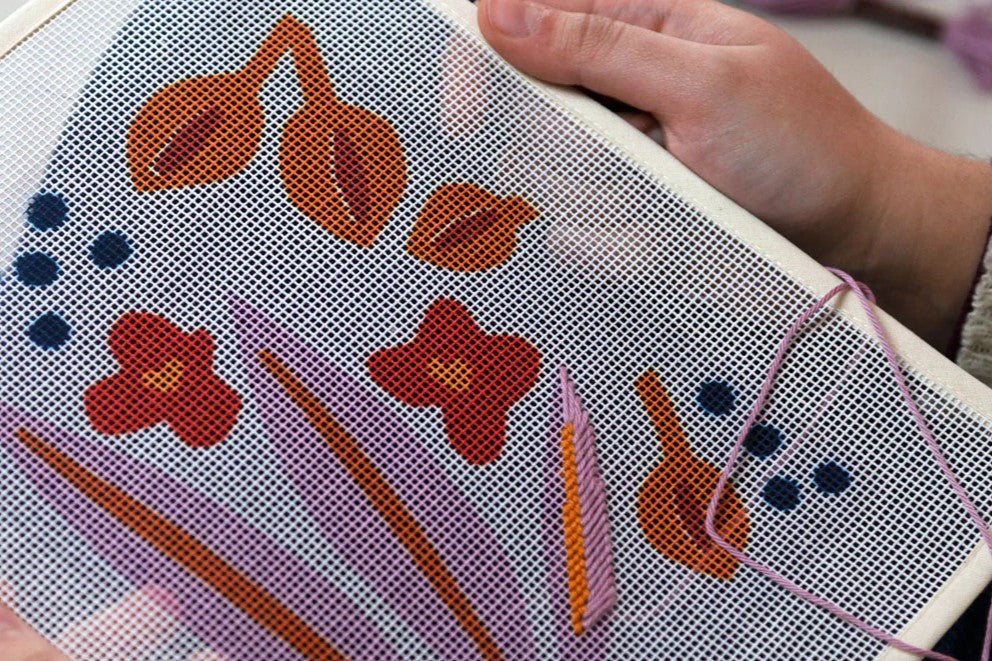
Lorsque vous utilisez une toile Mono/Royal , vous devez coudre une rangée en diagonale vers le haut (en montant les marches) ou une rangée en diagonale vers le bas (en glissant le long des poteaux). Regardez l'image ci-dessous pour voir comment cela fonctionne :

C'est parce que les toiles mono/royales ont leur chaîne (poteaux ou lignes verticales) et leur trame (marches ou lignes horizontales) qui se tissent ensemble aux intersections, comme vous le voyez sur l'image ci-dessus.
Pendant que vous cousez, vous risquez de faire glisser une chaîne ou une trame l'une sur l'autre, ce qui déformera la toile si la couture n'est pas effectuée dans le bon sens.
Lorsque vous utilisez une toile Interlock , vous n'avez pas à vous soucier des poteaux et des marches. Ce type de toile a ses fibres de chaîne et de trame entrecroisées et connectées, donc la manière dont vous commencez les rangées de paniers en diagonale n'a pas d'importance.
Fixez vos fils horizontalement ou verticalement
Pour éviter les arêtes sur le devant de votre couture, lorsque vous terminez un fil, vous devez le fixer sur l'arrière dans le sens horizontal ou vertical, et éviter de le faire dans le sens diagonal. Nous vous expliquons cela plus en détail ci-dessous !
N'utilisez pas de longues longueurs de fil
Ce conseil s'applique à tous les points de broderie, mais il est particulièrement pertinent pour le point de panier. L'utilisation de fils longs peut entraîner des problèmes tels que l'enchevêtrement, l'effilochage et une tension inégale. Lorsque les fils sont trop longs, ils sont plus susceptibles de s'user et de perdre leur éclat, ce qui donne une pièce finale moins soignée.
Pour maintenir la cohérence et un aspect propre, optez pour des longueurs de fil plus courtes, généralement pas plus longues que 18-20 pouces. Cela garantit une manipulation plus facile et une finition plus lisse et plus professionnelle.
Pourquoi votre motif de dos ne ressemble pas à un motif de panier parfait ?
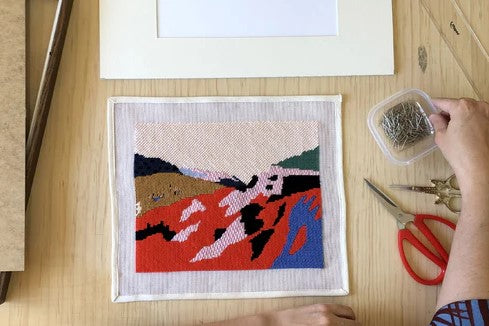
Si l'avant de la couture semble parfait, mais que l'arrière de la toile ne ressemble pas au motif en panier que nous avons sur l'image ci-dessus, alors vous avez probablement cousu à partir du coin inférieur gauche, au lieu de commencer à partir du coin supérieur droit.
Voir l'exemple dans la zone marron foncé (motif arrière incorrect) par rapport à la zone marron clair (motif arrière correct) dans l'image ci-dessous :

Si vous préférez broder à partir du coin inférieur gauche, utilisez le diagramme ci-dessous pour obtenir un motif de panier parfait à l'arrière de votre projet :

Comment éviter d'avoir des lignes et des crêtes dans le tissage de paniers
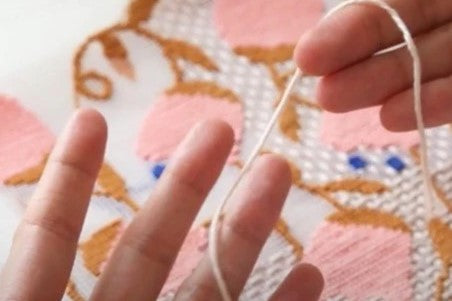
Lorsque vous terminez un fil, le nouveau morceau de fil doit commencer à la même position que le précédent. Ainsi, si vous terminez un fil au bas d'une rangée en diagonale, vous devez également commencer le morceau de fil suivant au bas de la rangée. Si vous cousez deux lignes dans la même direction, vous verrez qu'une petite ligne se formera à l'avant de la toile.
Un bon conseil pour vous aider à reprendre votre couture et vous assurer de commencer au bon endroit est de laisser le dernier morceau de fil non fixé.
Des lignes/petites surélévations à l'avant de la toile se produisent également lorsque vous faites pivoter votre toile, et votre couture est désormais effectuée à partir du coin inférieur gauche, comme l'image ci-dessous, au lieu du coin d'extrémité droit :

De plus, pour éviter les crêtes et les reliefs sur le devant de la toile, lorsque vous passez la bande de roulement à travers l'arrière à l'extrémité d'un fil, faites-le passer horizontalement ou verticalement, et jamais en diagonale.
Regardez les images ci-dessous, où vous pouvez voir comment ces petites erreurs commises à l'arrière de la toile, impactent la douceur du devant de la toile :

Conclusion
La maîtrise du point de panier peut transformer vos projets de broderie en leur apportant résistance, couverture et apparence impeccable. En comprenant ses caractéristiques uniques et en adhérant aux techniques clés, vous pouvez obtenir un motif de panier parfait à chaque fois.
Avec de la pratique et une attention aux détails, vos créations au point de croix seront non seulement durables, mais mettront également en valeur la beauté complexe du point de panier.
Bonne couture !