


What size of stretcher bars/frames you need for Needlepoint
First things first, we want to highlight that this is not an essential tool for you to complete a needlepoint project. It can help a lot, yes, but there are many ways you can do it and it’s up to you to find what’s most comfortable to your situation. You can check out our blog post on How to do needlepoint with or without a frame to get a better understanding of this topic!
Choosing the Right Size of Stretcher Bars for Your Needlepoint Project
Needlepoint is a rewarding and intricate craft that combines creativity with patience, resulting in beautiful pieces of art. One crucial aspect that can impact your needlepoint experience and the final stitching result is the use of stretcher bars or frames. These tools help keep your canvas taut, ensuring even stitches and a smooth finish, without the need of applying much blocking at the end.
But how do you determine the right size of stretcher bars/frames for your needlepoint project? We're here to help you with that!
Understanding Stretcher Bars & Stretcher Frames
Stretcher Frames are wooden frames designed to hold your needlepoint canvas taut while you work. They come in various lengths, in order to adapt to many different project sizes. These frames are sold pre-assembled so that you can get stitching right away.

Image A: Stretcher Frames sold at Unwind Studio
Stretcher Bars come in separate bars, and you need to interlock them at the corners, to create a frame for your canvas. They are sold in pairs of 2 bars with the same size, and to make a frame you need to buy two pairs of bars with specific dimensions to fit your project.
To keep your stretcher bars always straight as you stitch, you will also need additional tools like brackets to apply on the inner corners of your stretcher bars, so this is a disadvantage when using these type of stretchers.
 Image B: Most common stretcher bars in the market. Link to buy at Amazon.
Importance of Properly Sized Stretcher Bars/Frame
Using the correct size of stretcher bars ensures:
-
Even Tension: Consistent tension across the canvas prevents distorted stitches and uneven patterns.
-
Ease of Stitching: A taut canvas is easier to stitch on, reducing strain on your hands and eyes.
- Professional Finish: A well-stretched canvas results in a more polished and professional-looking final product. Depending on the stitches you used, the probability of needing to apply blocking at the end is reduced when you use a stretcher frame or bars.
Measuring Your Canvas to determine Stretcher Bar / Stretcher Frame Sizes
-
Lay Flat: Spread your canvas flat on a clean, flat surface.
-
Measure the Design Area: Measure the length and width of the actual design area.
- Add Extra Margin: Add a margin to the measurements to account for the extra blank canvas around the design. A common practice is to add 2-3 inches on each side to allow for easy handling and framing.
For example, if your design area is 10 inches by 12 inches, adding an approximate 2-inch margin would result in a final measurement of 14 inches by 16 inches.
Selecting Stretcher Frames and Bars
-
Match the Lengths: Choose frames that match or slightly exceed the dimensions of your canvas, including the margin.
-
Standard Sizes: If your measurements fall between two sizes, opt for the larger size to ensure full coverage and ease of handling. Nevertheless, with the larger size you still need to be able to put your canvas in place for attachment.
- Materials: Stretcher frames and bars can be made of wood, aluminum or plastic. Wooden bars are heavier but durable, while aluminum and plastic bars are lightweight but can warp over time if not stored properly.
Tips for Choosing and Using Stretcher Bars or Frames
-
Pre-check the Fit: Before starting your project, assemble the stretcher bars or grab your stretcher frame and place your canvas over them to ensure a good fit.
-
Quality Matters: Invest in high-quality stretcher bars/frames made from wood to avoid warping and ensure longevity.
- Adjustable sizes: one of the advantages of stretcher bars, is that you can opt by adjustable bars and use the same tool for different project dimensions! In this link we recommend some of these flexible tools.
- Canvas Attachment: Use thumb tacks, staples, or stretcher bar clamps to securely attach the canvas to the bars. Ensure the tension is even across all sides.

Unwind Studio's Stretcher Frames
We have 5 sizes available:
- Extra Small: 20x24 cm (7.8x16.5 in)
- Small Square: 24x24 cm (16.5x16.5 in)
- Small: 24x30 cm (16.5x22.5 in)
- Medium Square: 30x30 cm (23.5x23.5 in)
- Medium: 30x36 cm (22.5x29 in)
Recommended for these canvases sizes:
- Extra Small Frame: Extra Small Canvases with rectangular format
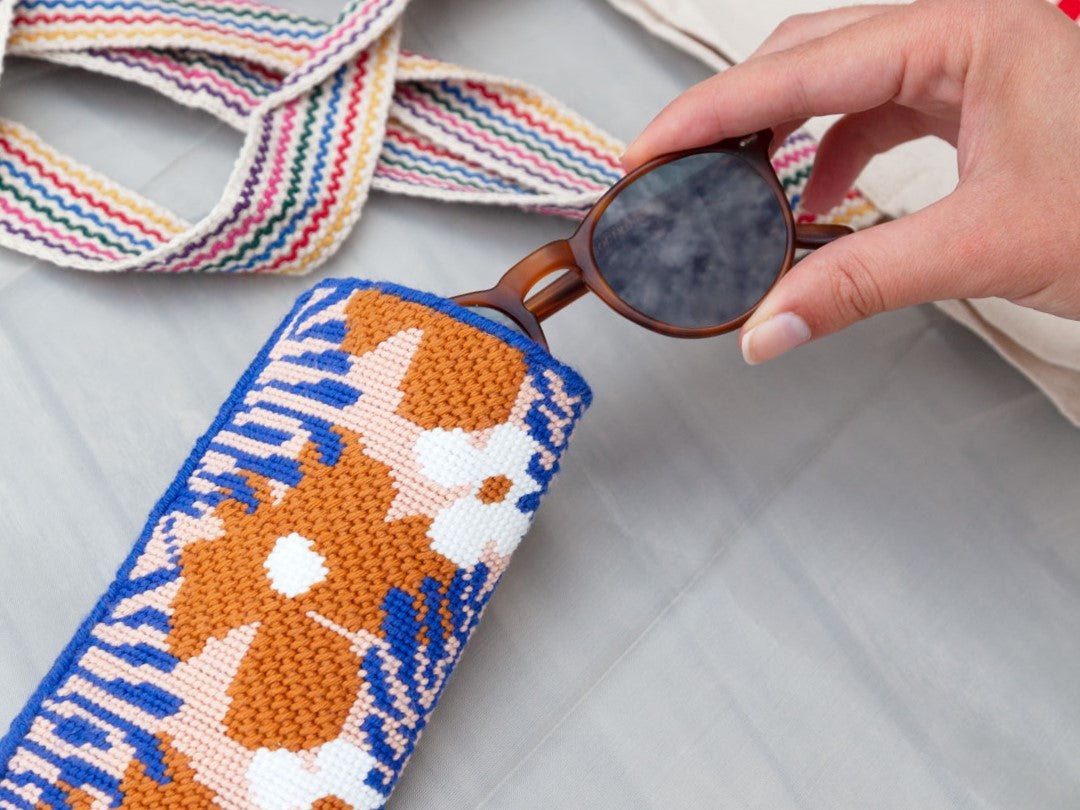
- Small Square Frame: Small Canvases in square format and sunglasses/eyeglasses cases
- Small Frame: Small Canvases with rectangular format
- Medium Square Frame: Medium Canvases in square format
- Medium Frame: Medium Canvases in rectangular format

Final Thoughts
Selecting the right size of a stretcher frame or bars is a crucial step in ensuring your needlepoint project is enjoyable and the results are impeccable. By measuring your canvas accurately and choosing high-quality tools, you set the foundation for a beautifully finished piece.
If you need any help with this process, don't hesitate to get in touch!
Happy stitching!