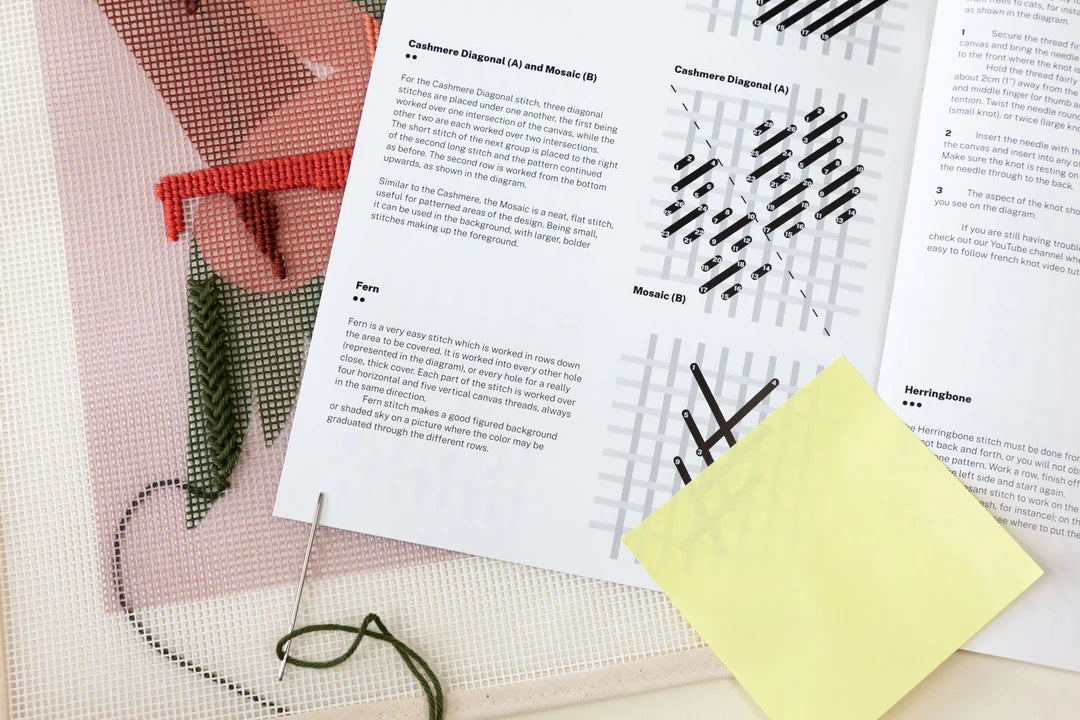


Mosaic Stitch (plus Reverse Mosaic Stitch)
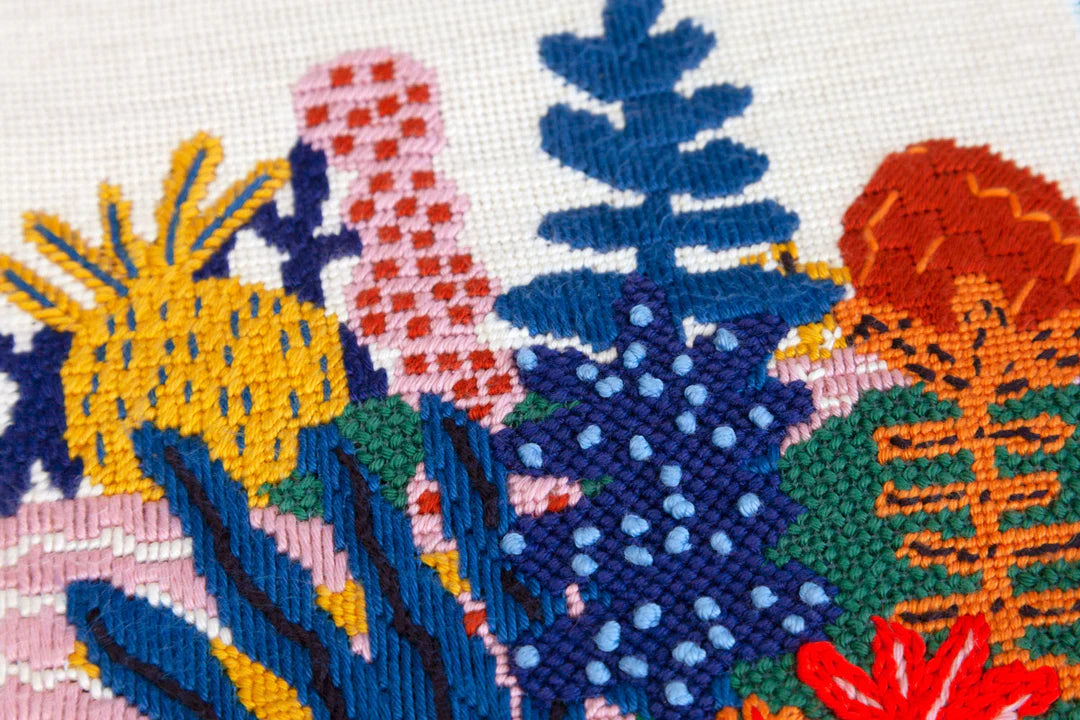
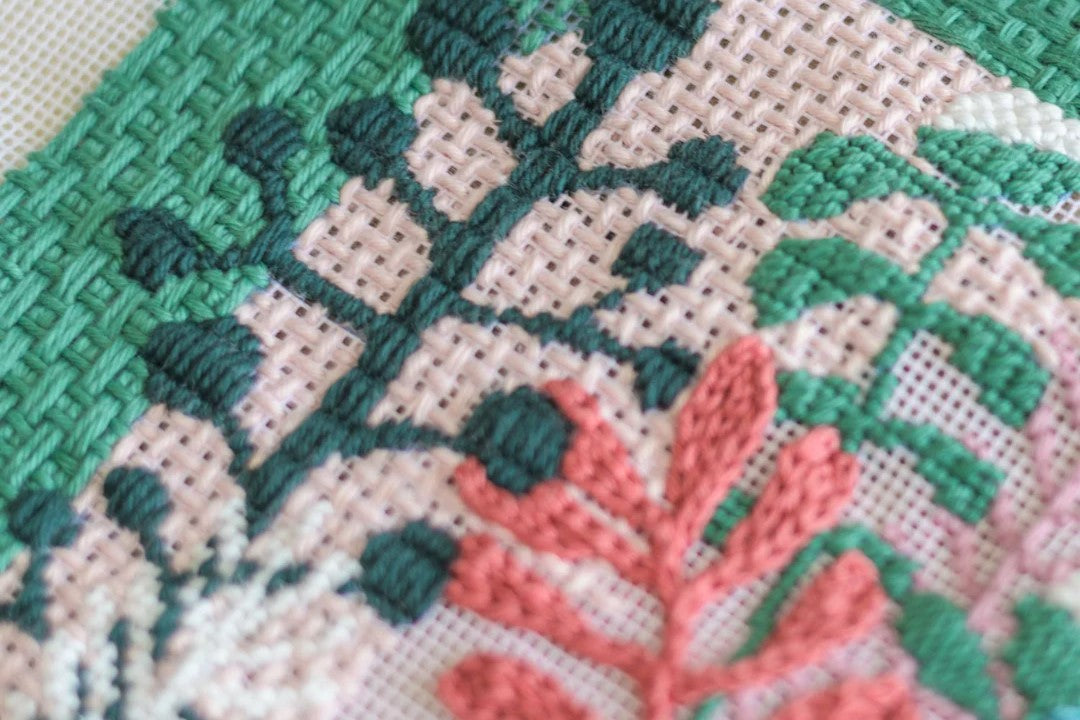
The Mosaic Needlepoint Stitch is a decorative stitch that creates a textured and geometric pattern, resembling tiles in a mosaic. It's versatile and can be used for both small details and larger areas of your needlepoint project.
How to Needlepoint Mosaic Stitch - Video Tutorial
Here's a video tutorial we created to help you better understand how to make this needlepoint stitch.
Stitch Details
- Stitch Structure: Flat, Parallel, Diagonal, Condensed
- Related Stitches: Cashmere Stitch, Scotch Stitch
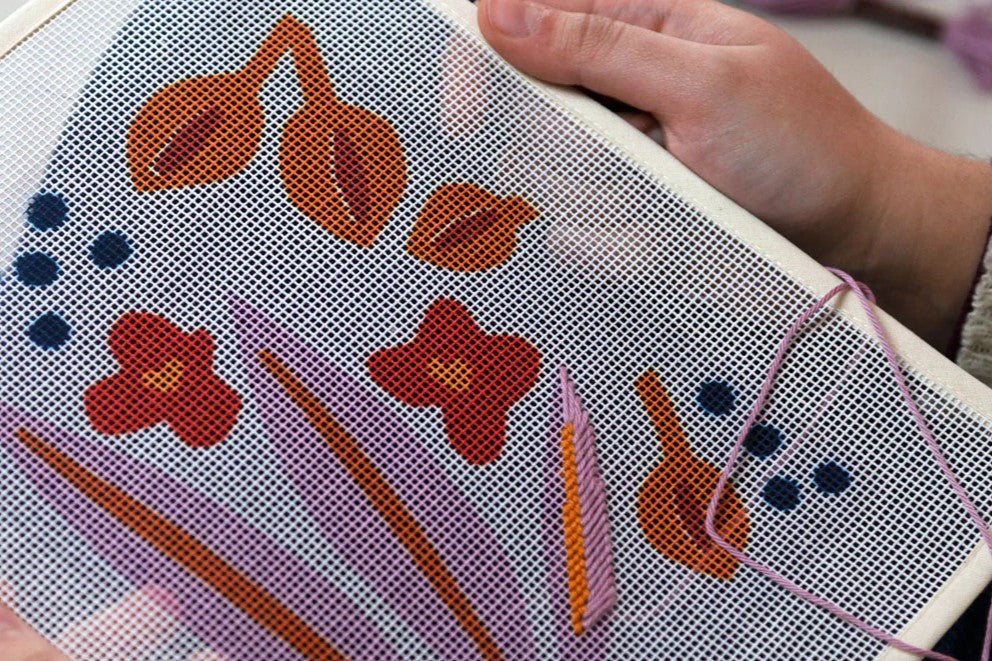
- Recommended for: Small areas, Large areas, Backgrounds, Flowers
Mosaic Stitch Instructions & Diagram
You can see the diagram of this stitch below.
-
Row 1 (Left to Right):
- Make a downward diagonal stitch between one intersection.
- Move the needle to the right and make another parallel downward diagonal stitch, skipping one canvas hole in between.
- Make a third downward diagonal stitch like the first one, but one row below the other two.
- Continue this sequence of three stitches (forming a square-like shape) across the row.
Row 2 (Right to Left):
- Make a small upward diagonal stitch, starting on the second hole down from the last stitch on the first row.
- Make an upward diagonal stitch to the left, skipping one canvas hole.
- Make another upward diagonal stitch between one intersection, starting on the first canvas hole below the first row.
- Continue this sequence of three stitches across the row, moving from right to left.
Subsequent Rows:
- Stitch the third row exactly like the first row (left to right, downward diagonals) and so on.

Reverse Mosaic Stitch
The steps of the Reverse Mosaic Needlepoint Stitch are the same as the original Mosaic Stitch, the differences are that the original is done diagonally from left to right and starts from top to bottom, and the reverse mosaic stitch is done diagonally from right to left and starts from top to bottom.
Reverse Mosaic Stitch Instructions & Diagram
You can see the diagram of this stitch below.
- Insert the needle from the back of the canvas to the front.
- Go diagonally up one intersection of the canvas to the left, then insert the needle from the front to the back.
- Bring the needle back down and insert it into the hole in the canvas immediately to the right of the first stitch.
- Go diagonally up past two intersections of the canvas to the left and then insert the needle from front to back.
- Bring the needle back down to the canvas hole immediately above the third stitch.
- Go diagonally up one intersection of the canvas to the left and then insert the needle front to back.
- Repeat until the row is complete.