Binding Stitch
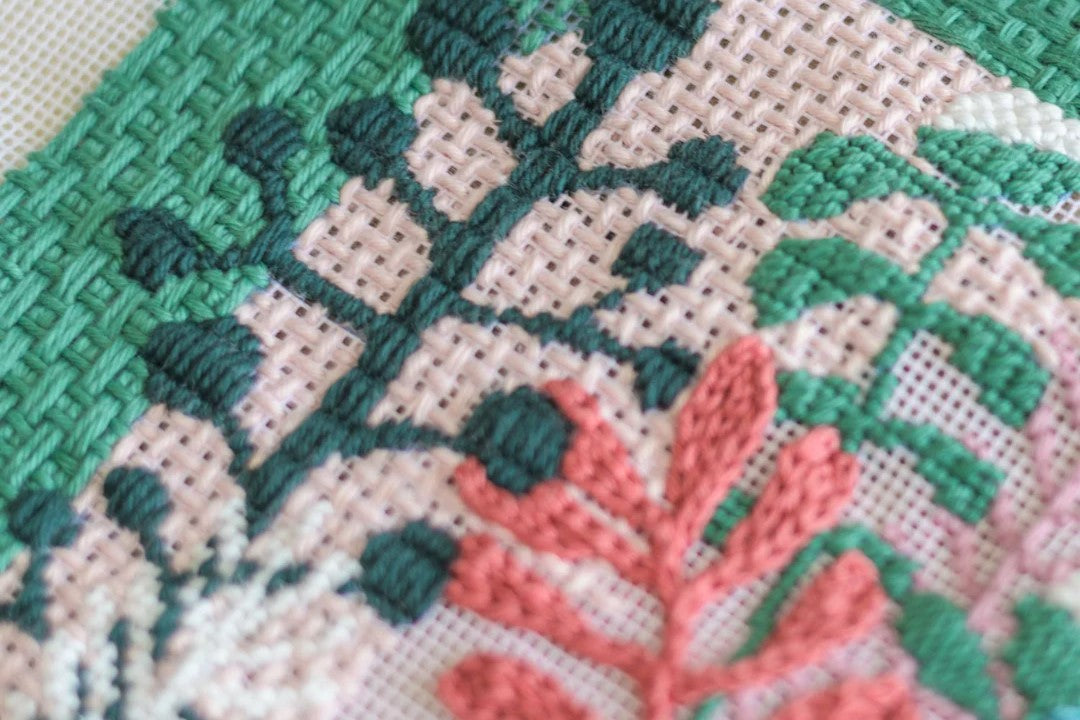
The Binding Needlepoint Stitch is used to create a neat edge on a stitched needlepoint canvas, and it is mostly used in the finishing process of a needlepoint project.
In this blog post you will learn how to do the binding stitch, and how to apply it in different situations:
- canvas with straight edges (check our tip below for the perfect look!)
- canvas with irregular or curvy format
You will also learn specific details about this finishing needlepoint stitch:
- how to start a new piece of thread at the middle of the binding process
- how to stitch perfect corners with the binding stitch
- how to obtain a perfect look when stitching the binding stitch
- when you should use the binding stitch in needlepoint
Let's dive in!
What Is the Needlepoint Binding Stitch?
The needlepoint binding stitch is a simple and effective finishing technique used to create a clean, professional-looking edge on your needlepoint canvas. Whether you are working on a decorative piece or a functional item, this stitch helps prevent fraying and gives your project a polished appearance.
One of the best things about the binding stitch is that it’s actually easy to learn, even tho so many stitchers seem intimidated by it! You don’t need advanced needlepoint skills—just a little patience and the right technique - let us help you with that part!
Needlepoint Binding Stitch Video Tutorial: Straight Edges
If you’re working on a needlepoint canvas with straight edges, the binding stitch is one of the best ways to achieve a smooth, professional finish and it's fairly easy to master.
This technique is especially useful for needlepoint bookmarks, key fobs, clutch inserts and sunglasses cases, as it ensures your work remains sturdy over time. With a simple technique and some patience, you can transform a raw canvas edge into a beautifully finished border. Watch the video tutorial and follow the step-by-step instructions below to get started!
Instructions:
1. Anchor the thread in the back of the canvas.

2. Count two holes do the right and three to the back, and bring the needle from the back to the front.

3. Fold the excess canvas to the back and make a vertical stitch on the next available canvas hole.

4. Make another parellel stitch next to the first one.

5. Make one stitch in the opposite direction, bringing the needle two canvas holes back.

6. Make another stitch on the next available canvas hole to the left.

7. Then go back two canvas holes again.

8. and keep doing this sequence to see the herringbone effect forming!

How to Stitch Perfect Corners with the Binding Stitch - Video Tutorial
Stitching corners with the needlepoint binding stitch can feel tricky, but with the right technique, you can achieve a smooth, seamless finish. By following this method, the herringbone effect of the stitch remains consistent, and the corner blends naturally with the rest of the edge. Watch our tutorial to see this technique in action!
Instructions:
1. When you reach the corner, make two extra stitches beyond the end of your design. In the second stitch, pass the needle from front to back through the next canvas hole, but do not go back two holes.

2. Fold the canvas to the side and insert the needle into the first canvas hole on the new side.

3. Now, go back one canvas hole by passing the needle through the corner hole and pulling it out on the back.

4. Make sure your needle is coming back from the third hole on the back.

5. Make another stitch in the next available hole

6. Go back two canvas holes, poking the needle on the corner hole again.

7. Check again to see if it’s coming from the third canvas hole in the back.

8. Make another stitch on the next available hole.

9. Go back two canvas holes and you can continue to make the binding stitch as usual.

10. Et voilà! The perfect binding stitch corner.

How to Do Needlepoint Binding Stitch: Curve or Irregular Format - Video Tutorial
Not all needlepoint projects have perfectly straight edges, and that’s where the binding stitch can really help. If your design includes curved or irregular edges, this technique helps create a seamless border that follows the shape of your project. Don’t be intimidated by curves! With this easy method, you can finish any needlepoint shape beautifully.
Tip: To make it easier and more malleable, you can cut the excess of the canvas to stitch more comfortably
- When you get to the tricky part of your design, where the edge takes an irregular or curve format, you just have to imagine a staircase and do the stitch evenly throughout the edge.
- Keeping the exact same technique of counting two holes to the right, you have to insert the next stitch in the next diagonal hole (the one closest to the design).
- Keep going with the normal binding stitch in the straight areas and the "staircase" binding stitch in the curve parts of the edges until you've made it all around.
- Finish normally by anchoring the thread to the back of the canvas, in a stitched area and cutting the excess.
Binding Stitch Tips & Tricks to Master this Needlepoint Technique
Now that you’ve learned how to apply the needlepoint binding stitch on both straight and curved edges, let’s go over some extra tips to help you perfect your technique. Whether you're a beginner or looking to refine your skills, these insights will ensure that your binding stitch looks flawless every time!
How to Restart the Binding Stitch When the Thread Ends - Short Video Tutorial here!
- When your thread is ending, you have to memorize your last movement of the stitch: do a downward movement towards the back of the canvas.
- Anchor the thread to the back of the canvas, in a stitched area, as normal, and begin the new piece of thread in the same way.
- Now you know you have to do an upward movement toward the front of the canvas to continue the "fishtail" effect of the stitch.
How to Do the Perfect Binding Stitch - Video Tutorial
While there are different ways to execute this stitch, we're here to share a method that creates a beautiful herringbone pattern on the front of your work, giving it a clean and professional look. After trying it both ways, we believe this technique creates the best final result!
In this tutorial, we show you how to achieve this perfect binding stitch.
When Should You Use the Needlepoint Binding Stitch - Short Video Here!
- You should do the binding stitch when:
- you need extra durability and a clean finish on projects such as needlepoint key fobs, bookmarks or needlepoint patches.
- you will handle a finished project a lot such as sunglasses cases or clutch inserts.
- You should probably skip the binding stitch when:
- you finish a decorative piece such as a framed needlepoint project or a needlepoint stocking.
- there are better options than the binding stitch such as cording for needlepoint ornament or soft piping for cushion needlepoint projects.
Read here the full article on When to Use the Binding Stitch in Needlepoint Projects (and When to Skip It).
If you have doubts about what stitches to choose for your project - check our Tips to select Needlepoint Stitches or Our favorite Needlepoint Decorative Stitches. You can also draw inspiration from our Stitch Guides!
Happy stitching :)