Our Top 10 Tips to create a Needlepoint Gallery Wall
If you're a fan of needlepoint, you're probably looking for a way to display your finished pieces in a creative, eye-catching way. A gallery wall is the perfect solution! Here’s how to pull it off successfully.

1. Frame it Right
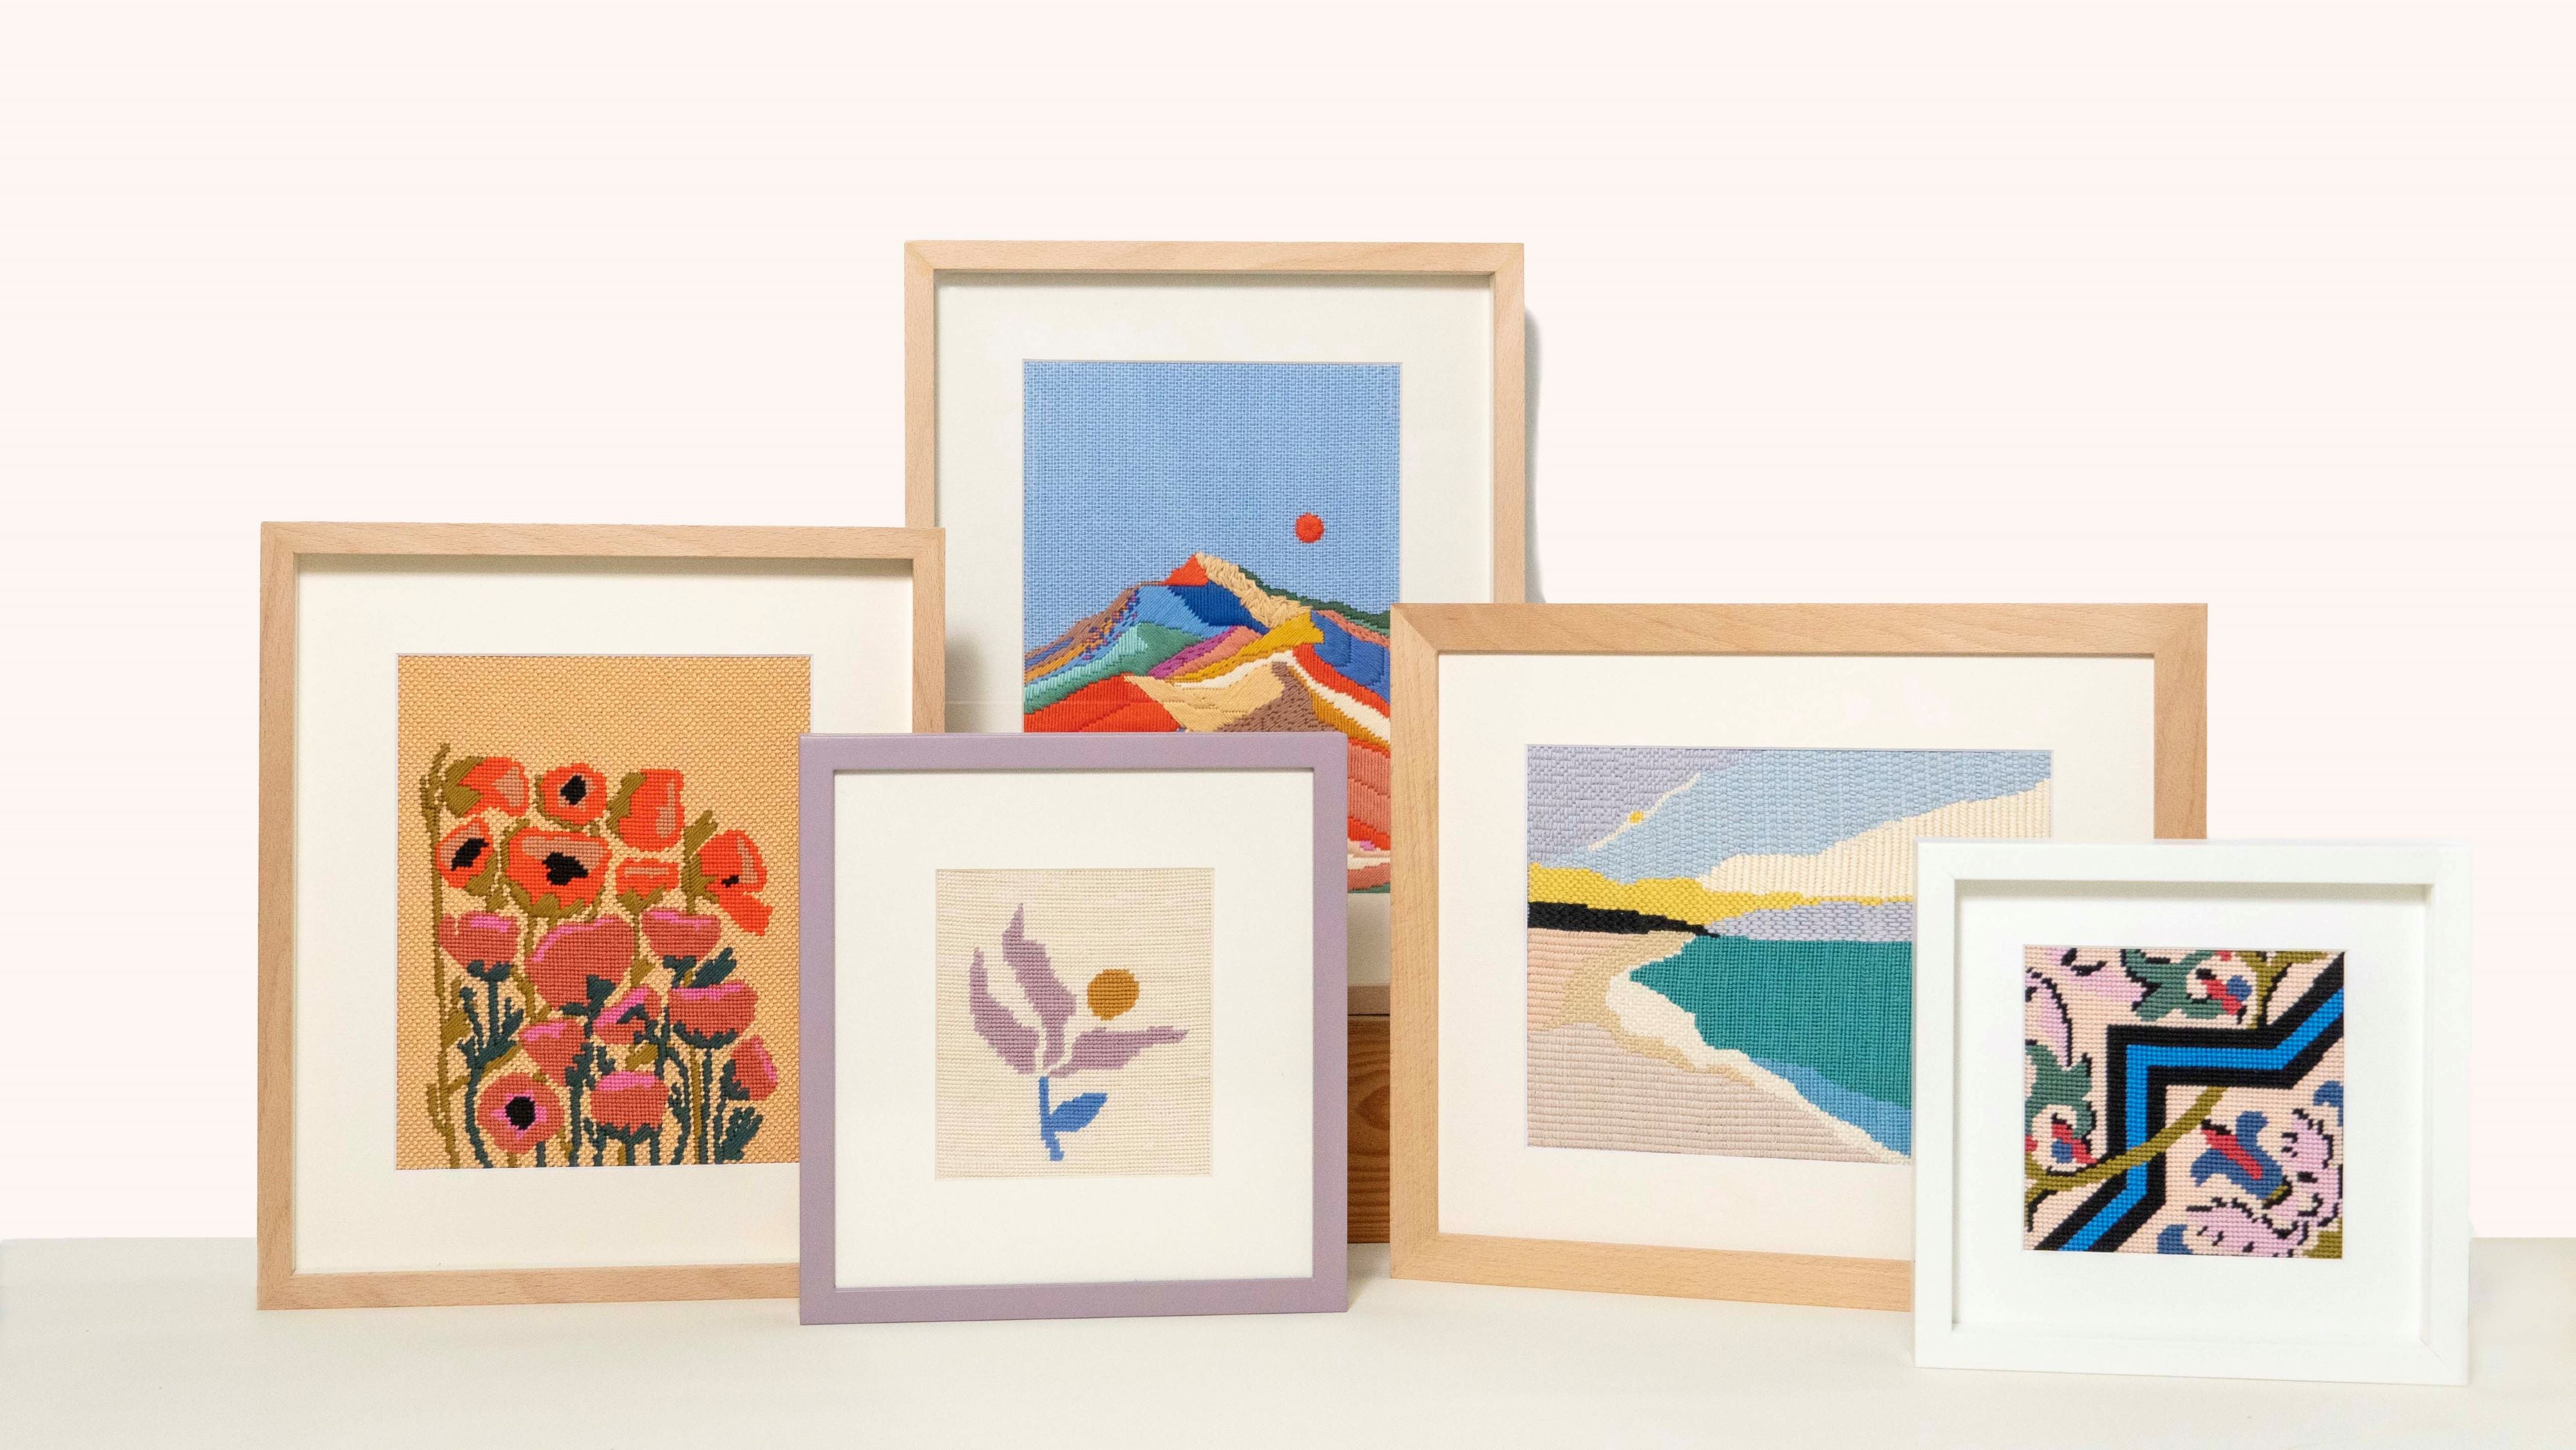
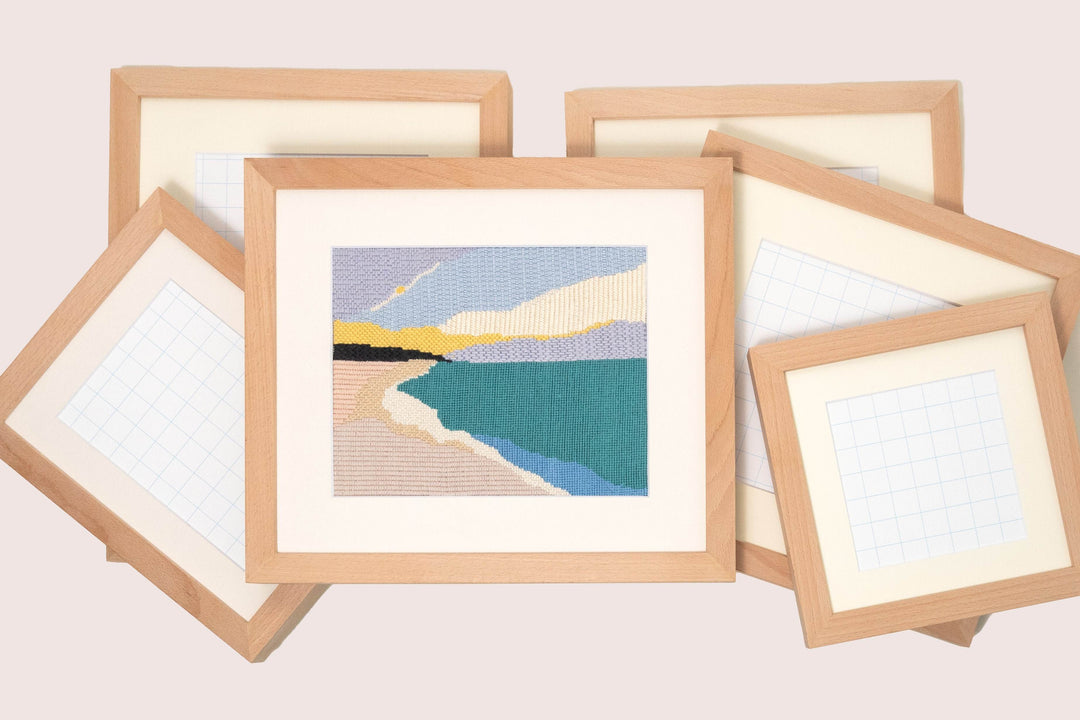
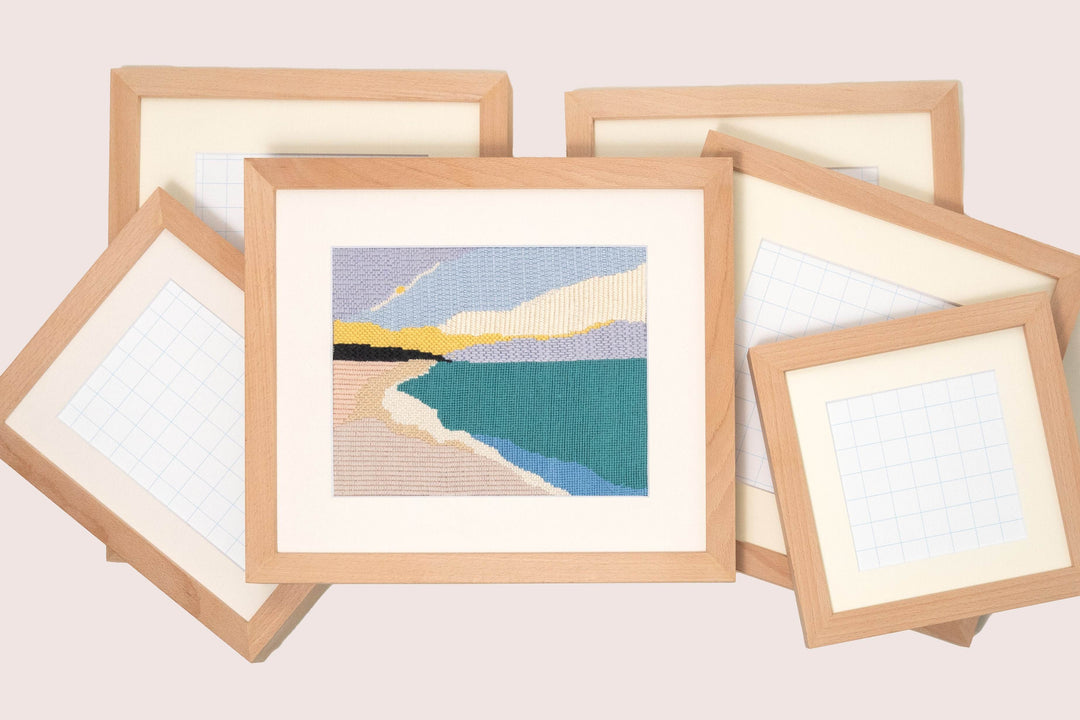
At the heart of any great gallery wall is the right frame, and this where our Unwind Studio Framing can be handy—the perfect solution for showcasing your needlepoint creations. These high-quality frames are designed specifically for needlepoint pieces, although they can be used for other artworks as well, and come with a complete mounting kit, making the framing process simple, affordable and stress-free. You won’t need to visit a professional framer; our framing kits include everything you need to give your work a polished, professional look from the comfort of your own home.
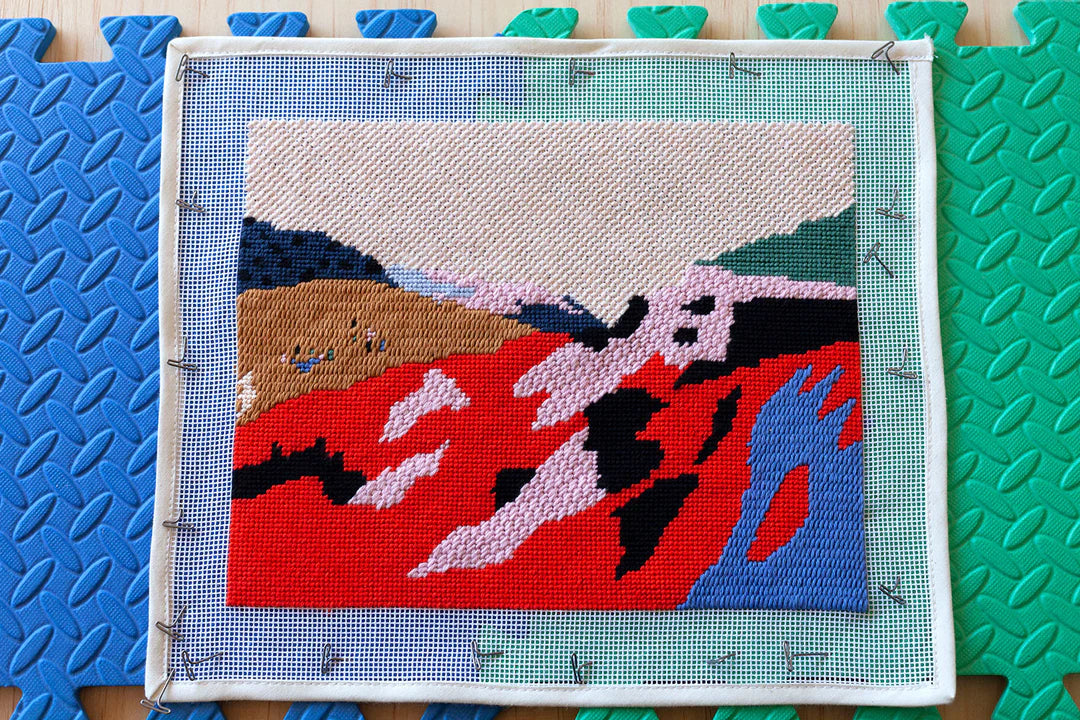
To help you get the best results, we’ve created a step-by-step tutorial that walks you through the process of framing your needlepoint pieces. With the right tools and instructions, you can frame your own work with confidence and ease—saving both time and money while achieving a beautiful finish.
2. Mix It Up: Combine Needlepoint with Other Art
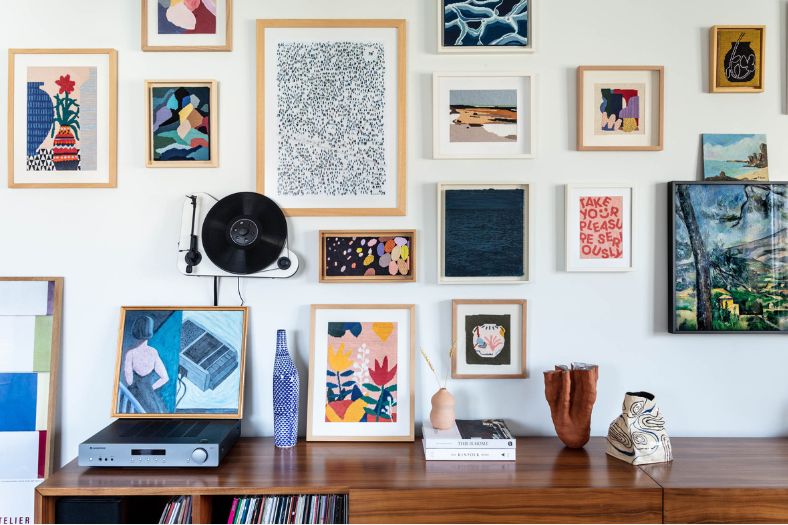
A gallery wall doesn’t have to be all about needlepoint, and in fact, mixing different types of art can elevate your wall to a whole new level. Combine your needlepoint with framed photographs, posters, illustrations, etc. This creates a rich, layered look that’s visually interesting and uniquely yours.
For example, pair a bold, geometric needlepoint with a soft, watercolor illustration. Or, display a photo from your favorite trip alongside a needlepoint piece that holds sentimental value. The contrast in textures and styles makes the whole wall pop, turning it into an art piece in itself.
3. Lay It Out on the Floor First
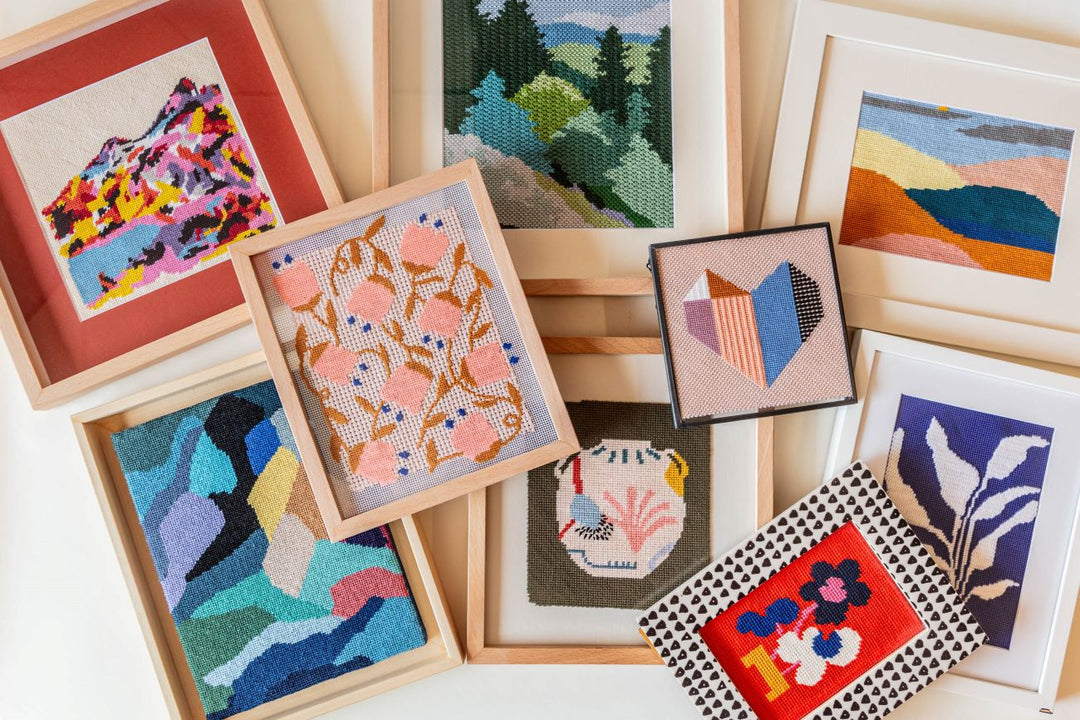
Before you start hammering nails into the wall, it’s best to plan the layout. The easiest way to do this is to place all your frames and items on the floor, arranging them until you find a composition that you love.
Here’s a pro tip: Once you’re happy with the arrangement, take a photo! This will be your reference when you start hanging everything on the wall. It's much easier to make changes on the ground than after you’ve already nailed something into place.

4. Embrace an Organic Look
When hanging your gallery wall, don’t stress about getting everything perfectly aligned. While you want some level of balance, an overly rigid grid can feel too formal. An organic arrangement, where frames aren’t all perfectly straight or evenly spaced, gives a more relaxed, lived-in feel. Trust us—your wall will look more dynamic and interesting if everything isn’t too exact.
You can still aim for some sense of flow by paying attention to frame sizes and color harmony. But beyond that, let your creativity take over!
5. Vary Frame Styles and Sizes
To add more visual interest to your gallery wall, play around with different frame styles and sizes. Mixing ornate, traditional frames with sleek, modern ones can add a playful and eclectic vibe. If your needlepoint pieces are bold and colorful, neutral frames might make them stand out even more. On the flip side, if your needlework is more subdued, you could opt for brighter color or more intricate frames to add a touch of flair.

6. Start with the Biggest Piece
When you’re ready to start hanging your pieces, begin with the largest one. This will act as the anchor for the rest of your wall. Once the main piece is up, you can work outward, adding smaller needlepoint pieces and other framed art around it. This method ensures a balanced composition and helps you avoid overcrowding one side.
7. Include Other Decorative Elements
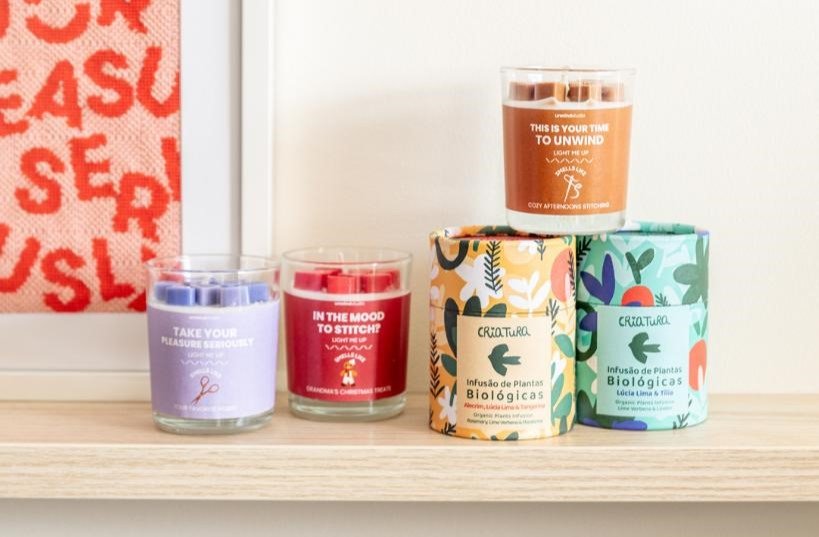
Your gallery wall doesn’t have to be limited to framed art. Consider adding other decorative pieces like small shelves with plants or ceramics, a woven wall hanging, fairy lights to create depth and texture, or any other objects you find beautiful and dynamic. These additional elements can complement your needlepoint and make your gallery wall feel more layered and interesting.

8. Use Paper Templates for Easy Hanging
To avoid too many unnecessary holes in your wall, try this simple trick: trace the outlines of each frame onto pieces of paper or newspaper, cut them out, and tape them to the wall. This will give you a full visual of the final layout and make it easy to tweak spacing before committing to the real thing. You can even mark where the nails need to go on the paper before removing it.

9. Change Up the Layout with Time
A gallery wall doesn’t have to be static. As you create new needlepoint pieces or acquire new art, you can swap out old pieces, change the arrangement, or add more frames. This keeps your wall feeling fresh and evolving over time, allowing it to reflect your latest creative inspirations.
10. Make It Truly Yours!
To give your gallery wall a truly personal feel, incorporate sentimental items or memorabilia. Things like postcards from travels, handwritten notes, small trinkets, posters/illustrations/needlepoint pieces of your favorite food, pet, tv show...etc. Your home should feel like a reflection of everything you love most about life!


