


T-Stitch
The T-Stitch is a basic needlepoint stitch. It's called T-Stitch because it creates a pattern that resembles the letter "T" when viewed from the front. This stitch is perfect to:
- create light patterned textures in background areas
- use in large areas for a quick stitching
How to Do the T-Stitch - Video Tutorial
Here's a video tutorial we created to help you better understand how to make the needlepoint T-stitch.
Stitch Details
- Stitch Structure: Flat, Openwork, Variation, Diagonal
- Related Stitches: Tent Stitch, Skipped Tent Stitch
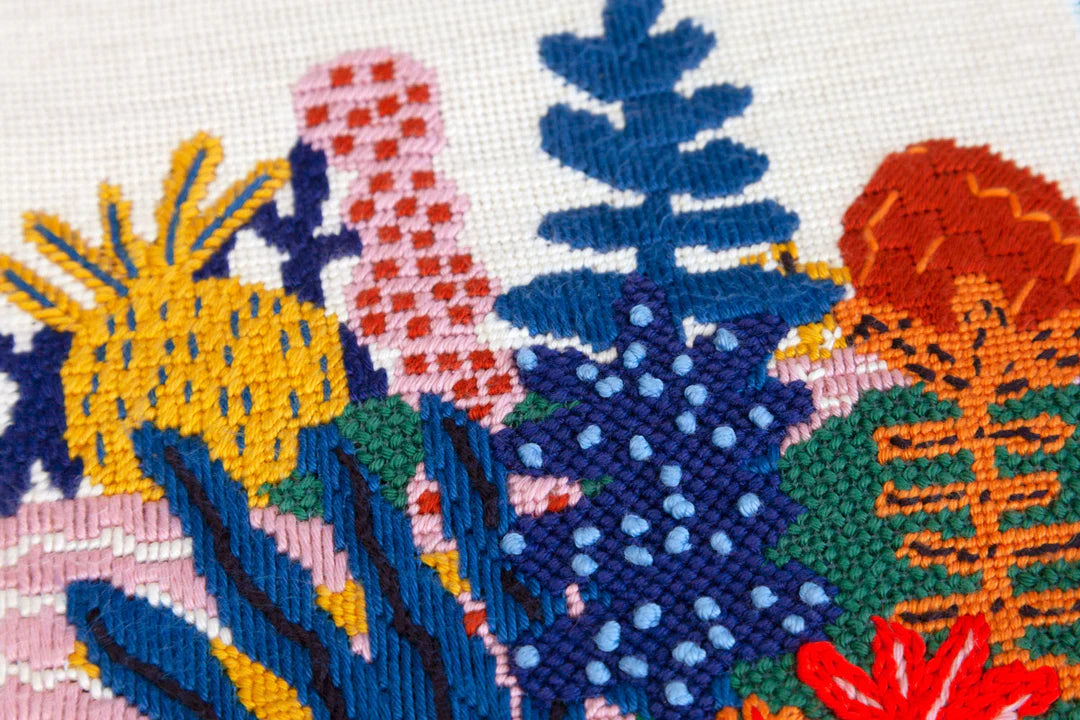
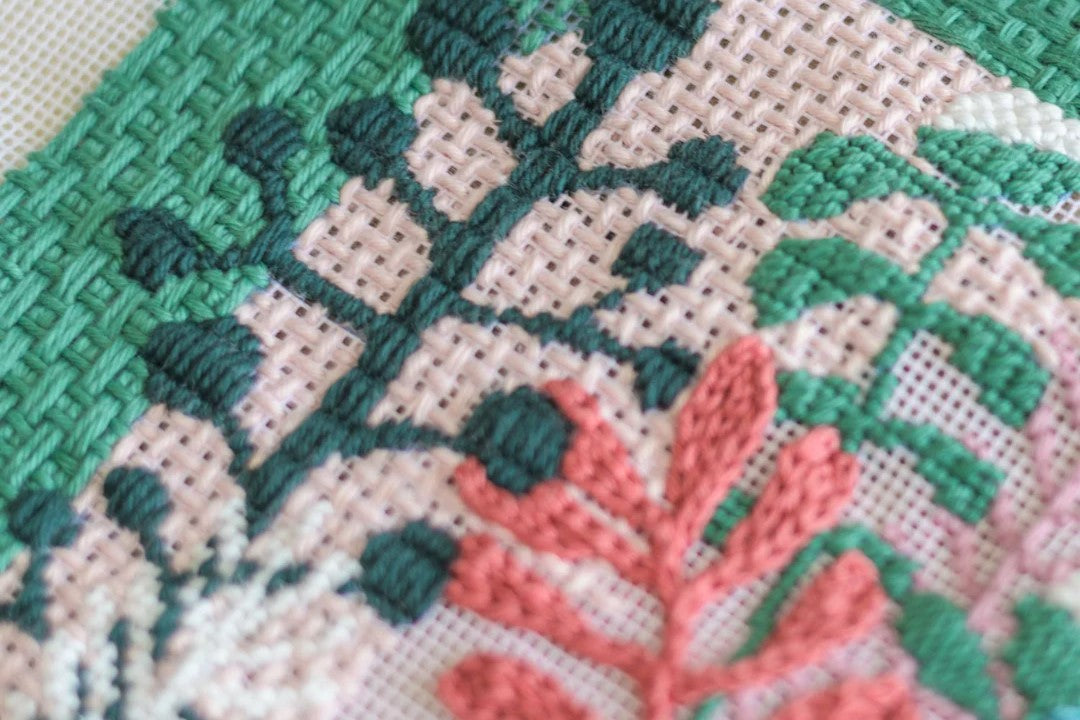
- Recommended for: Large areas, Backgrounds, Skies
T-Stitch Instructions & Diagram
You can see the diagram of this stitch below.
- To start, make one diagonal downward stitch between one intersection from right to left
-
Next, you’re going to make a another stitch to the right, but skipping one intersection between the first and second stitch
-
Keep doing this until you reach the end of the row
- Next, you're going to start stitching in the row below and in the opposite direction, making diagonal downward stitches from left to right, also leaving one intersection between your stitches
- The third row of stitches should be done like the first one, and the forth one like the second one, and so on. This way, you’ll start to create the T Stitch pattern.
- Keep doing this until you reach the end of the desired area.

T-Stitch Variations
When you need a even more lighter and quicker stitch for your background area, you can adjust this T-Stitch with a variation by adding more non-stitched intersections between each stitch in each line. See the picture below as an example, where we added 2 "empty" intersections between each stitch per line: