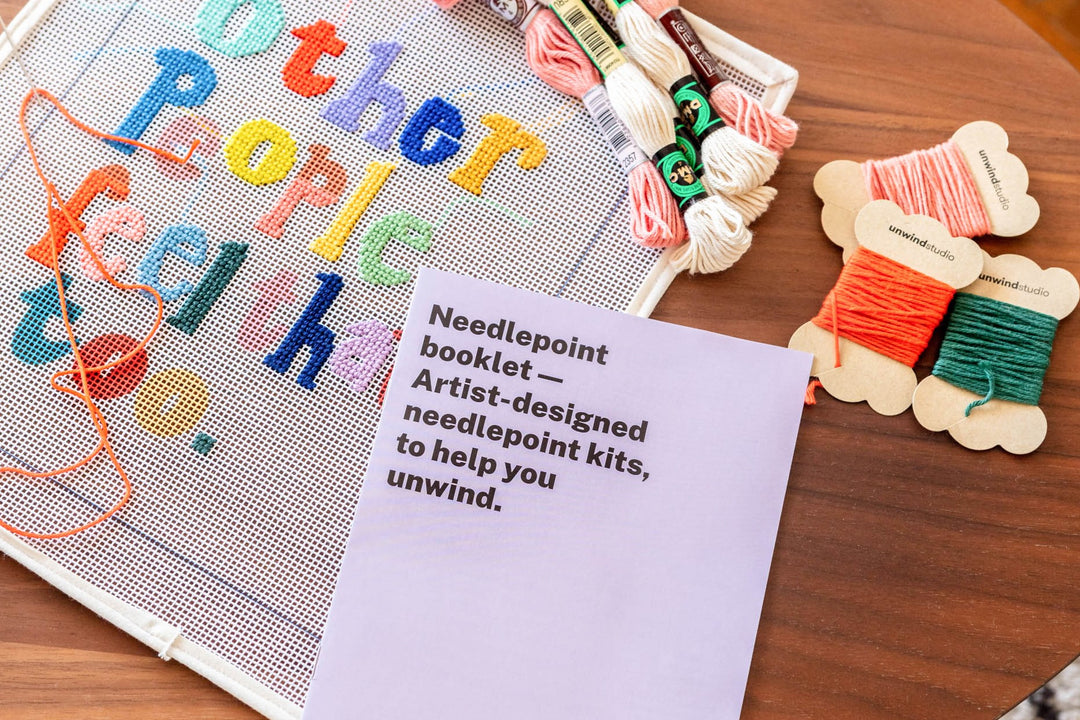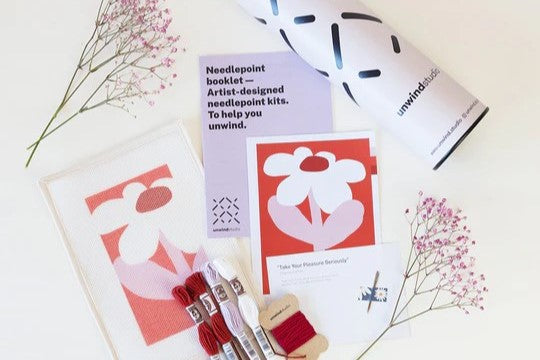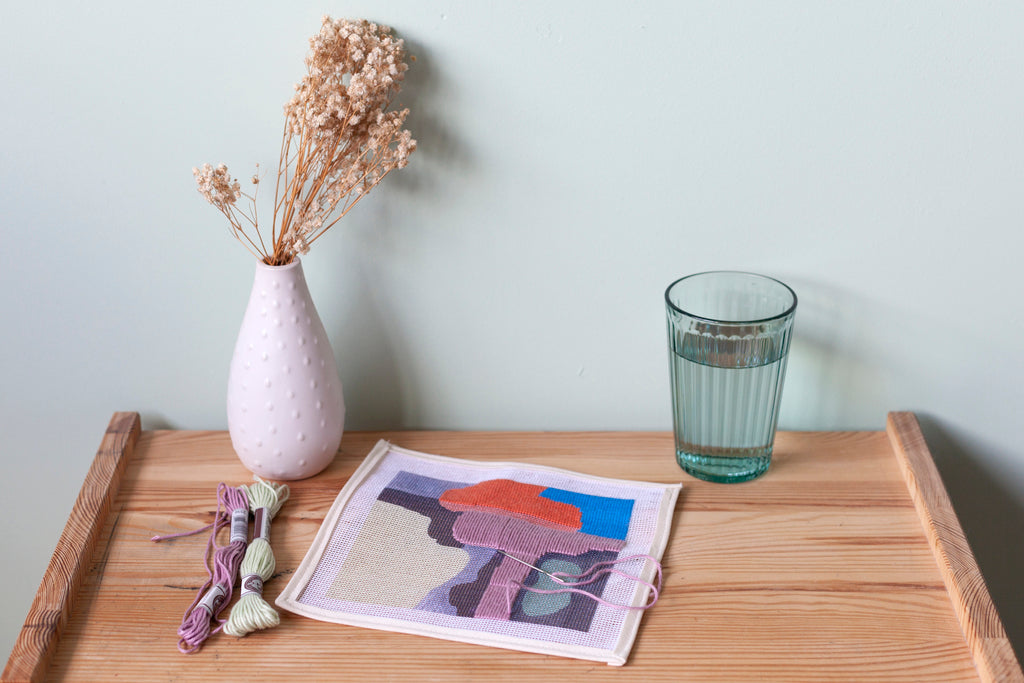


Needlepoint charts are one of the many ways possible to create a needlepoint project on your own, or in case you want to use use supplies that you already have at home! It's also an affordable alternative to printed and hand-painted needlepoint canvases.
What is a needlepoint chart?
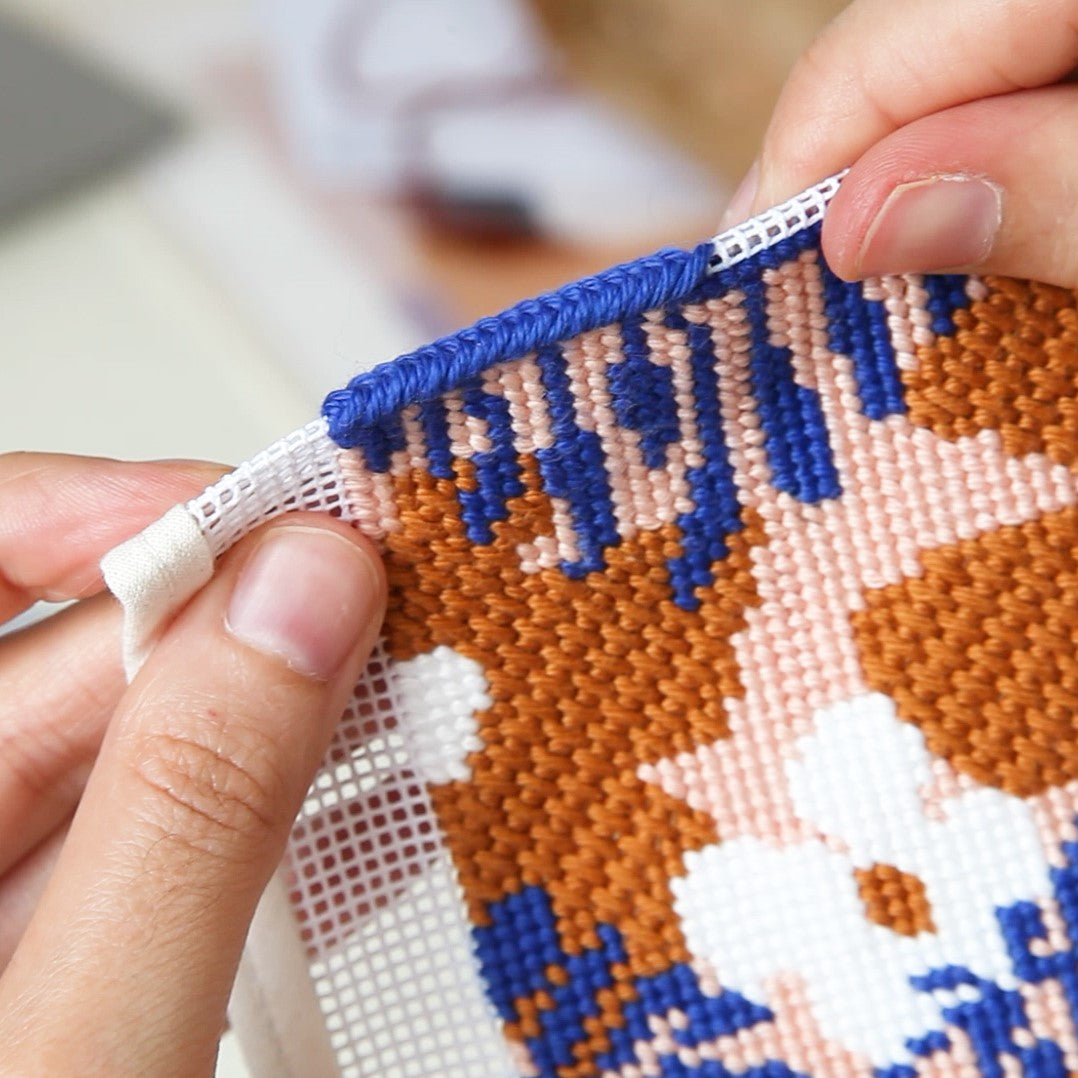
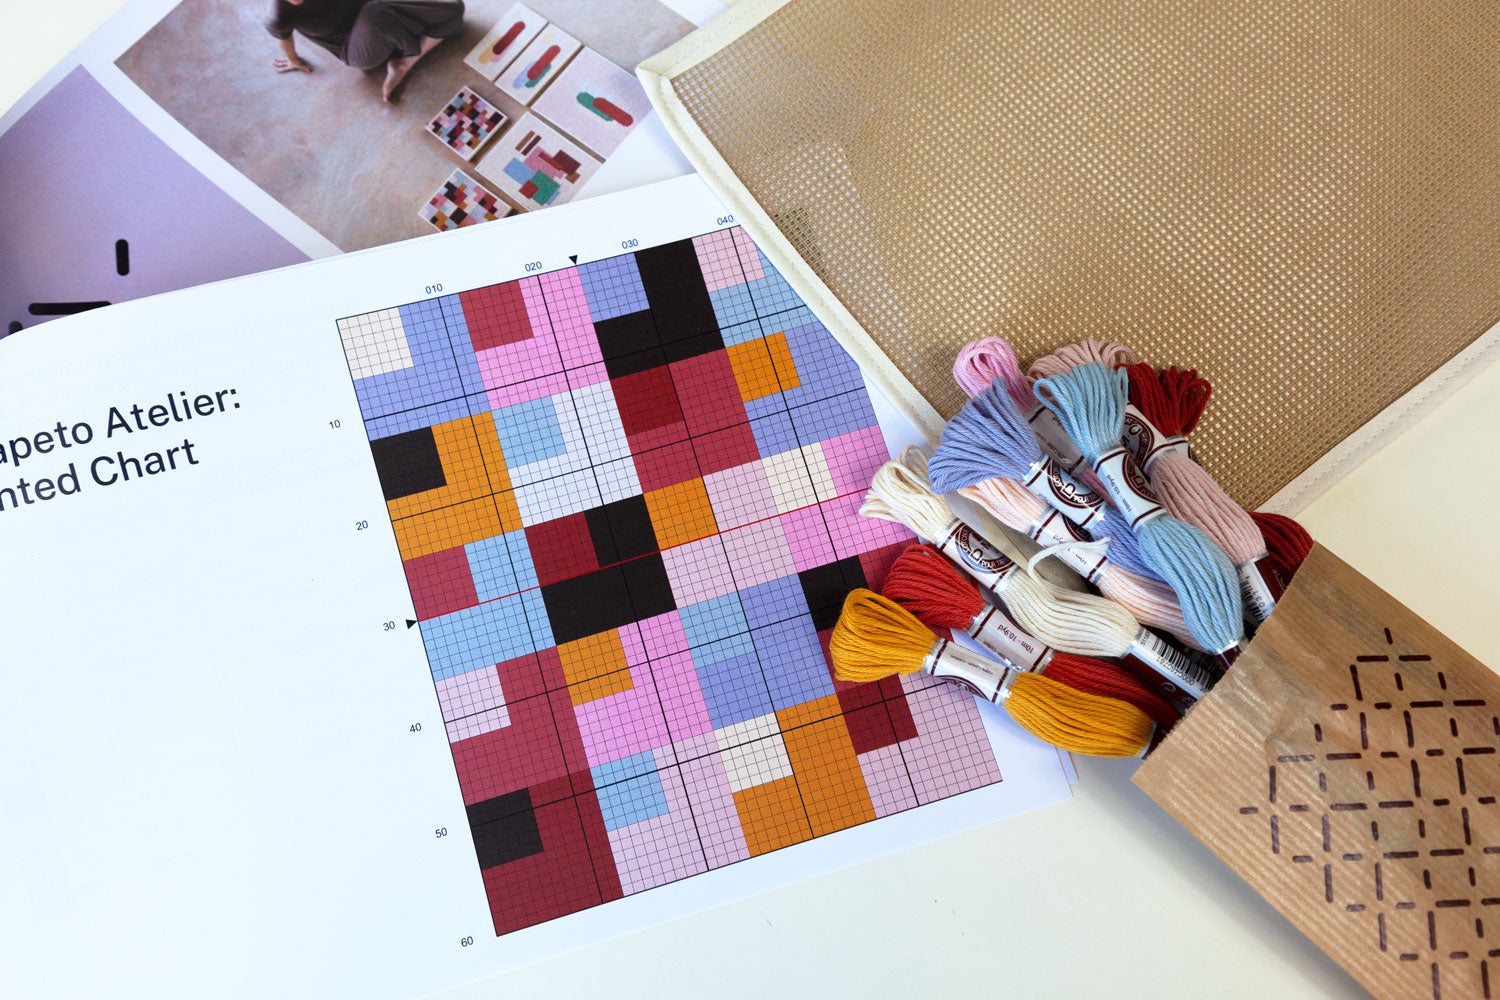
It is usually referred to as a PDF file or a printed document with a square grid depicting the design you want to stitch. When using a needlepoint chart, you need to use a blank needlepoint canvas, and with the support of the chartered design, you will know where to place each stitch.
How to Stitch with a Needlepoint Chart - Video Tutorial
Tips & Main Steps on How to Read a Needlepoint Chart
- HOW TO COUNT YOUR CHART: An easy way to get the hang of counting your chart/canvas, is to always think of the squares as the intersections in your needlepoint canvas, instead of the actual holes of the canvas. This is really important so you don't get confused when counting your design.
- FIND THE CENTER: It is important to find the center of your canvas, as well as the center of your chart, so you have a point of reference between the two.
TIP: To find the center you can either fold the canvas in 4, or you can use a ruler to cross out the center, by tracing the diagonals.


- WHERE TO START: Calculate how much margin you have in your canvas, to be able to stitch comfortably the entire design in its center.
- a pen with fine tip and waterproof ink
- artist-tape to mark the limits of the design
Starting to stitch in the center it is usually the easiest way to begin stitching, because it's your strongest point of reference.
But in case you prefer to start from another EASIER reference point, simply count your way to where you wish to start in the chart, and then count it in the canvas. Usually the geometric designs are easier to start from one of the sides, and not from the center.
- UNDERSTAND THE COLOR MAP: Now that we have already established that each square in the chart equals an intersection in the canvas, let's think about the colors. This may differ from chart to chart, but most of them have a color map with symbols (these can be shapes, letters, or numbers), so you can match each square with the labeled color.
- START STITCHING, and just follow the pattern: This part is pretty easy if you already understood the basics of working with charts, so go get your counting goggles on, and stitch away!

Tips to help you count while stitching a Needlepoint Chart
Needlepoint and Cross-Stitch charts have numbers on the horizontal and vertical axis, commonly in increments of 10, to facilitate your counting:
- Use them as a shortcut so you don’t have to count every individual square in the chart.
- Use them as a helpful and quick guide to keep track of where you are / how many stitches to make.
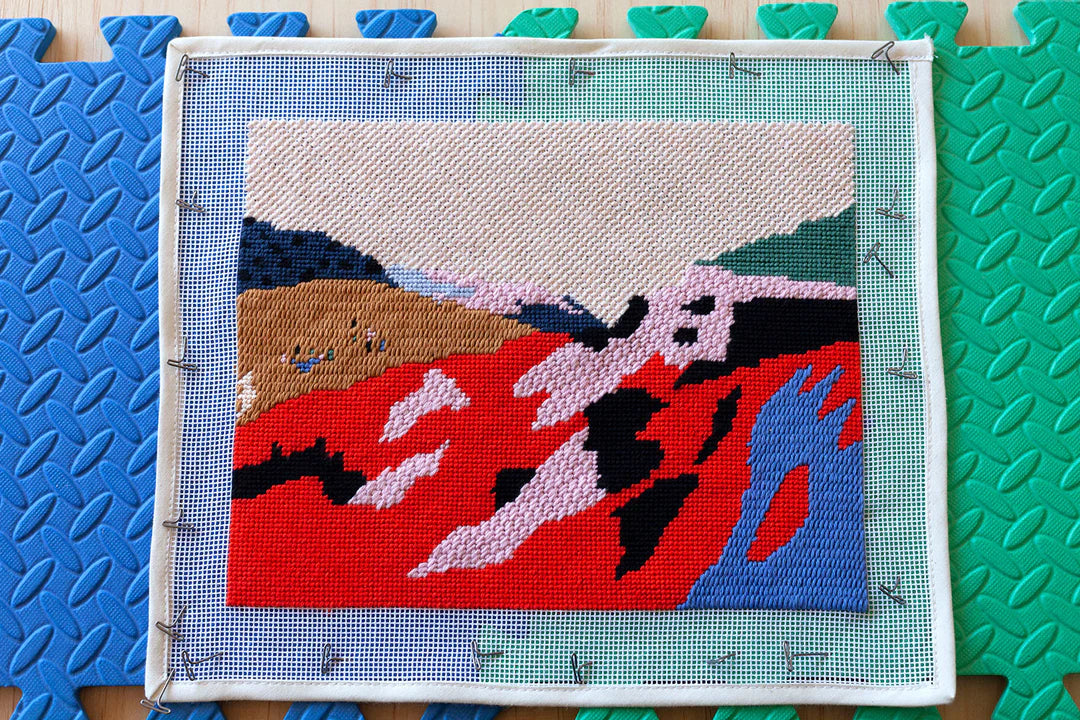
Find references in your elements during stitching:
For example, in the image below we are stitching a very long line of 21 holes in red thread. Instead of continuously counting until 21 while we stitch, lets find a reference where we can stitch without counting until we reach that reference. The reference used in the image below was the first column in red already stitched (from left to right). We are stitching 15 holes without worrying about the counting, and when we reach the same vertical line that is the first column of our reference point, then we know that we need to stitch 6 more holes to finish - easier to count!

Cross out the lines/columns already stitched to help you identify where you are in the chart:
With a pencil or pen, cross out in the chart the areas (lines or columns) that you already stitched. This way you can immediately identify where you are, and avoid to have to double check many times which line you need to stitch next!

Can I use a cross-stitch chart for needlepoint?
Absolutely! Both Needlepoint and Cross-stitch are embroidery techniques that follow the same concept of stitching a square-defined design, with a specific color thread to cover it.
You can use a needlepoint chart to do a cross-stitch project, and vice-versa: you can create a needlepoint project from a cross-stitch chart!
Key considerations when using needlepoint charts
Like any other method, there are always pros and cons, and it totally depends on what you are comfortable with and your preference.
- Although printed or painted canvases might be easier to follow because you already have the design sketched out, needlepoint charts can be a more affordable alternative if you are starting your needlepoint journey and want to stay on a budget.
- It can also be a more immediate way to buy a pattern, if you choose to buy a digital downloadable pattern so that you don't have to wait for it to ship to you.
- However when following needlepoint charts, you can't really explore different stitches, because they only allow you to use stitches that go over one single intersection of the canvas.
These are just a few things to consider when choosing to work with charts, that can be pros or cons, depending on your stitching preferences!
Happy Stitching!