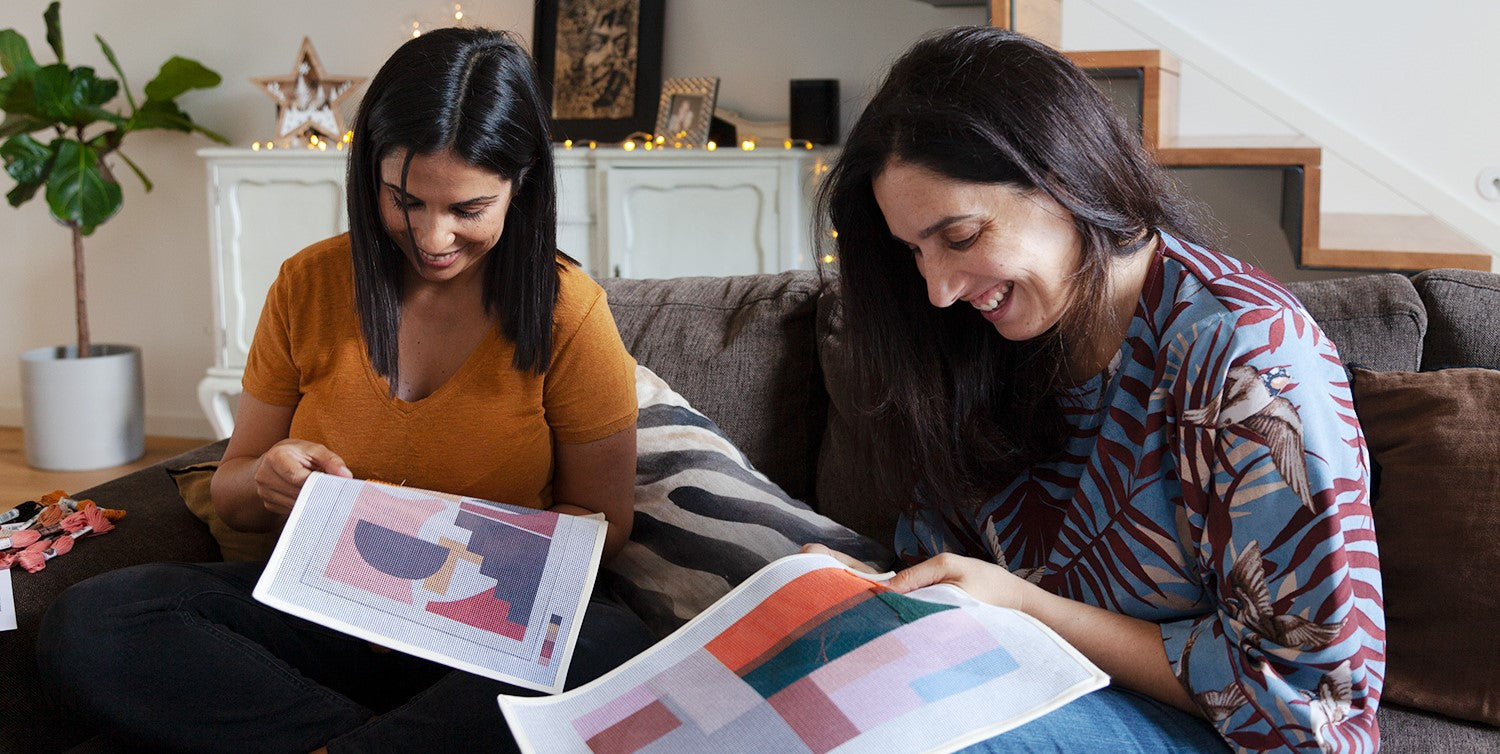
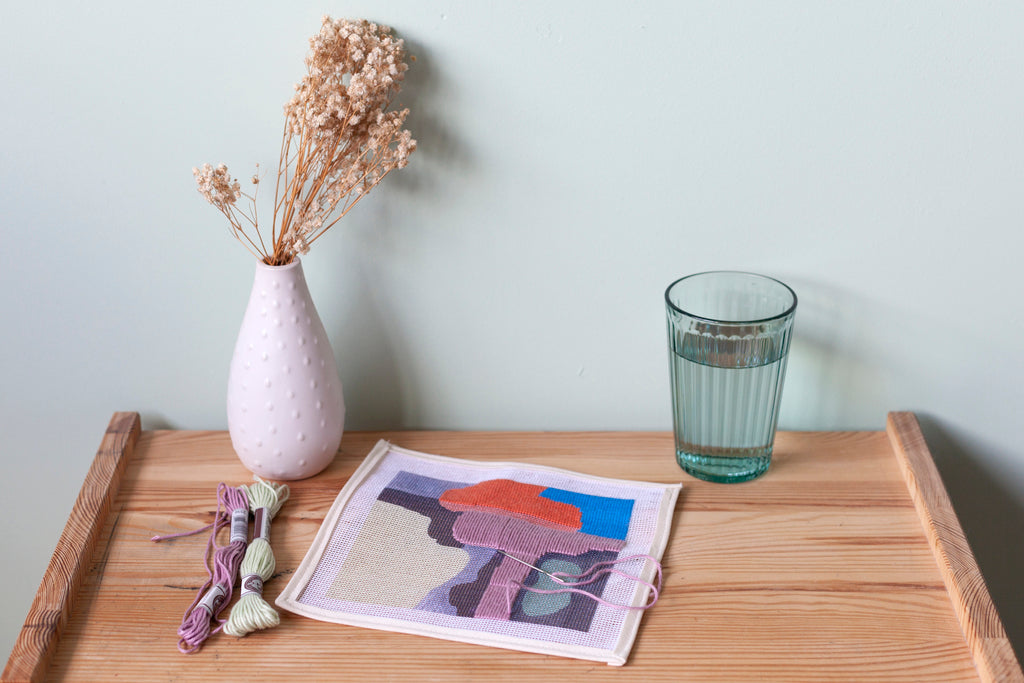
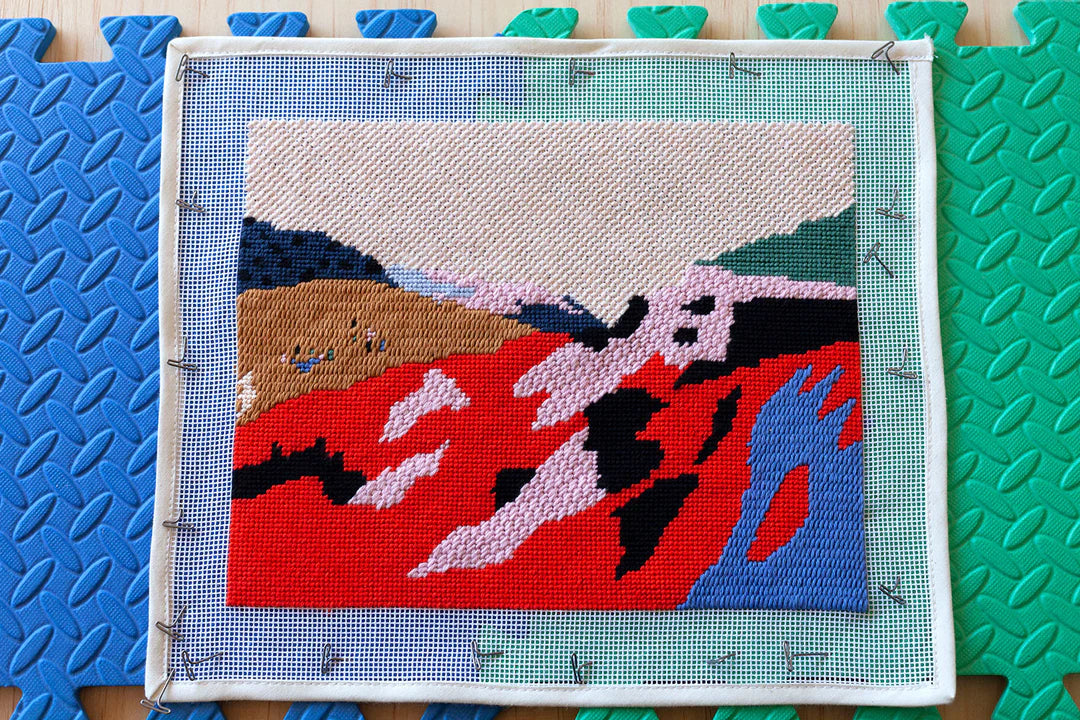
Do you want to create a needlepoint cushion cover, but are unsure how to do it in a cost efficient way? In this blog post we will show you an easy process to finish your canvas into a cushion cover!
This blog post is part of our DIY needlepoint finishing learning tutorials. With these blog posts, we want to help you broaden your needlepoint knowledge, make you feel more comfortable about this craft, and show you the multiple ways you can transform and elevate your needlepoint canvas!
These are the topics covered in this post:
- DIY Needlepoint Pillow Cushion Finishing
- Video Tutorial
- Tools you'll need
- Instructions
- Cushion with piping edges
- Tools you'll need
- How to do it yourself
- Our cushion cover needlepoint kit collection
How to finish a needlepoint pillow cushion
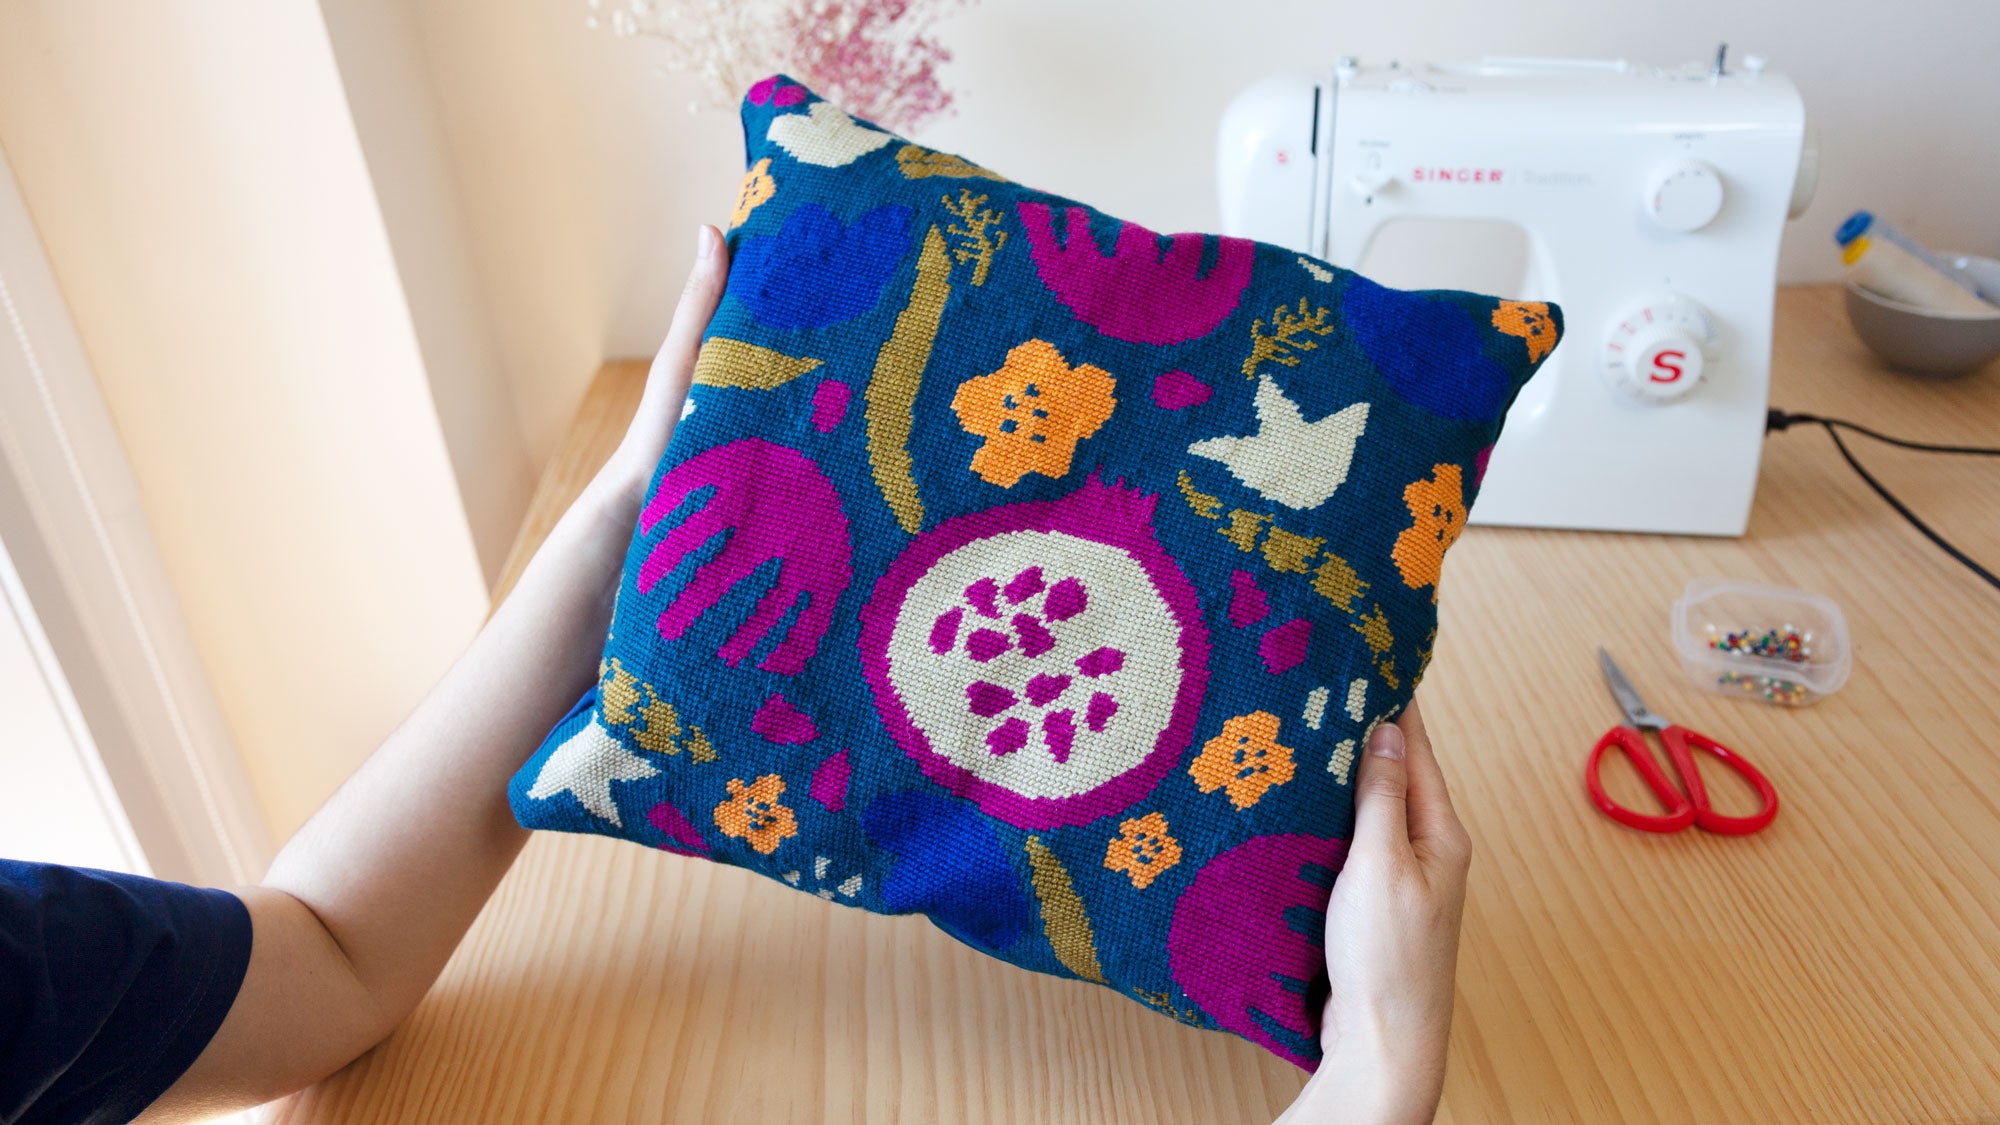
We created a video tutorial where you can see how to finish a needlepoint cushion. In this video we used our "Pomegranates & Flowers Needlepoint Cushion Kit".
Tools you'll need:
- Finished and blocked needlepoint canvas
- Backing fabric of your choice (Velvet or Cupro Viscose)
- Zipper (Invisible or Normal)
- Sewing pins
- Scissors
- Pillow or pillow stuffing
- Sewing machine
-» If you're not familiar or comfortable with using a sewing machine, we have a dedicated blog post on Sewing 101 for Needlepoint Finishing! Check it out to learn the easiest way to finish your project.
Instructions
- Make sure your canvas is properly blocked, to avoid and correct canvas distortion. Visit our Amazon store to complete your blocking tools.
- Align the needlepoint piece with the backing piece, placing the two front parts facing each other. Don’t forget that the zipper of the backing fabric needs to be open!
- Start pinning the two parts together, along the edges that you will sew.
- Sew along the edges of the stitched area, really closely so the white blank canvas doesn’t show up in the finished product.
- After you finish sewing all the four sides, remove the project from the sewing machine, and start pulling out the pins.
- Once you’re done, cut off the excess fabric around the edges (so it's not bulky on the inside).
- Cut off the excess fabric of the zipper, before you flip your cushion cover.
- Flip your project through the open zipper hole, and poke out the corners.
- Check if any of the blank canvas is showing, and make some adjustments if needed.
- And you’re done! Place a pillow or pillow stuffing inside, and now you have a beautiful needlepoint cushion cover!
Note: for the aplication of the zipper in the backing fabric we asked a seamstress, that's why you don't see us doing it in the video, but you can easily do it by yourself, or not add a zipper at all, if you dont intend on ever havint to remove the cushion cover.
How to add piping to the edges of your cushion
In this particular tutorial we decided not to add a piping edge, but you can easily do it, to add an extra detail to your beautiful needlepoint cushion.
Tools you'll need:
- Bias strips of fabric
- Cording
- Zipper or Piping foot, for your sewing machine
- Sewing machine
How to do it yourself
Creating your own piping is really easy, and you can make it out of any fabric you have laying around, to add a fun pop of color to your projects.
You simply have to cut strips of your fabric, place the cording inside, fold the fabric and sew along the line of the cord.
Piping can be easily added to the edge of your needlepoint cushion, but you will need to use a zipper or piping foot for your sewing machine.
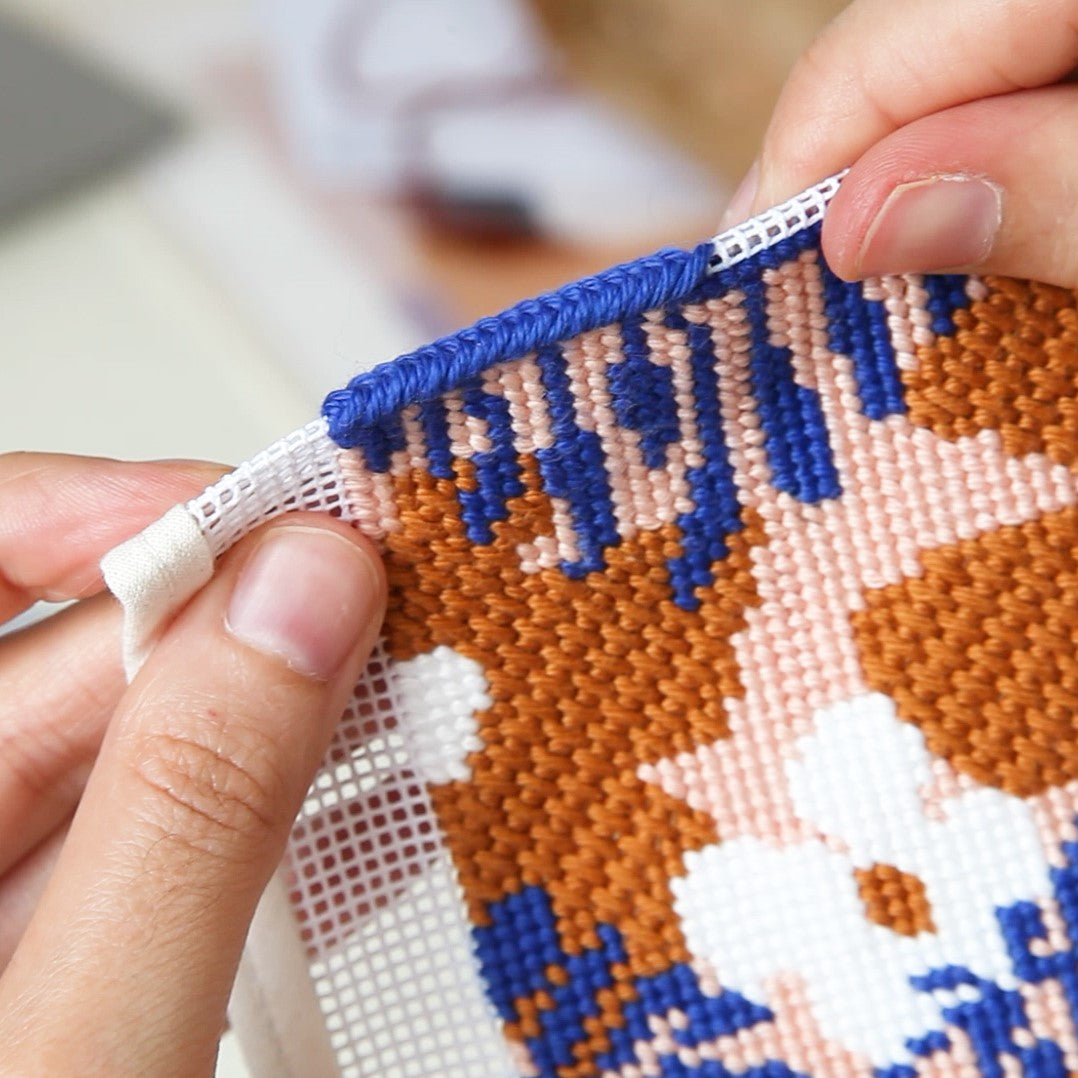
Here is a photo in detail, so you can see how it looks.

Our needlepoint pillow kit collection
If you are curious about this finishing technique and want to create a needlepoint cushion cover of your own, why not take a look at our Needlepoint Cushion Kits & Canvases!


