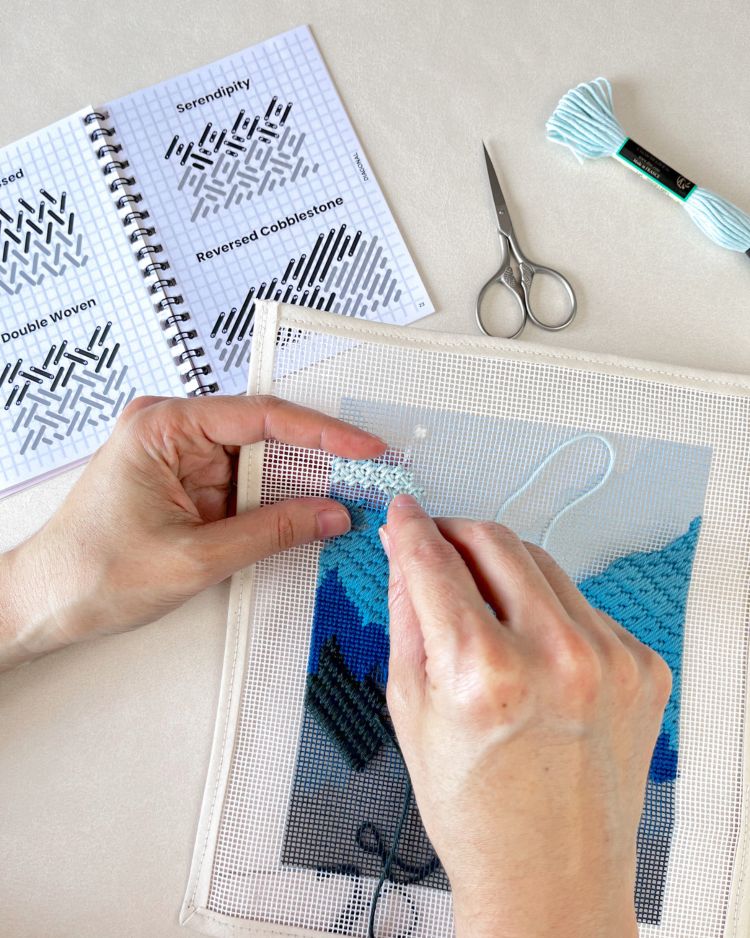
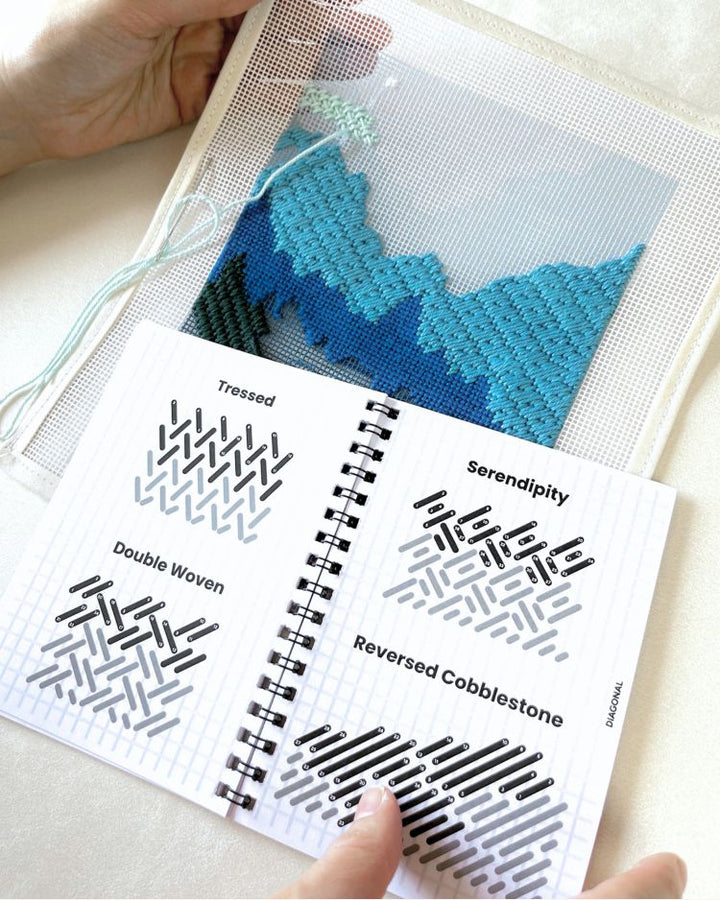
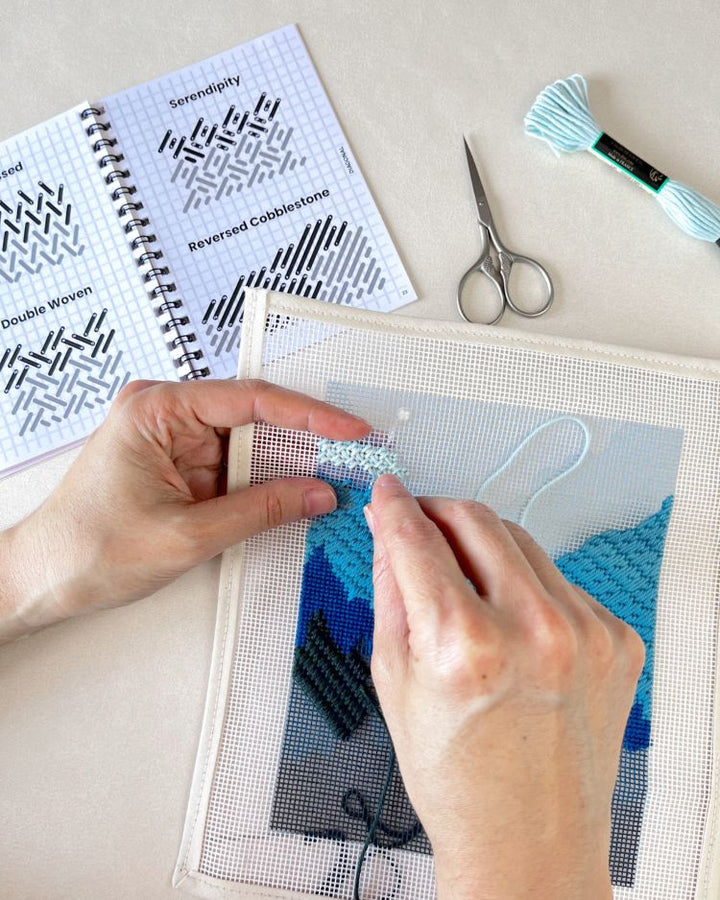
It might sound difficult to choose which needlepoint stitch to use, but if you take into consideration some key questions, you will easily narrow down the best options for you!
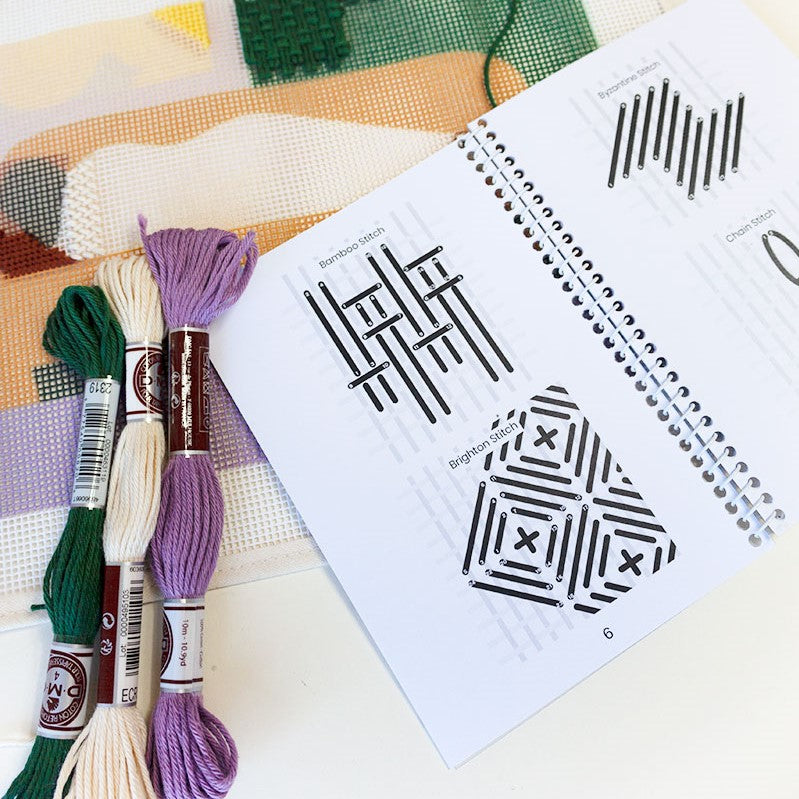
In this blog post we'll guide you through our own process/rationale to select decorative stitches, as well as how to use our Stitch Library to find the perfect stitch according to your project needs.
Stitch Selection Process
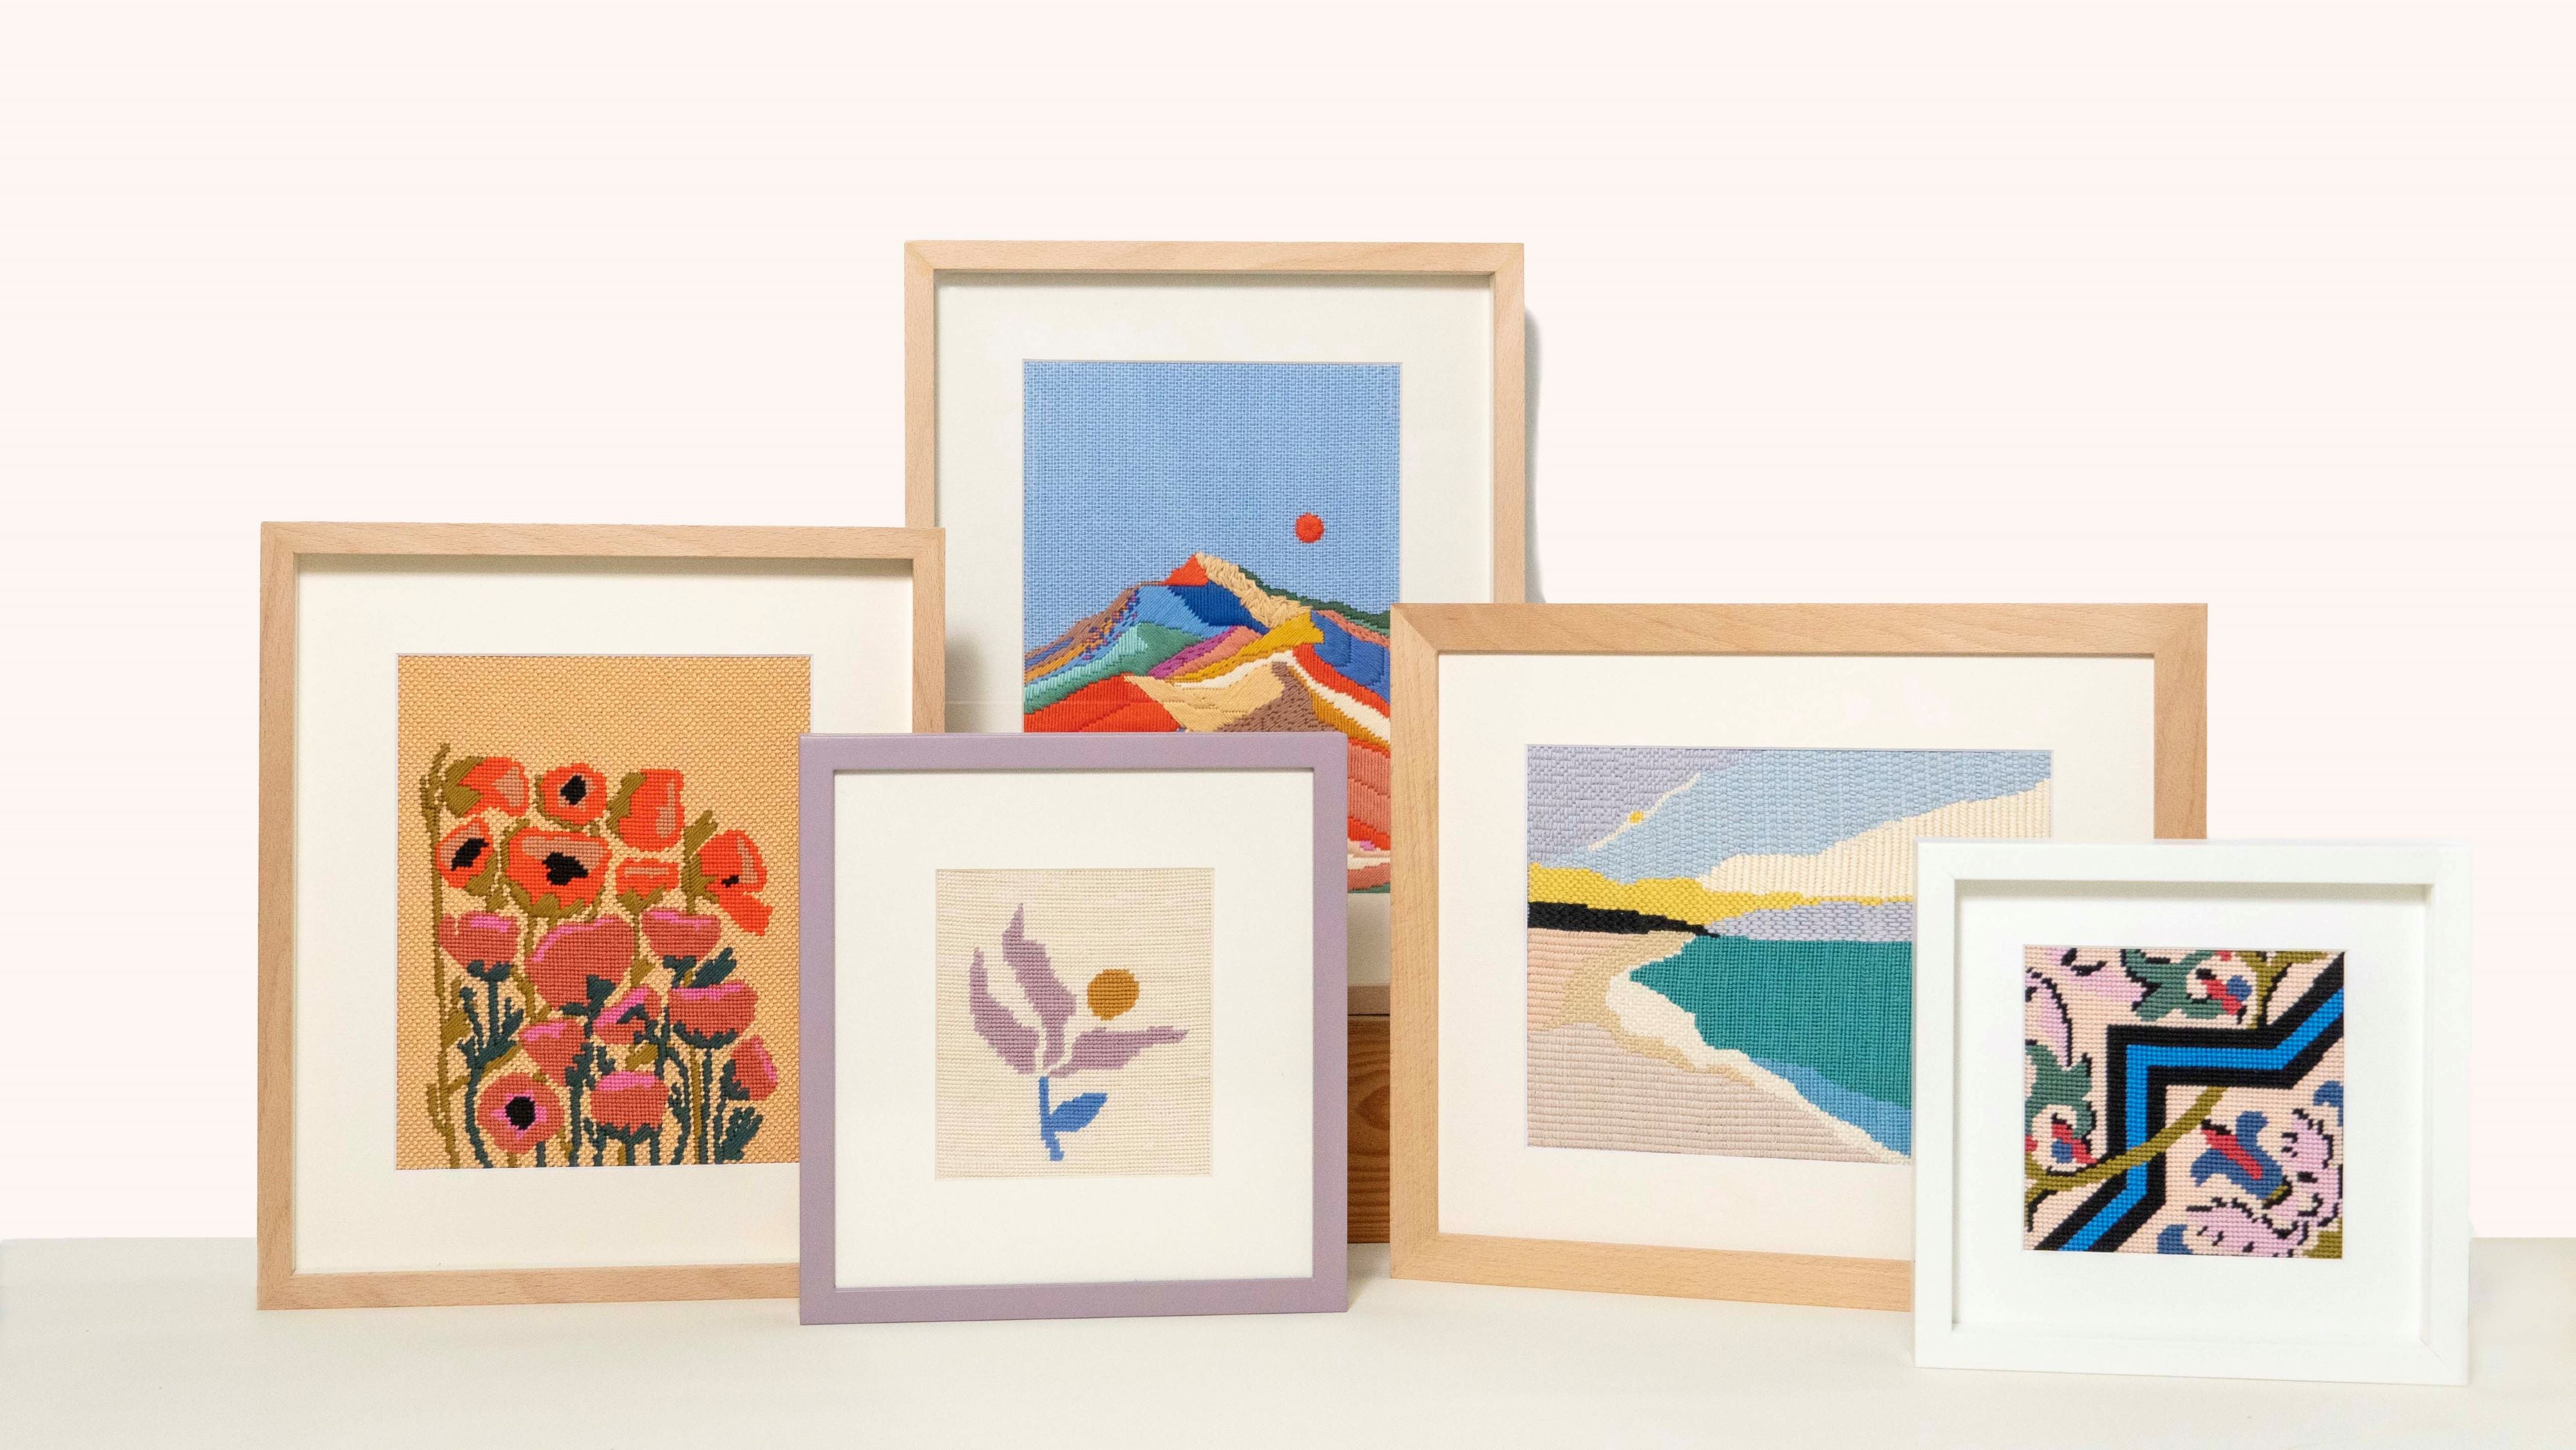
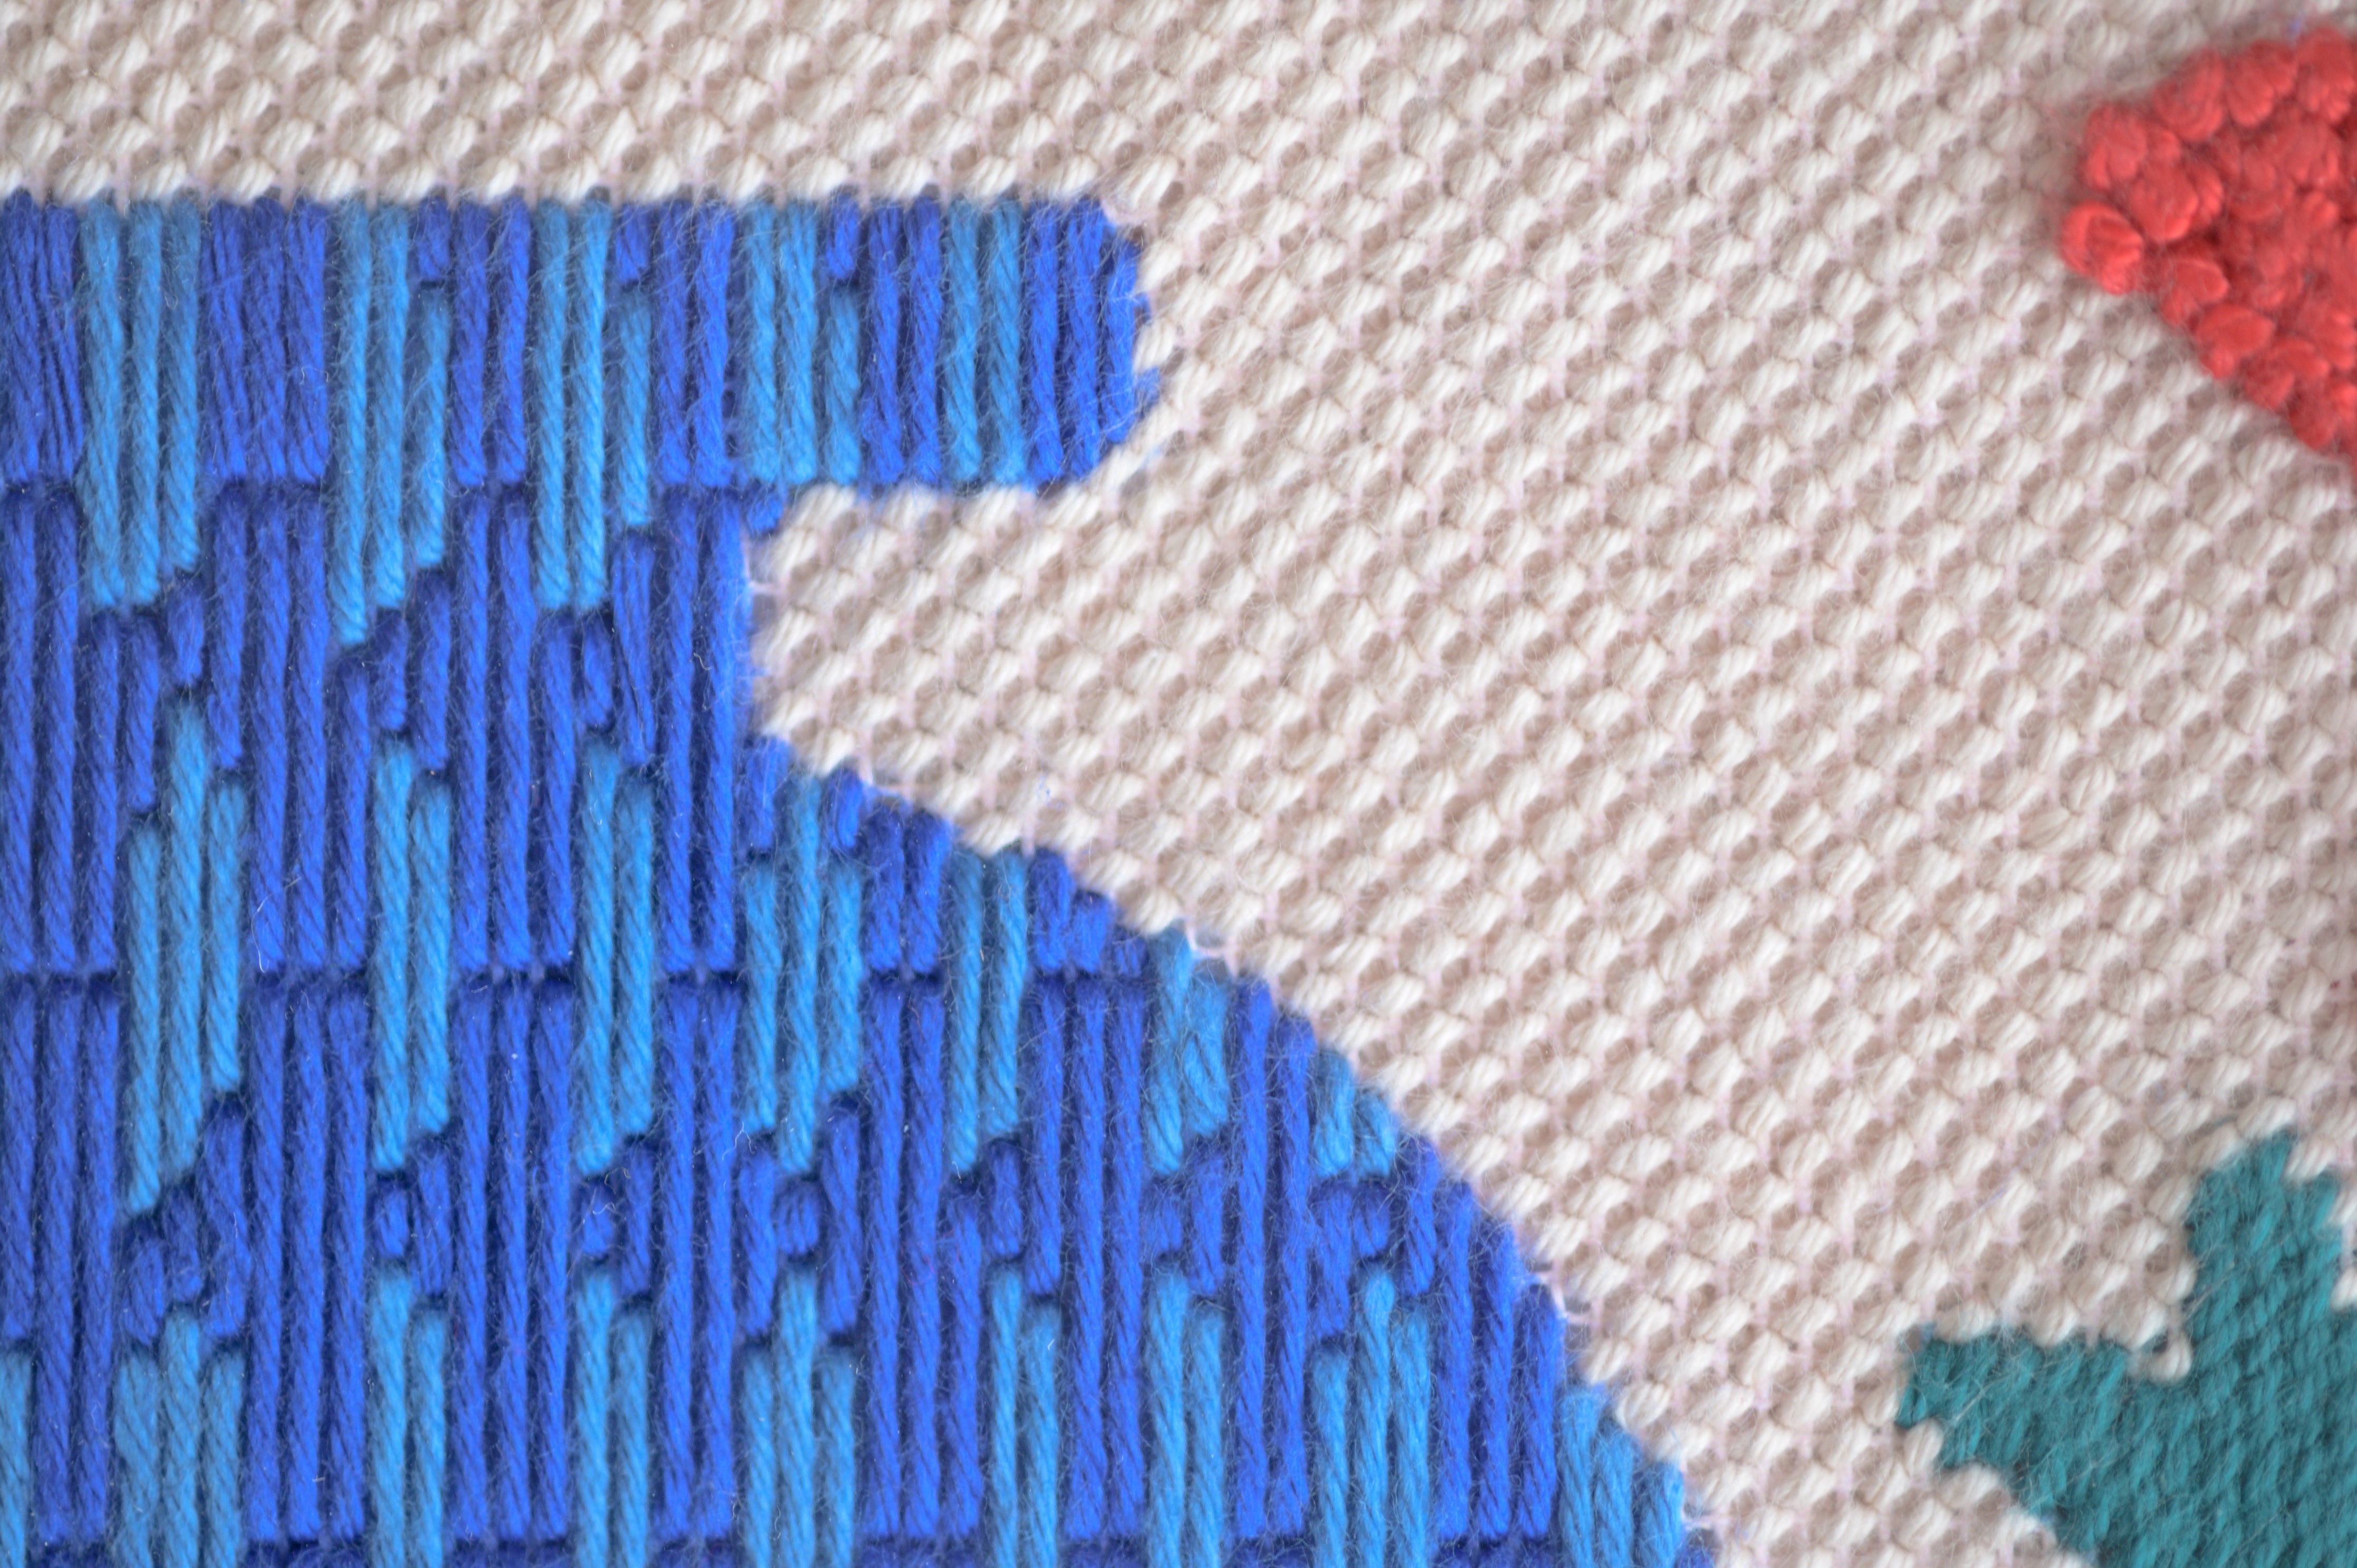
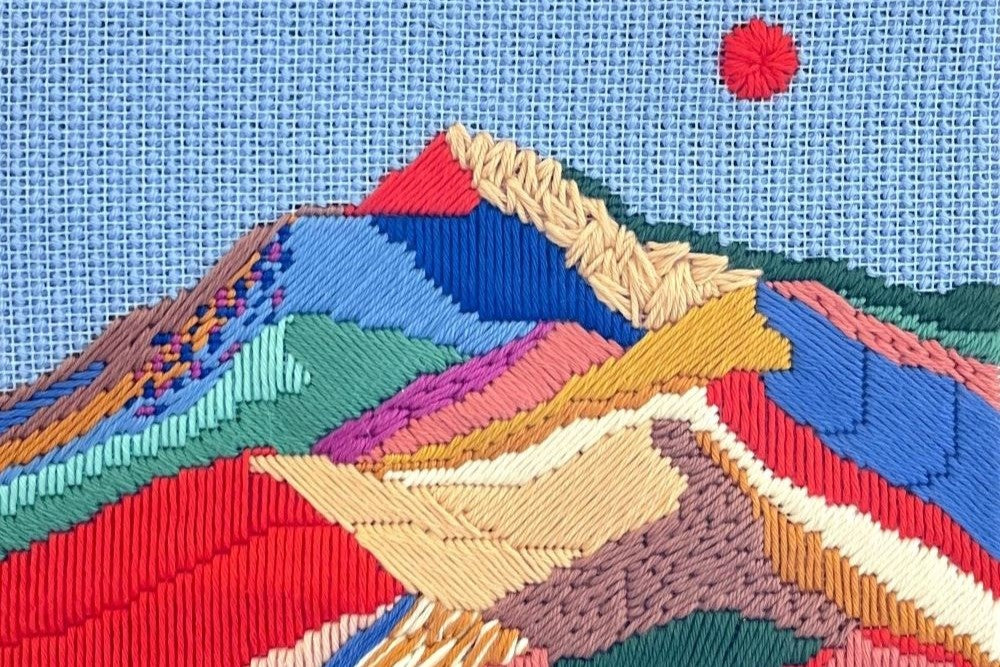
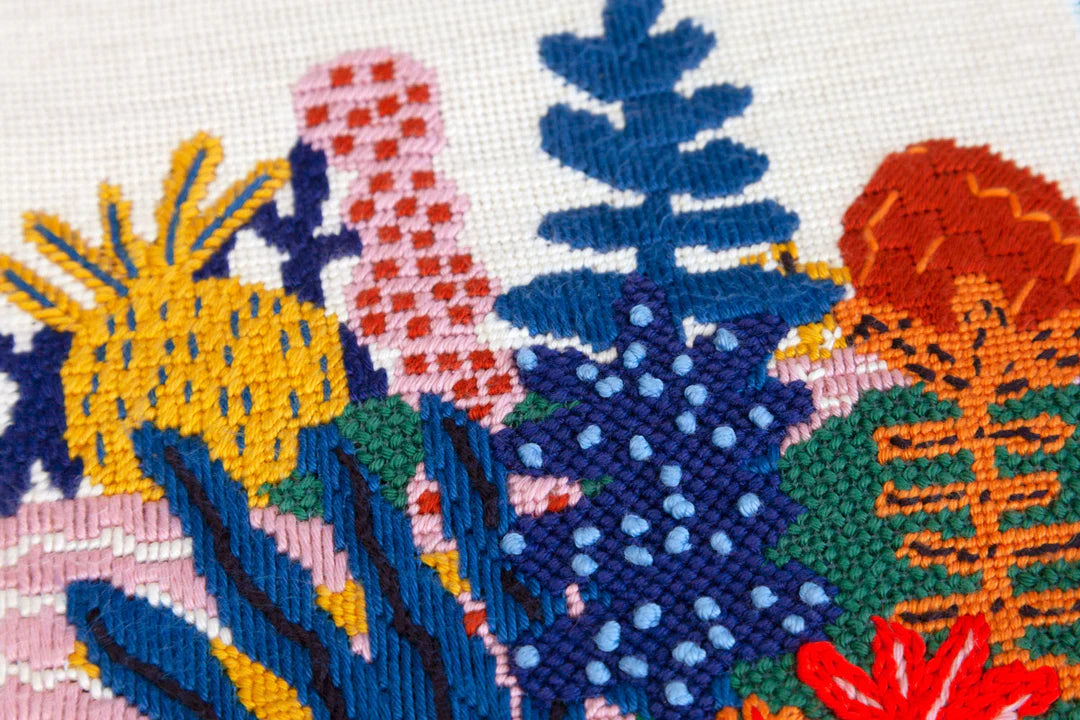
Texture and perspective can be created very simply in needlepoint, by selecting specific decorative stitches for a specific purpose. Hence the choice of stitches is important, but this does not mean that you have to choose a lot of stitches or very complicated ones. Our opinion is that often fewer, simpler stitches work the best.
Think about the complete design when choosing stitches and do a bit of planning before you begin. You can always adapt as you stitch, but all areas should work with each other.
Some important considerations are described below:
- What is the focal point of the artwork?
Our recommendation is to use only "stand-out"/highly textured stitches in the focal area, and use simpler/low-profile stitches on the rest of the design.
But another great option is to use tent-stitches in your design, and apply quirky/textured stitches on the background. More details below:
- Background vs Foreground
If your design has a central object and a lot of space around it, you need to take important considerations for the background. The stitch will be an important choice if you want the background to stand out or fade away.
Also, selecting small stitches will require a longer time to finish the piece, which can take some of the enjoyment, if you feel that you are taking too long to complete.
- What techniques do I want to use?
Analyze the texture of what you are trying to represent on the canvas. Is it smooth, rough, even, uneven? Also, does it corresponds to an organic area in the design?
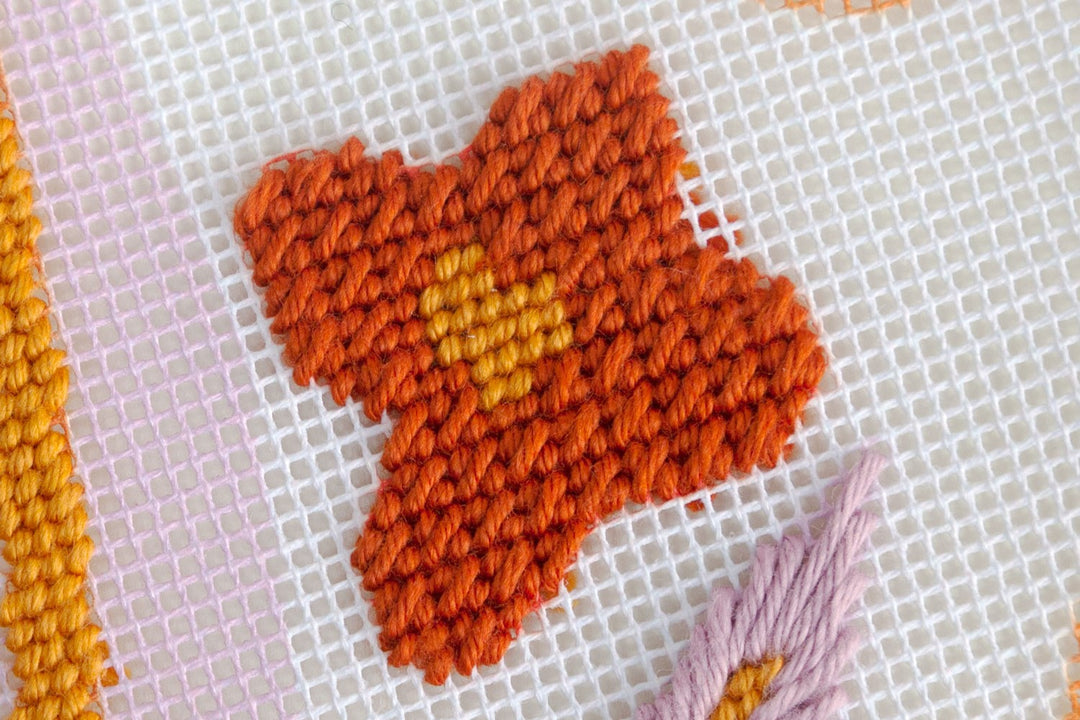
- Any stitches that lay flat on the canvas such as Byzantine or Long stitch will give a smooth texture.
- Any stitches that cross over, such as Upright Cross stitch will give a more raised appearance.
- Avoid using strong geometric patterns in non organic areas, like trees or leaves.
- What is the size of the area to stitch
Your stitch selection will be limited by the area you want to place the stitch in. A good rule of thumb is to see if the pattern of the stitch will be legible in the area you intend to use it.
- In small areas you’ll use a more limited selection of small stitches, such as tent stitch, mosaic, etc.
- In large areas your options are pretty much unlimited, use a small stitch or one of the many larger stitches.
See our post about How to do Compensation Stitches, which explains how to finish an area where the stitch needs to be only partial.
How to Search for the perfect Needlepoint Stitch
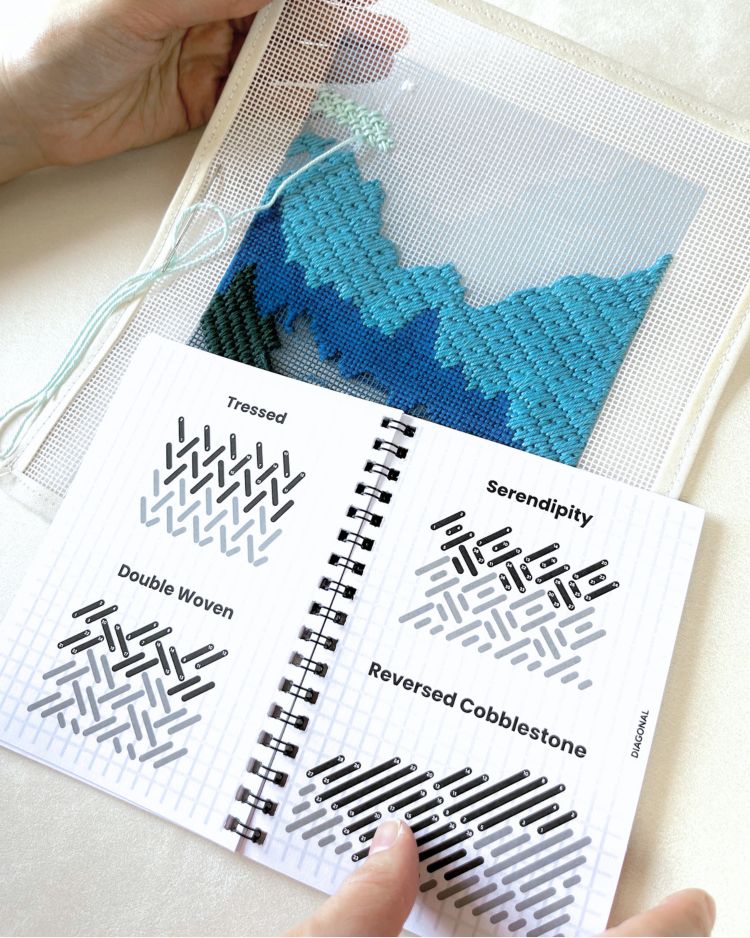
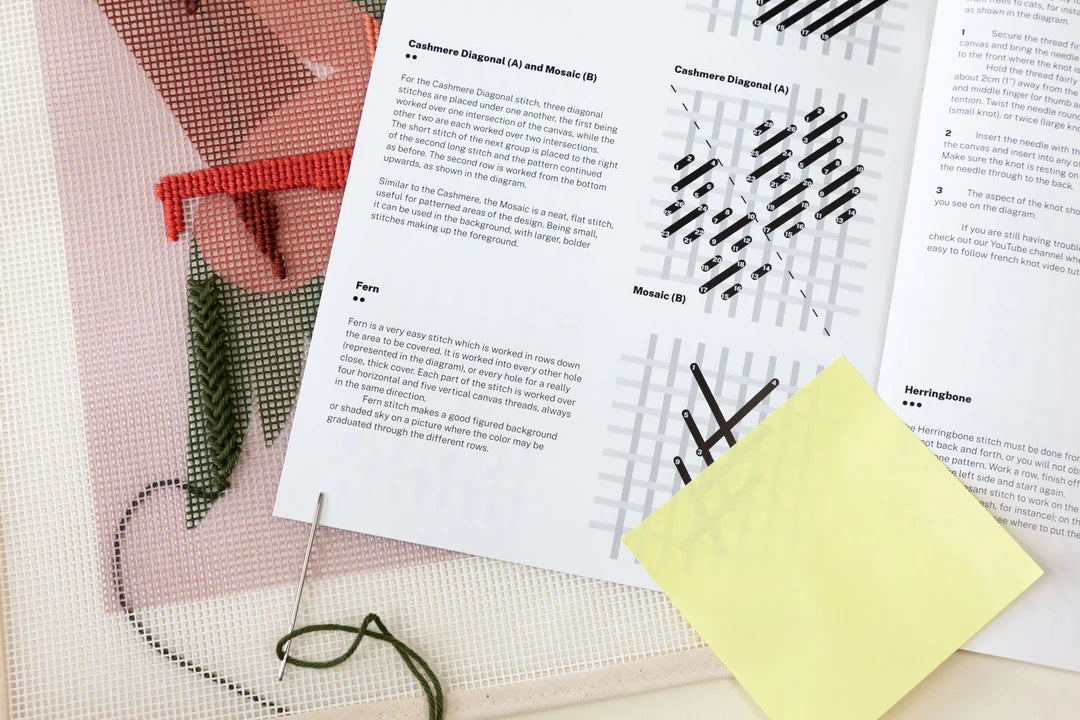
We've added smart filters in our Stitch Library that will help you find the perfect stitch in no time. They are organized by skill level, how much time they take to stitch, stitch structure and what they are recommended for! Here they are:
You can find the filters definition here.
How to experiment a new Needlepoint Stitch
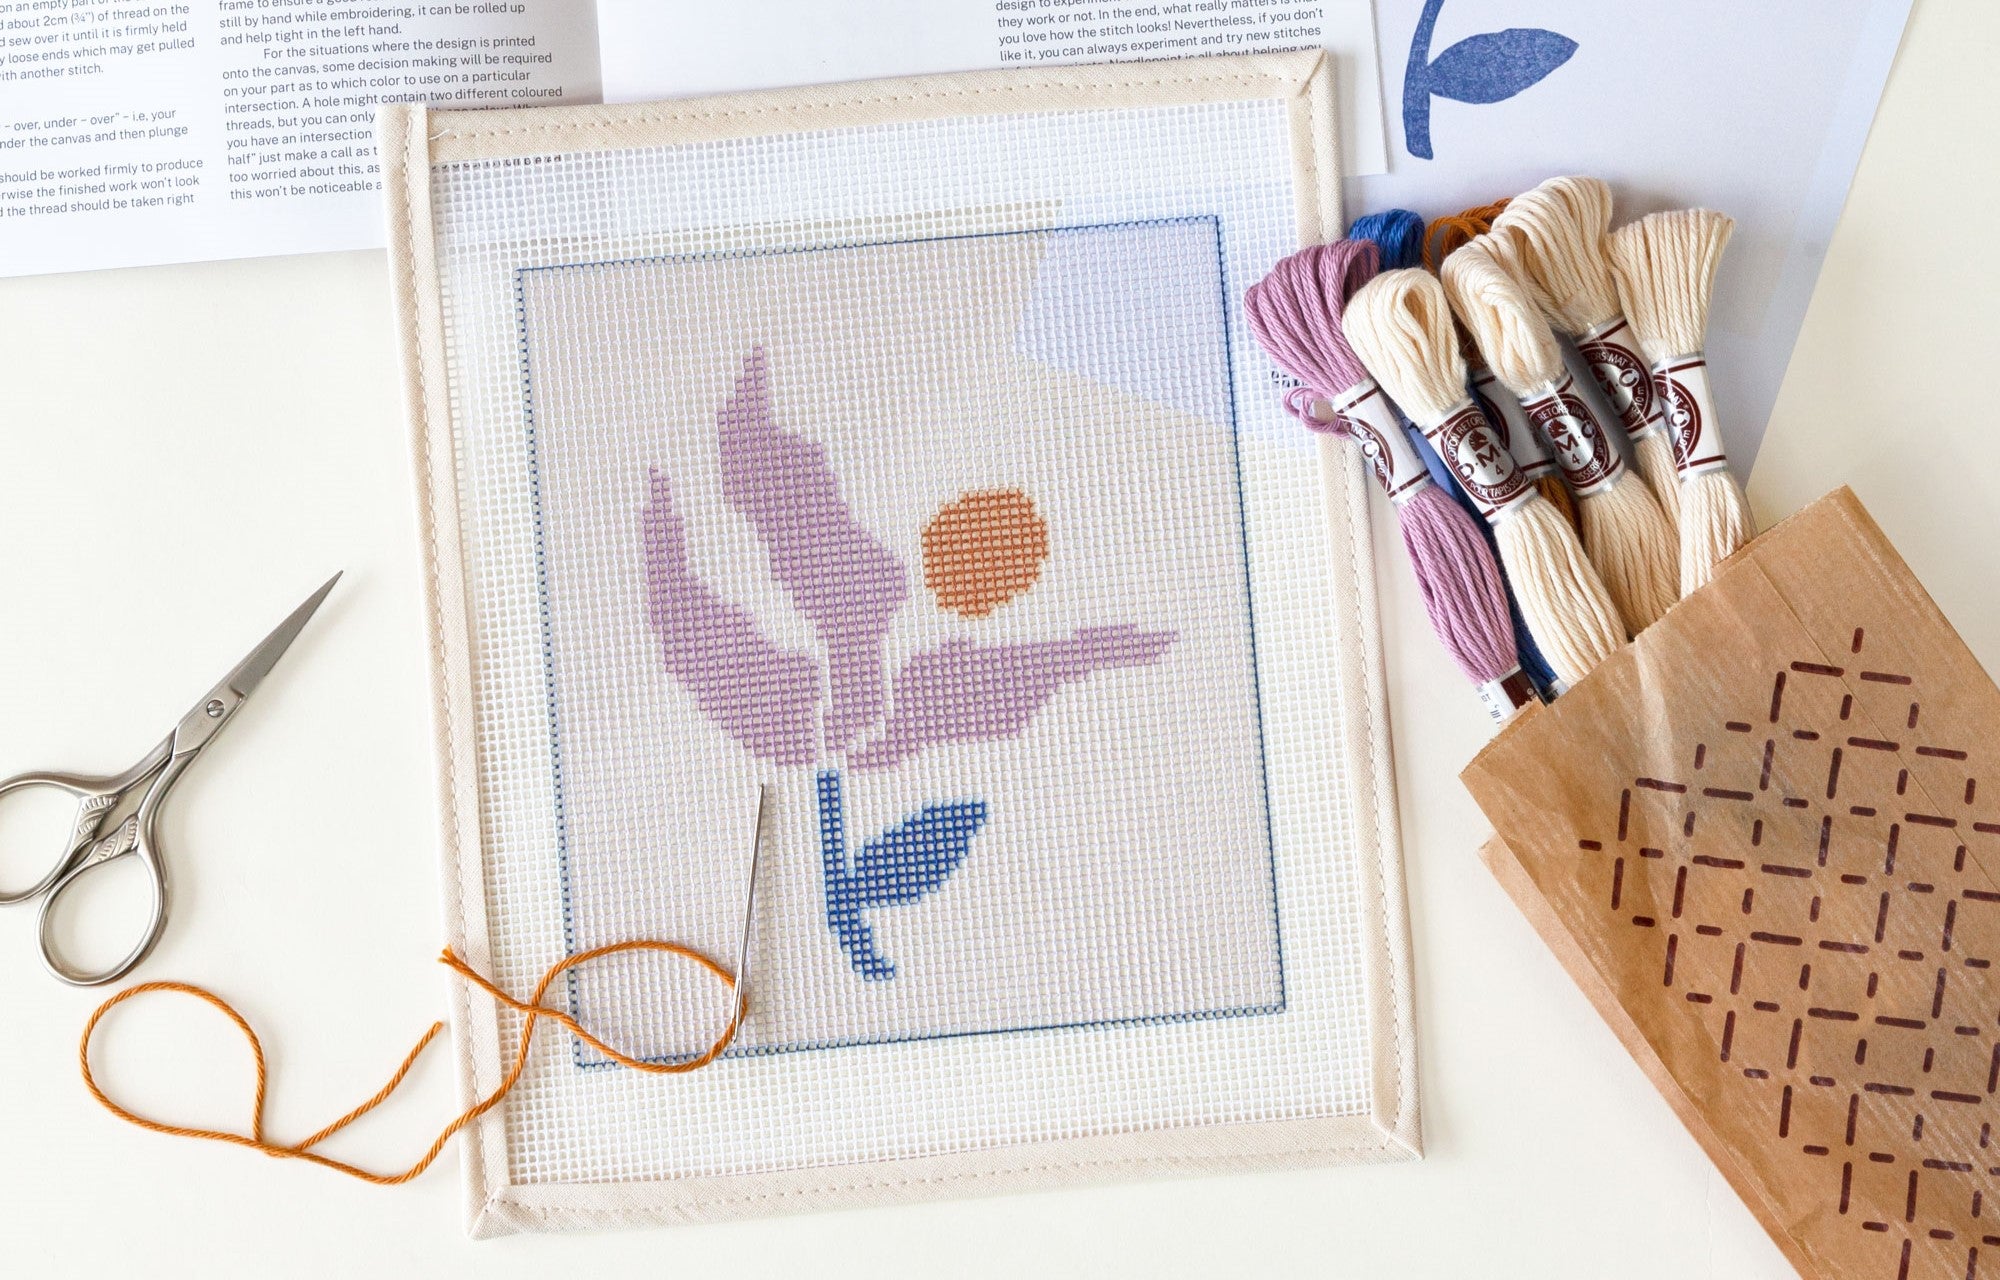
A good idea is to use the waste canvas around your design to experiment the stitches and find out whether they work or not. In the end, what really matters is that you love how the stitch looks! Nevertheless, if you don’t like it, you can always experiment and try new stitches in future projects. Needlepoint is all about to help you to have fun and unwind!

Useful blog posts that can help you further:
- Best Needlepoint Stitches for Background Areas
- Our favourite Needlepoint Decorative Stitches
- Decorative Needlepoint Stitches Video Tutorials
- How to do compensation stitches in needlepoint
Happy Stitching!


