In this blog post you will find detailed step-by-step instructions for self-finishing a needlepoint stocking, with a video tutorial.
This is a super fun and cute project to enjoy in the most wonderful time of the year! Stocking stuffers need their home, right?
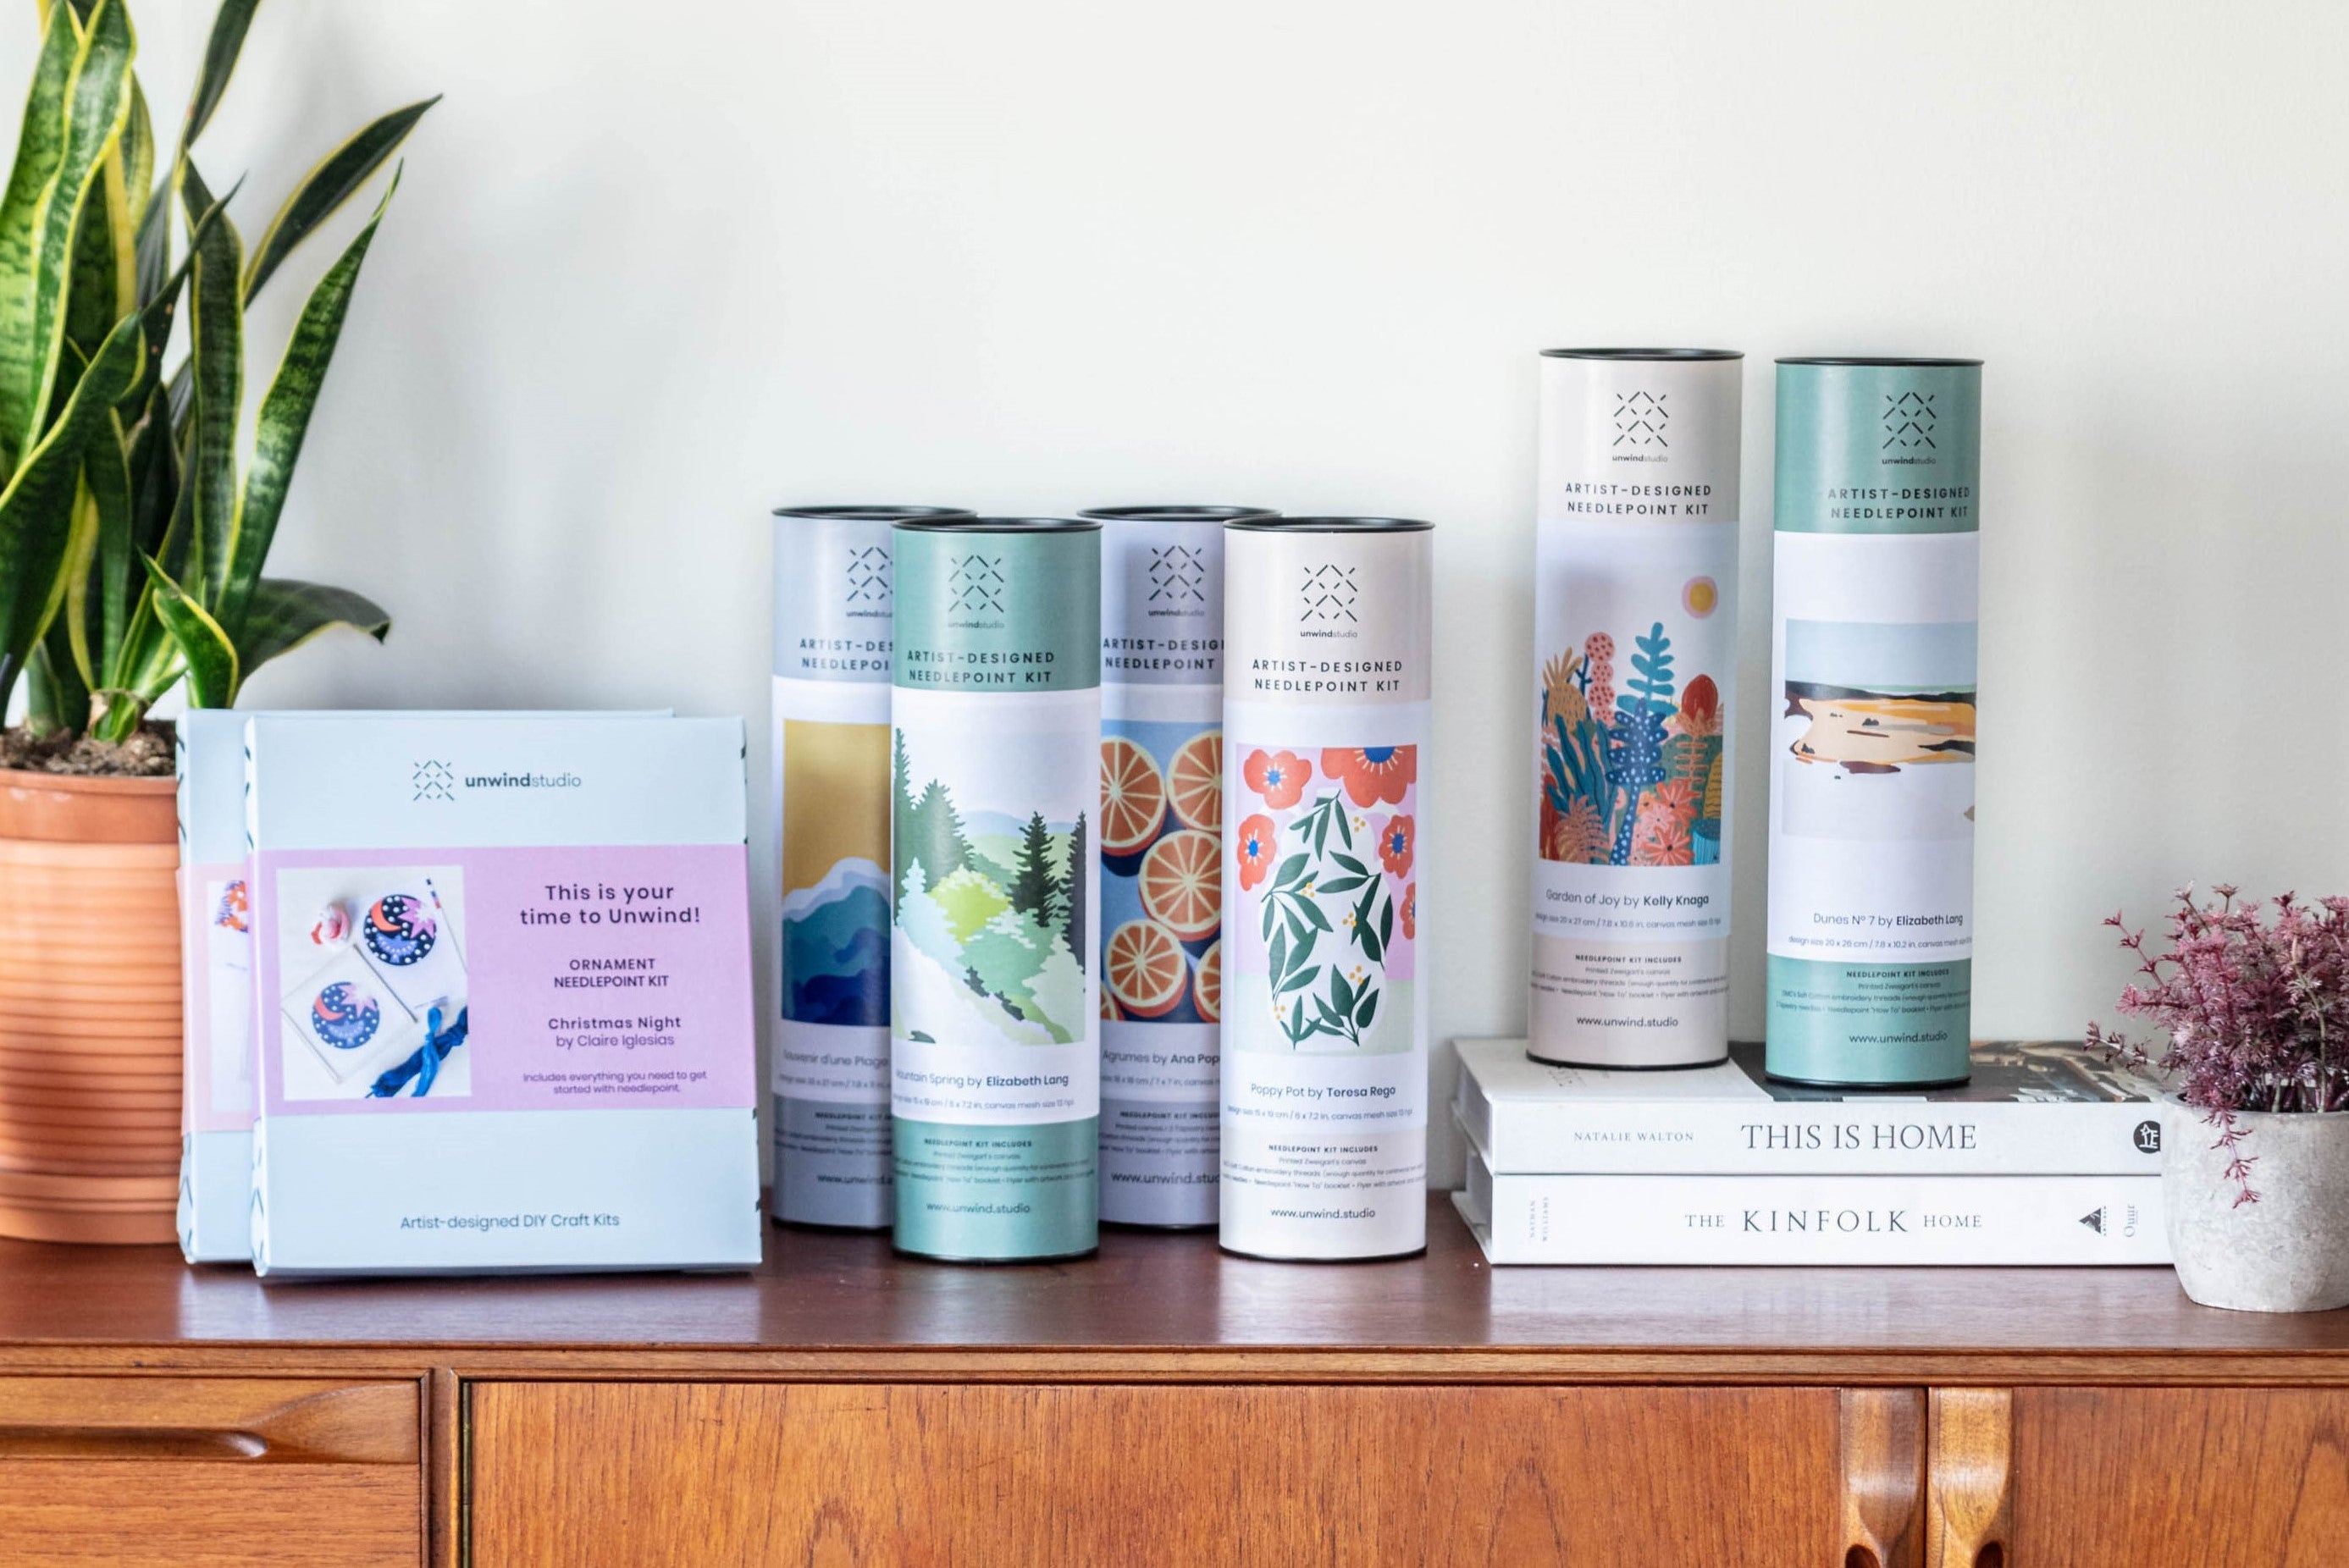
Check out our Christmas Stockings Needlepoint Kits and choose your favorite. These make the perfect gift for the little ones, but adults love them too!
This blog post is part of our DIY Needlepoint Finishing learning tutorials, we will teach you a simple way to finish your needlepoint stocking.

In the video, we feature the Folk Mini Christmas Stocking in pink, personalized with our founder daughter's name: Sofia! If you want to learn more about personalizing needlepoint, check out our blog post How to personalize a needlepoint canvas.
How to Finish a Needlepoint Christmas Stocking
In this tutorial version, we will be teaching you the easy way to make a stocking. We will also publish the hard version later on! The advantages of doing this version are:
1) The finishing is easier - perfect for people with less experience with sewing and who want a quicker project.
2) You just have to use one piece of lining fabric, instead of two.
Materials you'll need for this project
- Finished Needlepoint Stoking Canvas
- Fabric Scissors
- Sewing Ball Pins / Fabric Clips Prym
- Lining Fabric
- Backing Fabric
- Ribbon for the handle
- Threads for the Binding Stitch and the Tassel
- Sewing Machine
-» If you're not familiar or comfortable with using a sewing machine, we have a dedicated blog post on Sewing 101 for Needlepoint Finishing! Check it out to learn the easiest way to finish your project.
Finishing a Needlepoint Stocking - Step By Step
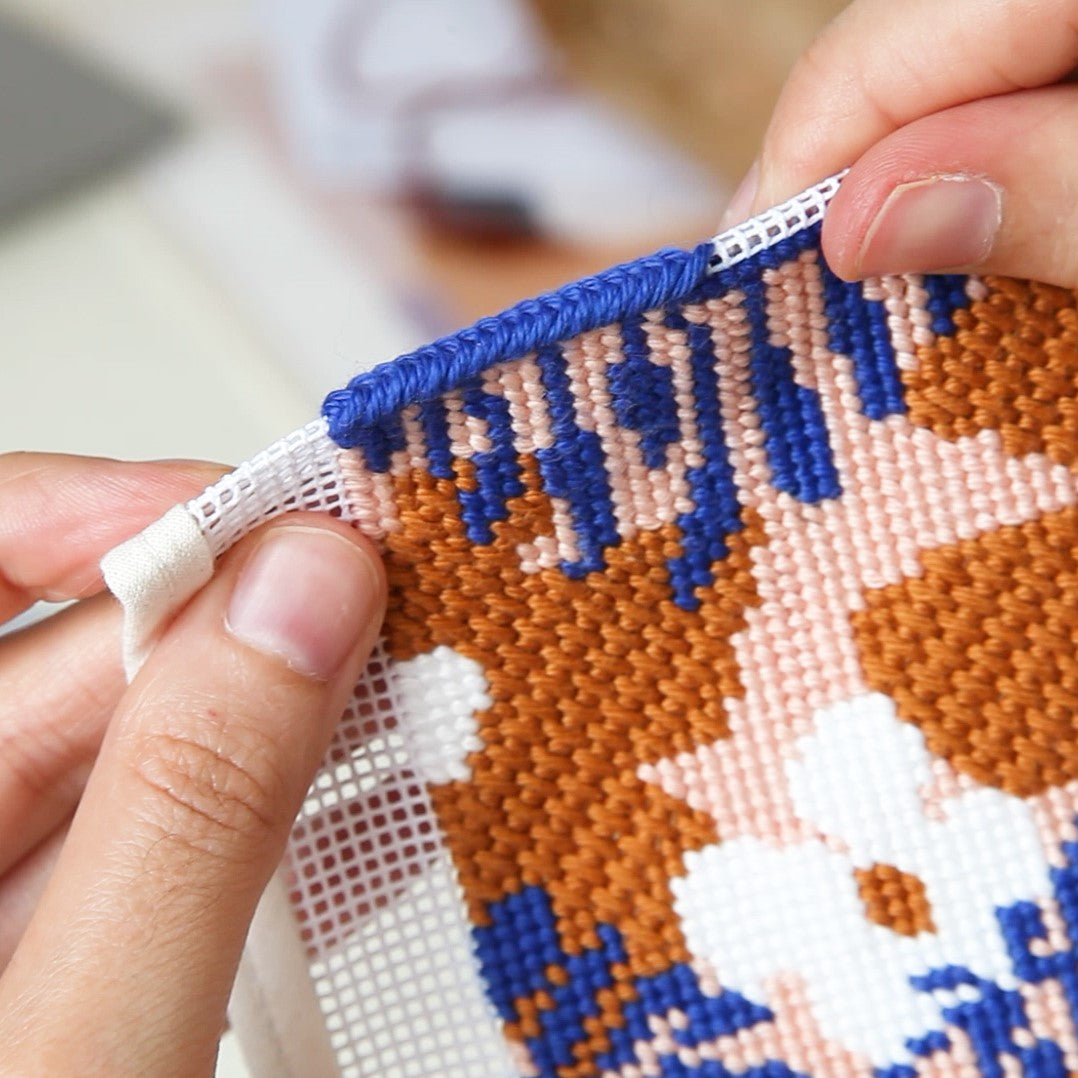
1) Firstly, start by doing the binding stitch in the top part of the stocking
to elevate the finished look of your project. This step is totally optional but in our opinion: it makes the difference!
2) Cut the excess canvas to make the next steps easier and leave a 1.5 cm / 0.5-inch border all around;
3) Grab your lining fabric and fold the top inward about 2cm / 0.7-inch. Then, place your canvas on the lining fabric (fold facing up), and secure the top with the fabric clips.
If the fabric you're using is very malleable, use ball pins to secure the sides as well - This way we're sure the fabric is well placed and straight while we sew;
4) Now it's time to sew the lining fabric to the canvas all around, except for the top - you'll need it open for the next step. Sew it as close to the edge as possible;
5) Place your tassel in the top space between the lining fabric and the canvas - The placement and length is up to you!
6) If you want a handle for your stocking, choose a fabric. Cut it to the length of your choosing and fold it in two, then sew it together. Place it in the same place you placed the tassel and secure it with the fabric clips.
*In our project we used ribbon,but you can use the same fabric you will use for the backing or any other you prefer!
7) Now it's finally time to sew the top. Keep adjusting the fabric and checking if it is all straight;
8) Cut the excess fabric, leaving a little margin all around;
9) Place your canvas (facing down) on top of the backing fabric (this one should be facing up) and fold the backing fabric outward on the top.
The bigger the fold you make in the backing fabric, the better! We recommend about 8 cm / 3.14 in although we did it smaller here - this way you won't be able to see the fold from the outside looking in;
10) Time to sew again! Don't forget to NOT sew the top part, which will be the hole of the stocking;
11) Check to see if there are any white parts showing on the edges,
and if so, sew it again - and cut the excess fabric again;
12) Now the fun part: turn the project right side out through the top hole. Grab a pen to help you poke out the corners and make the edges clean;
13) And it's done! Now you have a super cute and festive Christmas stocking
all made by you!


