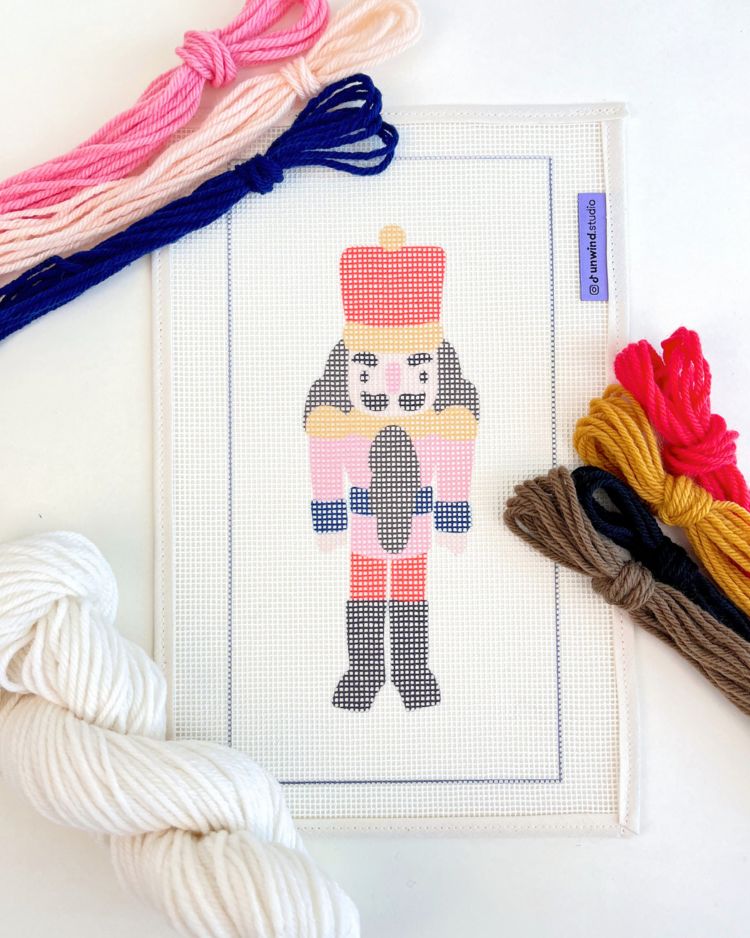
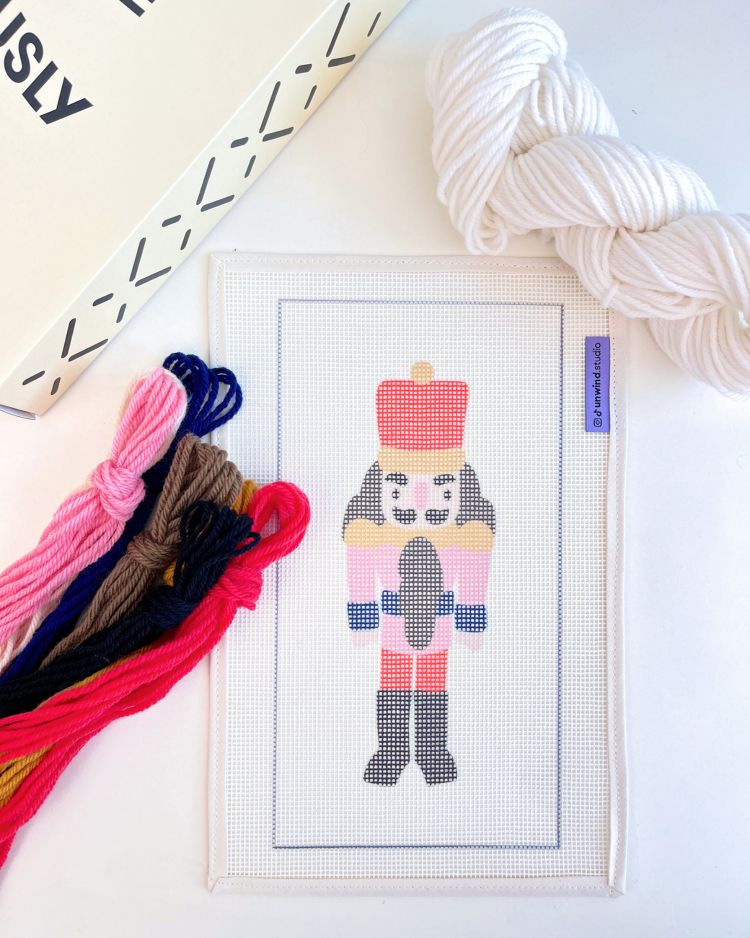
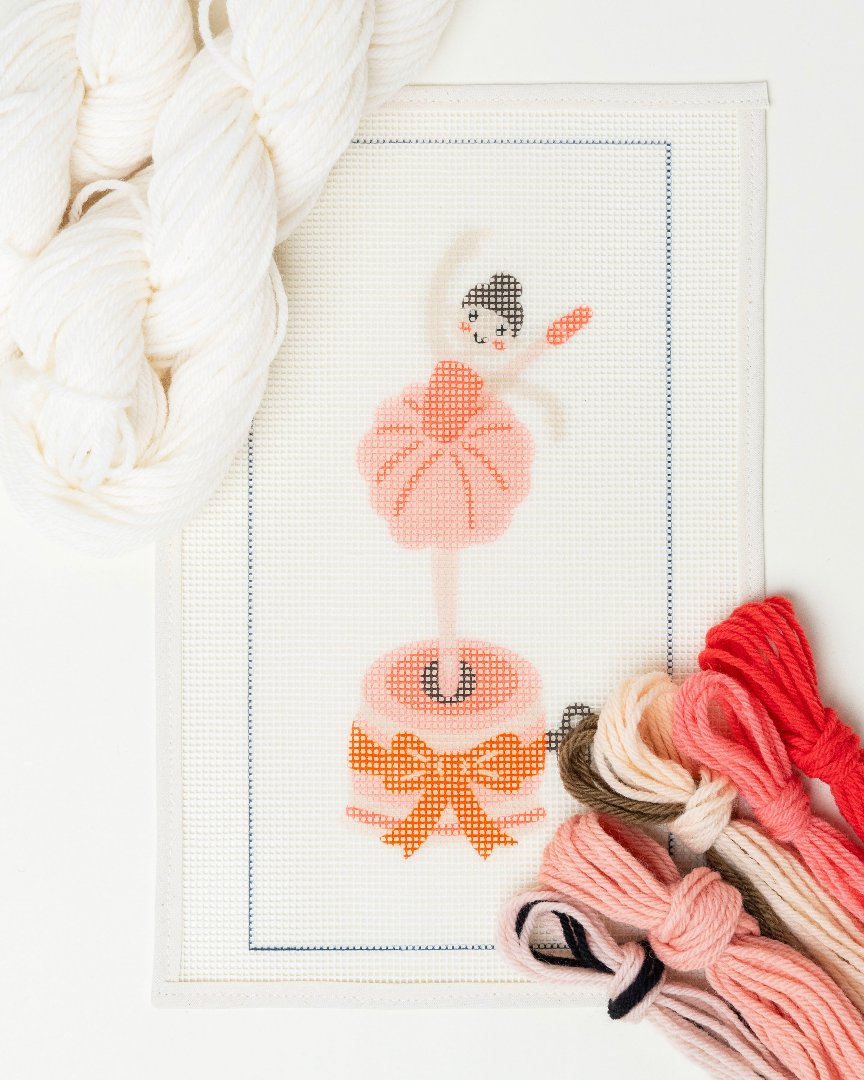
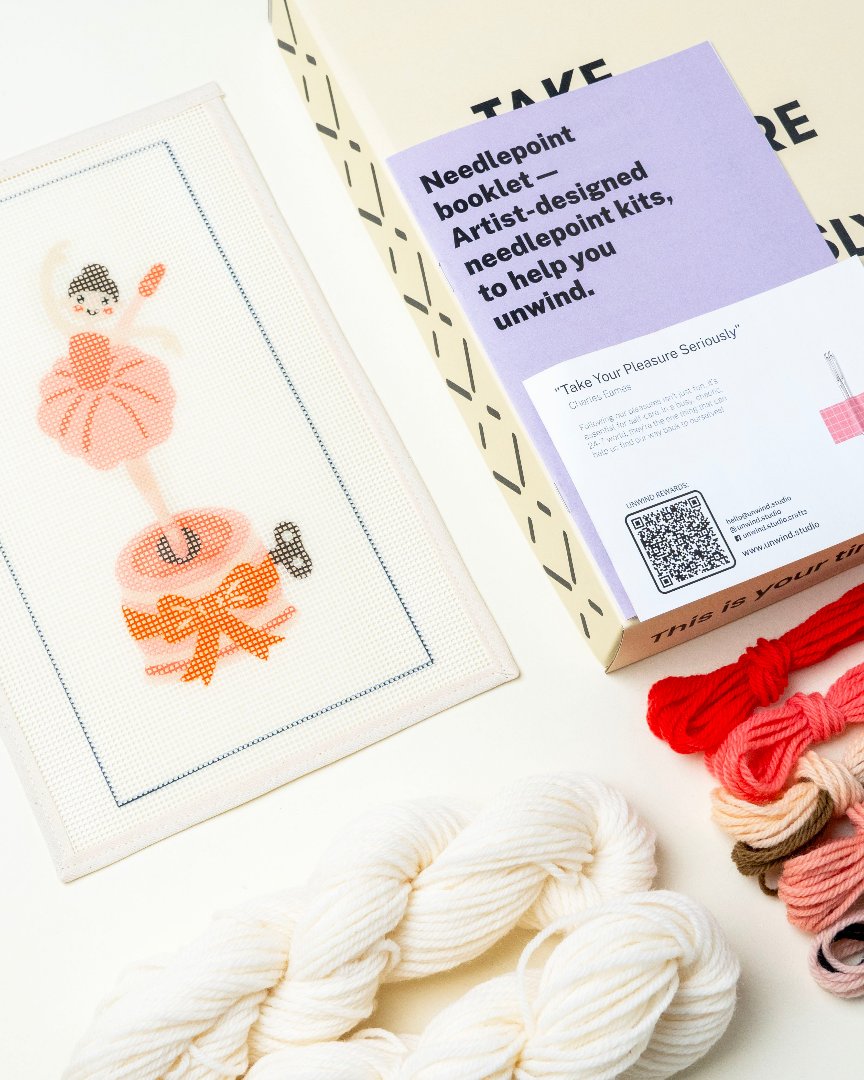
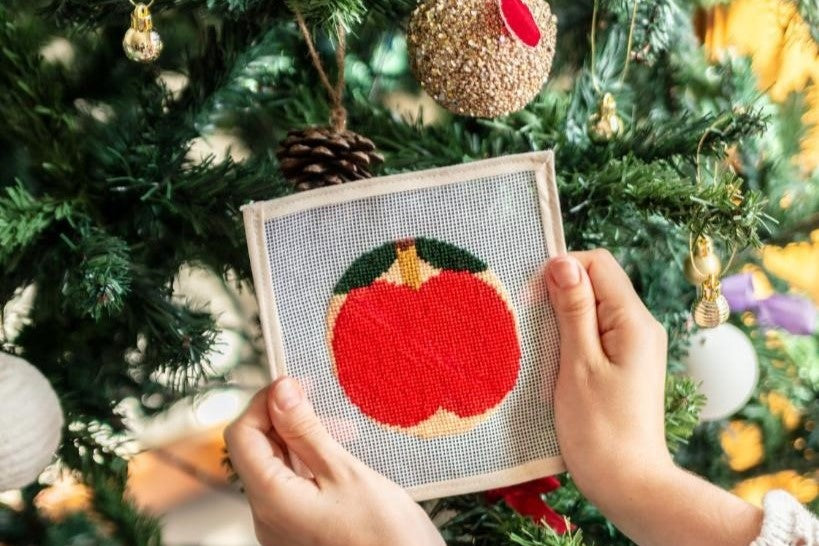
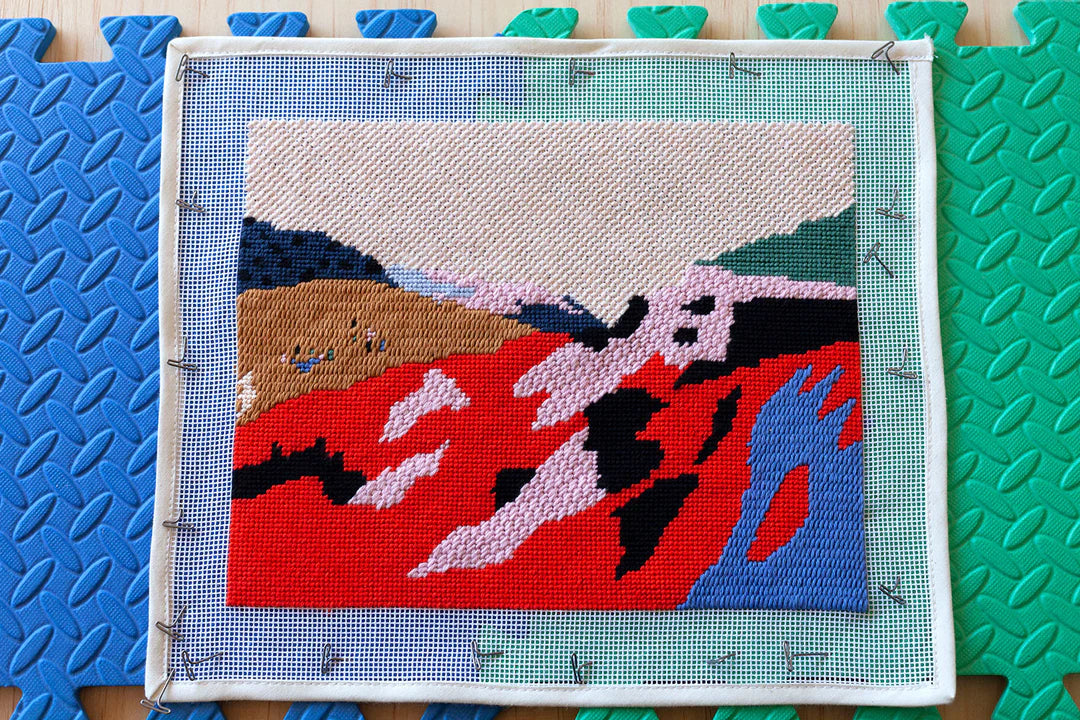
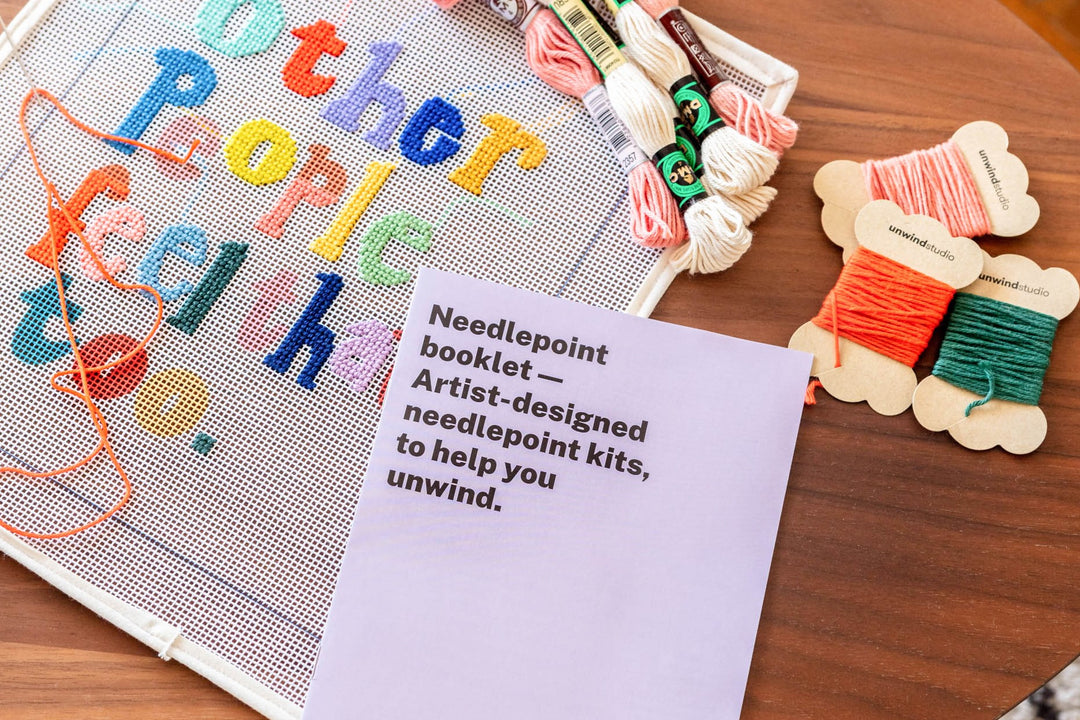
If you’ve ever stitched a beautiful needlepoint ornament but felt intimidated by how to finish it, especially when it’s not a standard circular shape, don’t worry—you’re not alone! In this post, we’ll walk you through the steps of finishing your irregular-shaped needlepoint ornament so it’s ready to hang, gift, or display with pride.

- Check out our other blog post to learn how to finish a round needlepoint ornament!
How to Finish a Needlepoint Irregular Ornament - Video Tutorial
We've created a video tutorial to help you better understand what differs from finishing a regular ornament and an irregular one, walking you through all the steps for a smooth finish. It's probably easier than you think!
Materials You'll Need:
- Stitched needlepoint ornament canvas
- Photocopy of your needlepoint design (to use as a template)
- Mat board
- Filling batting (to add dimension)
- Fabric for backing
- Textile glue
- Thread for cording (in a matching color)
- Scissors
- Marker or pencil
- Pins and clips
Pro Tip: Before starting any finishing project, always block your needlepoint canvas to ensure it is straight and even. This step is essential for a polished finish. You can find more about how to block your needlepoint in our blocking tutorial here.
Step-by-Step Tutorial
Step 1: Prepare Your Template
Since your ornament has an irregular shape, it’s important to cut the mat board to fit that shape perfectly. If you purchased an irregular-shaped ornament kit with finishing materials from us, you’ll find a photocopy of your canvas included in the order. Otherwise, you can make your own photocopy, as long as it's real-sized.
Carefully cut the photocopy/paper template to match the exact shape of your ornament. This template will serve as a guide for tracing the shape onto the mat board.
Step 2: Cut the Mat Board
Using your paper template, trace the shape onto your mat board twice—once for the front of the ornament (where your needlepoint will go) and once for the back (for the backing fabric). Then, cut the first piece of mat board.
After cutting the first piece, check it against your needlepoint canvas to ensure it fits. If it’s a little big, trim it down slightly to create a snug fit. Once the first piece fits well, use it as a guide to cut the second mat board piece for the backing.
Step 3: Trim the Canvas
Now it’s time to cut the excess canvas around your needlepoint design. Leave a small border around the edges, and make small cuts along the edge to create “teeth.” These small cuts will help you fold the canvas neatly to the back of the mat board later.
Step 4: Prepare the Filling Batting
Cut a piece of filling batting to the same shape as your mat board but slightly smaller. This batting will go between the mat board and the needlepoint canvas to give the ornament a plush, full appearance.
Place the filling batting on the mat board, sandwiching it between the needlepoint canvas and the board. Then, fold the canvas “teeth” to the back of the mat board and secure them with clips to hold everything in place.
Step 5: Prepare the Backing Fabric
Follow the same process for the backing fabric. Cut the fabric with a small border around the edges, and make the same “teeth” cuts. Then, place the filling batting and mat board inside the fabric, fold the edges to the back, and secure with clips.
Step 6: Glue the Edges
Carefully apply textile glue to secure the folded edges of the needlepoint canvas and backing fabric. Remove the clips one by one, apply glue, and then replace the clips to apply pressure while it dries. Repeat this process for both the front and back halves of your ornament.
Our go-to textile glue is this one - essential for ensuring a neat, seamless finish, especially since it dries clear and won’t leave any visible marks.
Step 7: Make the Cording
Cording adds a beautiful, finished touch to your ornament. Choose a thread color that complements your design. Since this is an irregular-shaped ornament, consider making the cording a little thicker to hide any excess canvas along the edges.
- You can find a detailed tutorial on how to make the perfect cording here.
Once your cording is ready, it’s time to assemble the ornament.
Step 8: Assemble the Ornament
Now that both halves are dry and your cording is prepped, begin attaching the cording to the edge of the ornament. Start by inserting one end of the cording between the front and back halves of the ornament. Apply some glue and secure with a clip.
Continue gluing the cording around the edges, using pins to hold it in place as you go. When you reach the top of the ornament, insert the other end of the cording to form a hanger loop. Apply glue to secure the loop and finish by clipping or pinning it until the glue dries.
Step 9: Final Touches
Once the glue is completely dry, carefully remove all the pins and clips. And there you have it—a beautifully finished, irregular-shaped needlepoint ornament, ready to hang on your tree or gift to a loved one!
Conclusion
Finishing a needlepoint ornament with an irregular shape may seem daunting at first, but with a little patience, it becomes a surprisingly satisfying process. The key is in the details: from cutting precise templates to securing the edges with care, each step brings you closer to a beautifully finished ornament that you can proudly display or gift. Whether it's for your own holiday décor or a handmade gift, your finished piece will have that special, personal touch that only comes from making it yourself. So go ahead, give it a try, and enjoy the transformation!
Happy Stitching!!


